Advertisement
Quick Links
Advertisement

Related Manuals for MIZETTO U001


Summary of Contents for MIZETTO U001
- Page 1 U N D E R S T A N D S H E L F S Y S T E M A S S E M B L Y I N S T R U C T I O N...
- Page 2 GABLES, CONNECTORS & MODULES Understand always starts and ends with a gable of the High, Mid or Low model. To extend the shelf system connectors are added. These connectors are offered in a variety of models and sizes to make the system complete. The connectors enable the system to be extended without double gables which gives a cleaner look.
- Page 3 PLACING THE MODULES By placing the boxes differently, either hanging or standing on top of the steel frame, practical shelves and beautiful voids can be created. Even a pot for greenery can be added. Notice that there are limitations for the Medium module with doors and the XL module.
-
Page 4: Assemble The Frame
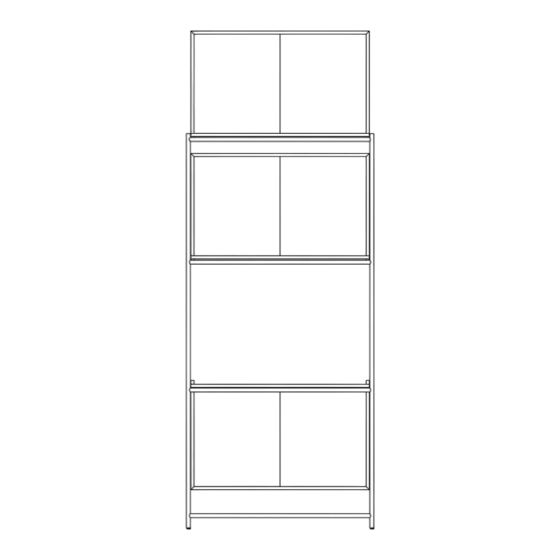
ASSEMBLE THE FRAME Start with the assembly of the frame. The connectors are available in six different models for the user to create their own unique set-up. In this example we have 2 gables, 1 Connector and 10 Cross Bar Connectors. Connector 2 + 1 Mid Frame Low Frame... - Page 5 1. PLACE THE FEETS Start to screw in the feets in the all the frames and the Connector. In case you need to secure the shelf to the floor, replace the feets with the floor fixture. See step 8 for more. 2.
- Page 6 4. FASTEN THE CONNECTORS When all cross bars are attached to the taps secure them with the set screws. Do NOT draw the screw to tight at this stage. 5. CONNECTOR AND FRAMES With all the cross bar connectors in place take help to mount the next gable or connector.
- Page 7 6. FLIPPING THE MODULE When turning the module make sure to be two people to not cause any injuries or damages. 7. LEVEL AND TIGHTEN With the whole frame assembled make sure to level the frame. Make sure to do this both along the width and depth. Now is also the time to tighten all of the set screws one last time to make sure the cross bars are secured.
- Page 8 8. FIX TO FLOOR To reduce the risk of tipping, we recommend that the shelf be fixed to the floor with the included floor fixture. Use floor fixture on the outer gables. See examples bellow on where fixtures should be placed. For advice on suitable screws and plugs, contact your specialized dealer.
- Page 9 9. FIX TO WALL To reduce the risk of tipping, or if floor fixture is not possible, we recommend that the shelf be fixed to the wall with the included wall fixture around the top cross bar connector. For advice on suitable screws and plugs, contact your specialized dealer.
- Page 10 MIZETTO.COM / MAIL@MIZETTO.COM / ENGELSKA VÄGEN 5 / 393 56 KALMAR, SWEDEN / +46 480-54 999...
Need help?
Do you have a question about the U001 and is the answer not in the manual?
Questions and answers