
Related Manuals for Bolia Seed High Table


Summary of Contents for Bolia Seed High Table
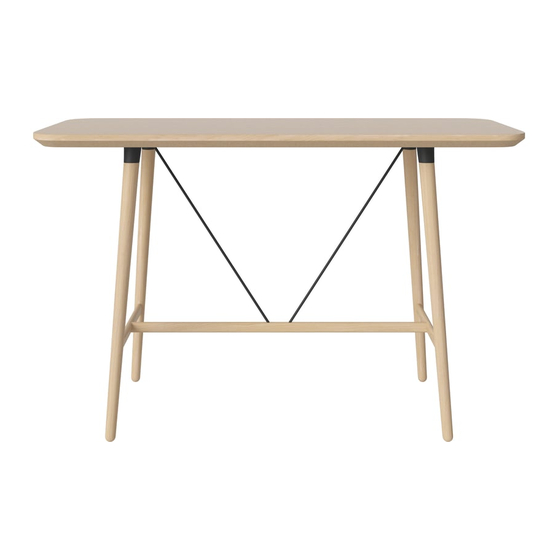
- Page 1 Product Manual Seed High Table Designed by Hans yge & Co. Version 01 - 04/2023 Vaerkmestergade 11-13 8000 Aarhus C, Denmark 51 50 51 22...
- Page 2 Further information can be found on our website: Bolia.com Technical information As we are constantly developing and improving our products, design and technical changes may occur. This products manual can be downloaded as a PDF fi le from our website: Bolia.com donnez ou recycler votre produit...
- Page 3 Warnings GB: Please tighten the screws/legs after 4-5 weeks of use and then subsequently every 4-5 month. DK: Spænd skruerne/benene efter 4-5 ugers brug og derefter hver 4.-5. måned DE: Ziehen Sie die Schrauben/Beine nach 4 bis 5 Wochen Gebrauch und anschließend alle 4 bis 5 Monate nach.
- Page 4 Use of the product GB: This product is only for indoor use. DK: Dette produkt er kun til indendørs brug. DE: Dieses Produkt darf nur in Innenräumen verwendet werden. NO: Dette produktet er kun ment for innendørs bruk. SE: Den här produkten är endast avsedd för inomhusbruk. NL: Dit product is uitsluitend bedoeld voor gebruik binnenshuis.
- Page 5 Tools, fittings and products parts Tools overview SW 4 SW 3 SW 17 Fittings and product parts A x 4 B x 24 C x 4 D x 4 164 x 153 mm M6 x 16 mm (M10) 17 x 5 mm Ø...
- Page 6 Tools, fittings and products parts Fittings and product parts I x 1 1122 x 60 x 26 mm J x 2 Ø 10 x 840 mm K x 2 960 x 594 mm...
- Page 7 Assembly steps STEP 01 Tools & Special requirements...
- Page 8 Assembly steps STEP 02 Tools & Special requirements...
- Page 9 Assembly steps STEP 03 Tools & Special requirements SW 17...
- Page 10 Assembly steps STEP 04 Tools & Special requirements SW 4 SW 4...
- Page 11 Assembly steps STEP 05 Tools & Special requirements...
- Page 12 Assembly steps STEP 06 Tools & Special requirements SW 3...
- Page 13 Assembly steps STEP 07 Tools & Special requirements SW 4 SW 4...
- Page 14 Assembly steps 40 kg 88 lb...
Need help?
Do you have a question about the Seed High Table and is the answer not in the manual?
Questions and answers