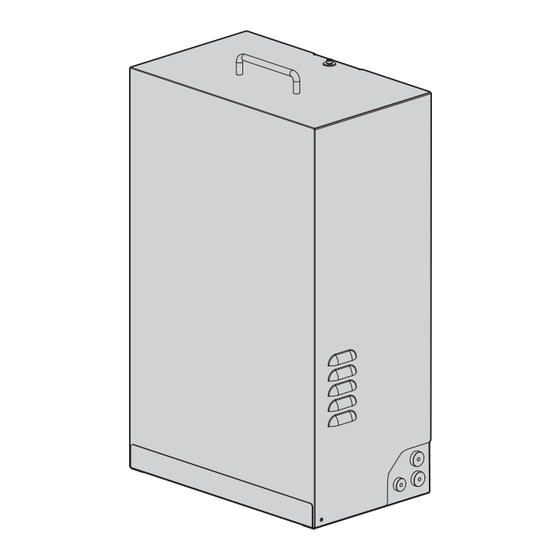
Summary of Contents for Videotec WASNX
- Page 1 ENGLISH WASNX Washer pump with solenoid valve for stainless steel products English - Instruction manual...
-
Page 2: Table Of Contents
Contents E N G L I S H 1 About this manual ........................3 1.1 Typographical conventions ..............................3 2 Notes on copyright and information on trademarks ............. 3 3 Safety rules..........................3 4 Identification ..........................5 4.1 Product description and type designation ........................5 4.2 Product marking .................................. -
Page 3: About This Manual
1 About this manual 3 Safety rules Read all the documentation supplied carefully before CAUTION! The electrical system to which the installing and using this product. Keep the manual in unit is connected must be equipped with a a convenient place for future reference. 15A max automatic bipolar circuit breaker. - Page 4 • When installing the devices make sure the system • The manufacturer declines all responsibility and installer personnel are absolutely safe. for any damage caused by an improper use of the appliances mentioned in this manual. • Choose an installation site that is strong enough Furthermore, the manufacturer reserves the right to sustain the weight of the device, also bearing to modify its contents without any prior notice.
-
Page 5: Identification
The WASNX system is designed for operate in special environments such as marine, industrial, chemical • Before powering the device install an overload and where the external conditions are highly protection device in the building electrical system. -
Page 6: Preparing The Product For Use
5 Preparing the product for 5.4 Preparatory work before installation 5.4.1 Product opening 5.1 Unpacking Unscrew the 2 side screws to open the cover. When the product is delivered, make sure that the package is intact and that there are no signs that it has been dropped or scratched. -
Page 7: Assembly Of The Seal Rings (Optional)
5.4.3 Assembly of the seal rings 5.4.4 Assembly on supports (optional) The product can be fastened directly to the wall or the floor using the holes present. During assembly, be careful not to damage the rubber and thereby reduce its air- tightness. -
Page 8: Installation
6 Installation Undo the top body of the pump (01) by turning it anti-clockwise and removing it. Fill the tank (02). Electrical connections must be performed with the power supply disconnected and the circuit-breaker open. 6.1 Installation and loading of the pump We recommend filling the tank with water at ambient temperature. -
Page 9: Connecting The Power Supply
6.2 Connecting the power supply 6.2.2 120Vac and 230Vac power line connection The device can be provided with different power supply voltages. The power supply voltage is Use an auxiliary relay with adequate indicated on the product identification label. (4.2 electrical specifications for the power Product marking, page 5). -
Page 10: Connection Of The Solenoid Valve
6.3 Product closure 6.2.3 Connection of the solenoid valve Pass the power supply cable through the sealing ring. After installation and wiring, close the product. 6.4 Washer installation (NXPTZ range) Fasten the support (01) onto the PTZ unit body with the metal clip (02) provided. -
Page 11: Installation Examples
6.4.1 Installation examples Unscrew the knurled nut (01) from the delivery joint (02). Insert the knurled nut on the delivery pipe (03). Insert the end of the delivery pipe into the spinner (04). Lock the nut to the coupling. Fig. 25 Fasten the semi-rigid pipe (01) to the washer support using the plate (02), the screws (03) and the washers (04) supplied. -
Page 12: Washer Installation (Nvx Range)
6.5 Washer installation (NVX 7 Instructions for normal range) operation The camera, if equipped with a wiper, can be 7.1 Pump manual activation equipped with an external pump that provides water to clean the glass. Close the contact (button, switch, etc.) to activate the wash system. -
Page 13: Cleaning
9 Cleaning 11 Technical data 11.1 Mechanical Frequency will depend on the type of environment in which the product is used. Materials The device should be cleaned using a damp cloth; • External enclosure: Stainless steel AISI 316L compressed air must not be used. •... -
Page 14: Technical Drawings
The indicated measurements are expressed in millimetres. Ø 11 Ø 11 Fig. 36 WASNX. Headquarters Italy Videotec s.r.l. Via Friuli, 6 - I-36015 Schio (VI) - Italy Tel. +39 0445 697411 - Fax +39 0445 697414 Email: info@videotec.com www.videotec.com MNVCWASNX_2222_EN...


Need help?
Do you have a question about the WASNX and is the answer not in the manual?
Questions and answers