Advertisement
Quick Links
1. Place the cabinet in a suitable position on the wall, mark the holes to be installed on the wall with a marker, and
then drill the holes in the wall with an electric drill.
2. After the drilling is completed, the expansion plug is inserted into the wall hole, the cabinet is placed, and the
self-tapping screws are inserted into the position where the wall hole is connected with the cabinet. Tighten the screws
with a screwdriver.
Mark the two circles with a marker
The drilling depth is roughly 2.6 inches
(1)
wall hole
expansion plug
(2-1)
Decorative
cover base
screw
(M8*65mm)
①
②
③
Parts list
(2-3)
Serial
number
A
B
Screw into the
decorative cover
C
(2-2)
D
E
F
G
Assembly instructions
BV8002WW090 Installation
The number of people needed for installation:2
Please read the manual carefully before
installing this product. And strictly
follow the installation process
Please take good care of this manual
for your next installation
Note: Before installation, screw all
the screws to 1/2 of the length of
the installation. After all screws
are half screwed in, tighten them all
together.
On a red ribbon are furniture
installation accessories
Quantity
Spare
Shape
Name
required for
quantity
installation
screw
4
(M8*65mm)
4
expansion plug
4
non-slip mat
Bolt decorative
4
cover
TotaL 2 page; page 1
0
0
0
0
Advertisement

Related Manuals for POVISON BV8002WW090


Summary of Contents for POVISON BV8002WW090
- Page 1 1. Place the cabinet in a suitable position on the wall, mark the holes to be installed on the wall with a marker, and then drill the holes in the wall with an electric drill. Assembly instructions BV8002WW090 Installation The number of people needed for installation:2 ①...
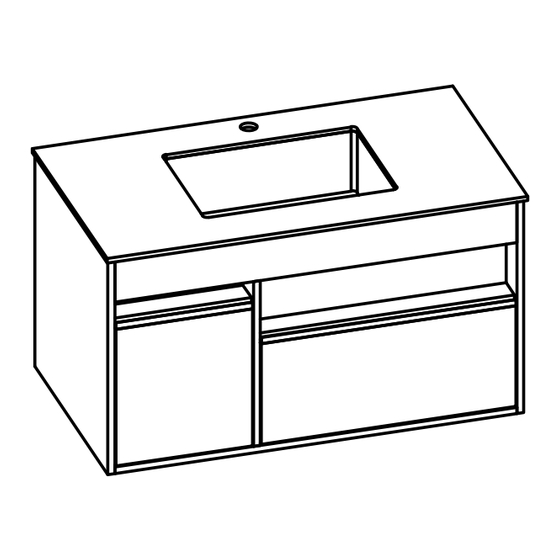
- Page 2 3.Paste the non-slip mat at the four corners, put the rock slab and wash basin, and install the drainer (see the last page for the installation method of the drainer) Assembly instructions BV8002WW090 Installation The number of people needed for installation:2 ①...
- Page 3 How to install the drainer 2.Place the drainer into the drain from above the sink. 3.Screw back the nut from below 1.Remove the nut from the drainer. 4.Install anti-deodorant rubber stoppers 5.Install a sewage pipe Parts list Quantity Seals Serial Spare Shape Name...
Need help?
Do you have a question about the BV8002WW090 and is the answer not in the manual?
Questions and answers