Advertisement
Quick Links
LRA-D1000SA-L
Introduction
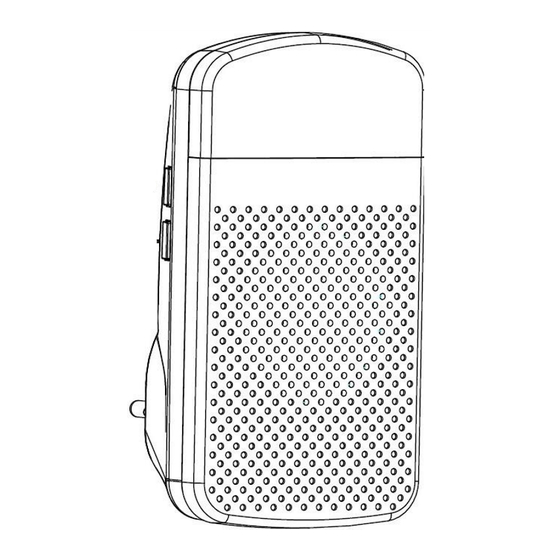
The LRA-D1000S is a wireless door chime comprising two components: the
LRA-PBTXA-L wireless push button (transmitter) and the LRA-DCRXSA-L door
chime receiver.
Helpful Notes
•
These instructions illustrate pairing a push button to the receiver.
The push button is outdoor rated.
•
The push button dimensions: 2.5'' L x 1.2'' W x 4.72'' H
•
Each LRA-DCRXS (receiver) can pair with two wireless transmitters.
•
When triggered (the center push button is pressed), the center halo will
•
illuminate brightly for approximately 2 seconds.
•
The LRA-DCRXS-L has three operational modes: strobe only, sound
only, and strobe + sound (see Figure 2).
•
Assign one (1) of eighteen (18) available melodies to each transmitter
•
Once two (2) transmitters have been paired to a receiver, you cannot add
one unless you delete the existing transmitters from memory.
There is no limit to the number of receivers you can pair with a
•
transmitter.
An LRA transmitter's range (line of sight) to the receiver is 1,000 ft.
•
Push Button Battery Installation:
*This product contains a coin battery that could be dangerous to children. Please review
the warnings regarding the batteries at the end of this manual.
comes with the battery installed. Pull out the plastic tab to activate the battery.
Test the button by pressing the center push.
Replacing the Battery:
1.
Flip over the push button so the back mounting plate faces you.
2.
Use the finger to unlock the lock lever on the back mounting plate.
3.
Rotate the mounting bracket 90 degrees (parallel to the ground).
4.
Separate the mounting bracket from the rest of the unit.
Pair Transmitter to Receiver:
The push button may already be programmed to the receiver. Ensure the battery is
installed and plug the receiver in—test by pushing the push button.
When the LRA-DCRXS-L is in programming mode, a red LED will appear. It is essential
to understand what the LED indicates:
The LRA-PBTXA-L
5.
Using a coin, rotate the battery cover counterclockwise.
6.
Insert a CR2032 battery into the battery compartment provided.
7.
Replace the battery cover. Using a coin, twist it back clockwise to lock it
into place.
8.
Place the back mounting plate back onto the rest of the unit at a 90-
degree angle.
9.
Twist it clockwise until you feel the mounting plate click into place.
•
Fast blinking red LED means both zones are open and will accept a
transmitter.
•
Slow blinking red LED means the first zone is occupied, and only zone
2 will accept a transmitter for programming.
Solid LED means both zones are already occupied. If you are trying to
•
program a transmitter and see the red LED, you need to clear the
memory of the LRA-DCRXS-L.
1.
Ensure the LRA-DCRXS-L is plugged into a standard wall outlet and the
battery is correctly installed in the LRA-PBTXA-L push button.
2.
Press on hold the • learn button (see Figure 2) for three seconds. A red
LED light will blink, indicating the receiver is in pairing mode. If the
light is solid, two transmitters are already paired, and you must clear the
transmitter memory from the receiver.
Advertisement

Related Manuals for Safeguard Supply LRA-D1000SA-L


Summary of Contents for Safeguard Supply LRA-D1000SA-L
- Page 1 Using a coin, rotate the battery cover counterclockwise. Insert a CR2032 battery into the battery compartment provided. LRA-D1000SA-L Replace the battery cover. Using a coin, twist it back clockwise to lock it into place. Introduction Place the back mounting plate back onto the rest of the unit at a 90- degree angle.
- Page 2 Mounting the Push Button: Press the melody selector button to scroll through available melodies. Stop pushing this button when you hear the sound you want the receiver to play when the push button is pressed. Push the center button on the push button. The receiver will play a quick ding sound, notifying the transmitter that it is programmed to the receiver.
- Page 3 ERA-RXPG has been erased. Warranty Safeguard Supply, an LHE, Inc. company, warrants this product to be free of defects in materials and workmanship for a period of one year from the date of purchase. This warranty does not cover damage resulting from accident, abuse, act of God, or improper operation.
Need help?
Do you have a question about the LRA-D1000SA-L and is the answer not in the manual?
Questions and answers