Advertisement
Quick Links
IMPORTANT SAFEGUARDS
When using electrical equipment, basic safety precautions should always be followed
including the following:
READ AND FOLLOW ALL SAFETY
INSTRUCTIONS
1.
This luminaire can only be installed with Cree 120V cans.
2.
Not all existing recessed housings that meet these requirements will be compatible with
the LR6. To ensure compatibility, a test installation should be conducted.
3.
DANGER – RISK OF SHOCK – DISCONNECT POWER BEFORE INSTALLATION
DANGER – RISQUE DE CHOC – COUPER L'ALIMENTATION AVANT
L'INSTALLATION
4.
WARNING – Risk of fire or electric shock. installation requires knowledge of luminaires
electrical systems. If not qualified, do not attempt installation. Product must be installed
in accordance with NEC or your local electrical code. If you are not familiar with these
codes and requirements, contact a qualified electrician.
ATTENTION- Risque d'incendie ou de choc électrique. L'installation exige la
connaissance des systèmes électriques pour luminaires. Si non qualifié, ne tentez
pas d'installation. Ce produit doit être installé conformément à NEC ou votre code
électrique local. Si vous n'êtes pas familier avec ces codes et ces exigences, veuillez
contacter un électricien qualifié.
5.
WARNING – Risk of fire or electric shock. Check the existing wiring for damage before installing. Do not install if existing wires are damaged.
ATTENTION- Risque d'incendie ou de choc électrique. Vérifiez si le câblage existant n'est pas endommagé avant l'installation du kit upgrade LED.
Ne pas installer si des fils sont endommagés.
6.
WARNING – To prevent wiring damage or abrasion, do not expose wires to the edge of sheet metal or any other sharp objects.
ATTENTION - Pour éviter les dégâts de câblage par l'abrasion, ne pas mettre en contact les fils électriques avec des bords de tôle ou d'autres
objets pointus.
7.
WARNING – Risk of fire or electric shock. Install this kit only in the luminaires that have the construction features and dimensions shown in the
photographs and/or drawings.
ATTENTION - Risque d'incendie ou de choc électrique. Installez ce kit seulement dans les luminaires qui ont les caractéristiques de construction et
les dimensions dans les photographies ou les dessins de la page suivante.
8.
Do not make or alter any open holes in an enclosure of wiring or electrical components during kit installation.
Ne pas modifier ou faire de trous dans une boite de câblage ou compartiment électrique lors de l'installation du kit.
S'assurer que les luminaires sont installés selon les spécifications du fabricant.
9.
Installers should not disconnect existing wires from lampholder terminals to make new connections at lampholder terminals. Instead installers
should cut existing lampholder leads away from the lampholder and make new electrical connections to lampholder lead wires by employing
applicable connectors.
Pour l'Installateurs: Ne pas deconnecter les fils au bornier de support de lampe, il faut couper les fils a une bonne distance du support de lampe,
raccorder les fils du support de lampe aux fils d'alimentation en utilisant des connecteurs de fil adequats.
SAVE THESE INSTRUCTIONS FOR FUTURE REFERENCE
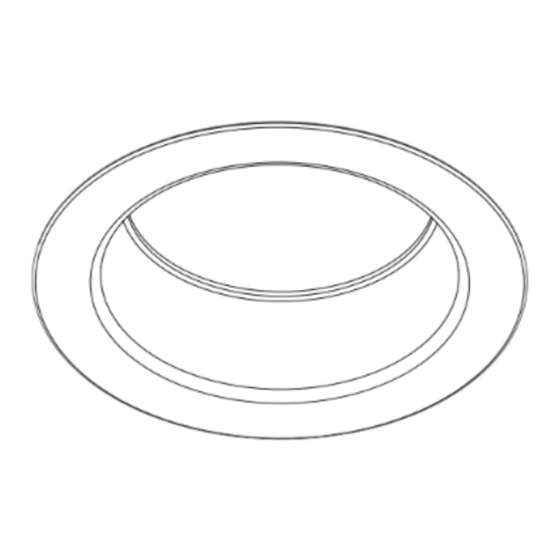
RECESSED HOUSING COMPATIBILITY
• Compatibility of housings may be determined by measurement of the housing as detailed in the above drawing (Figure 1). To ensure compatibility, a test installation should
be completed.
TO INSTALL:
2
1 of 2
3
LR6
INSTALLATION INSTRUCTIONS
INSTRUCTIONS D'INSTALLATION
1
Minimum distance
between edge of
fixture and top of
housing or other
obstruction.
5.75"-6.25"
Diameter Range
STEP 1:
Remove LR6 Fixture from the packaging and rotate
the "Flip Clips" clockwise until they are perpen-
dicular to the cover. See Figure 2.
STEP 2:
Make sure the power is turned off at the source to
the recessed housing(s) that you are installing the
fixture(s) in. If installing into Cree housing, skip to
STEP 7.
STEP 3:
Once power has been turned off, remove existing
trim and CFL, or Incandescent, bulb revealing the
existing socket.
STEP 4:
Locate the socket in your existing recessed
housing and remove any screws that prevent the
socket bracket from being removed. See Figure 3.
Series
™
LED Light Engine
Includes: LR6-120V
6.5"
LPN00285X0001A0_B
Advertisement

Related Manuals for Cree LR6 Series

Summary of Contents for Cree LR6 Series
- Page 1 READ AND FOLLOW ALL SAFETY INSTRUCTIONS Minimum distance This luminaire can only be installed with Cree 120V cans. between edge of Not all existing recessed housings that meet these requirements will be compatible with fixture and top of the LR6.
- Page 2 Cree or its authorized service provider. Remedy: If the Product proves defective during the Warranty Period and the Product return procedures set forth below are followed, Cree will in its sole discretion, as its sole and exclusive obligation under this warranty, refund you the purchase price of the Product, repair the Product or replace the Product without charge, F.O.B.
Need help?
Do you have a question about the LR6 Series and is the answer not in the manual?
Questions and answers