
Related Manuals for SPX Cincinnati Fan LM Series


Summary of Contents for SPX Cincinnati Fan LM Series
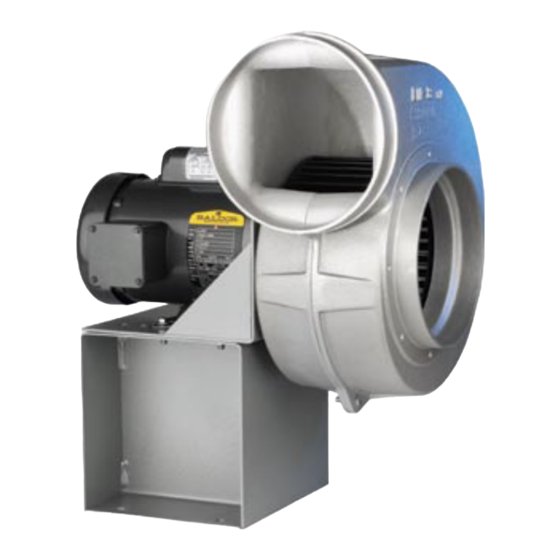
- Page 1 CINCINNATI FAN u s e r m a n u a l Wheel Replacement Models LM - LMF I N ST R U CT I O N S A N D P R O C E D U R E S CF-I PLM-24 ISSUED 4/2024 READ AND UNDERSTAND THIS MANUAL PRIOR TO OPERATING OR SERVICING THIS PRODUCT LM Blower...
- Page 2 instructions The instructions and procedures in this manual should only be performed Warning by authorized personnel with mechanical machine training or experience. Proper eyewear safety and all applicable OSHA safety regulations must be utilized while performing the procedures contained herein. Before starting any of the procedures contained herein, power to the motor must be disabled using OSHA lock-out/tag-out procedures.
- Page 3 instructions The set screws now must be tightened to the proper torque as shown in Caution Table 1. Do Not use an air driven tool such as an impact wrench or pneumatic wrench. These tools could weaken or strip the threads in the wheel.
- Page 4 instructions 2 Disconnect any duct work or hose connections from the inlet and/or dis- charge of the blower housing. If necessary, disconnect the blower base and move the complete blower, motor and base assembly to a work bench. 3 Loosen and remove all the bolts, washers and nuts around the perimeter of the blower housing that hold the two housing halves together.
-
Page 5: Replacing Wheel
instructions 10 Re-attach the inlet side of the housing using the same hardware. Tighten all the hardware. 11 Carefully reach into the blower inlet and spin the wheel by hand to make sure it is not rubbing anywhere inside the blower housing and that it rotates freely. - Page 6 instructions 5 Remove the wheel from the shaft. For LM-10 model, remove the wheel and then proceed to Step 7. 6 The sealant that was initially applied between the two housing halves must be removed. Using gloves, apply a degreaser such as Naphtha or Toluene to remove the silicone.
- Page 7 instructions 13 After tightening the set screws on LM-10 model, reinstall the inlet collar and then proceed to Step 16. 14 Apply a fresh bead of silicone sealant to the mating flange of the motor side of the housing. On housing sizes of some models there is a tongue surface on one side Note of the housing and groove surface on the other side of the housing.
-
Page 8: Wheel Replacement
U S E R M A N UA L SPX ENGINEERED AIR MOVEMENT CF-I PLM-24 ISSUED 4/2024 ©2024 SPX ENGINEERED AIR MOVEMENT ALL RIGHTS RESERVED 7697 SNIDER ROAD In the interest of technological progress, all products are subject to design...
Need help?
Do you have a question about the Cincinnati Fan LM Series and is the answer not in the manual?
Questions and answers