Advertisement
Quick Links
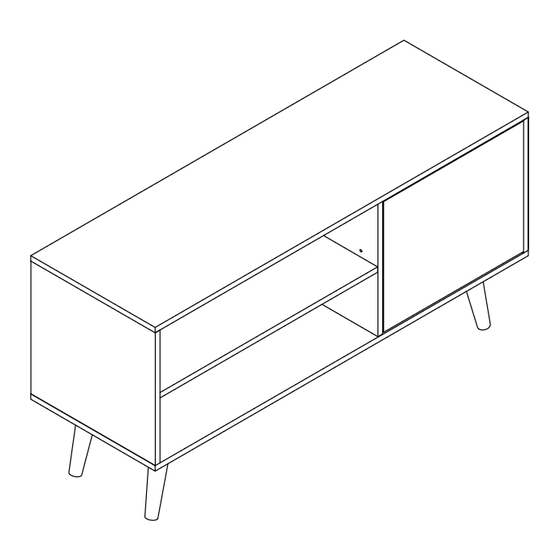
ASSEMBLY INSTRUCTION
TV001
MODEL#
Thank you for purchasing the quality product.Be sure to check all packing material carefully for small parts which may
have come loose inside the carton during shipment.Separate, identify and count all parts and metal hardware.Compare
with all parts list to be sure all parts are present.if any part(s) are missing or damaged, please contact your local furniture
dealer.For efficient and speedy service, please indicate the model number and code letter of part(s) needed.
***Do not fully tighten screws until fully assembled***
Attention:
PAGE 1/7
Advertisement

Related Manuals for Shintenchi TV001


Summary of Contents for Shintenchi TV001
- Page 1 ASSEMBLY INSTRUCTION TV001 MODEL# Thank you for purchasing the quality product.Be sure to check all packing material carefully for small parts which may have come loose inside the carton during shipment.Separate, identify and count all parts and metal hardware.Compare with all parts list to be sure all parts are present.if any part(s) are missing or damaged, please contact your local furniture dealer.For efficient and speedy service, please indicate the model number and code letter of part(s) needed.
-
Page 2: General Assembly Guidelines
General Assembly Guidelines Ensure that all parts and hardware are available before beginning assembly. Follow each step carefully to ensure the proper assembly of this product. III. Two people are recommended for ease in the assembly of this product. The three main types of hardware used to assemble this product are: wood dowels, screws and bolts. - Page 3 COMPONENT PARTS Cam bolt Cam lock Wooden tenon 34 pcs Screw Lamellar grain Iron sheet 70x68mm 85x47x15mm Bouncer Screw gasket Large curved hinge The back button 14x14x8mm Screw Philips head screwdriver Philips head screwdriver required for assembly (not included) The hardware quantities listed above are required for proper assembly. Some extra hardware may also have been included.
- Page 4 G x 1 D x 2 Y x 1 Step 1 A x 6 B x 6 C x 6 Y x 1 Step 2 PAGE 4/7...
- Page 5 A x 6 B x 6 C x 6 Y x 1 Step 3 F x 4 D x 20 Y x 1 Step 4 PAGE 5/7...
- Page 6 Step 5 K x 6 L x 6 Y x 1 Step 6 PAGE 6/7...
- Page 7 E x 4 Step 7 J x 2 D x 12 Y x 1 Step 8 I x 1 H x 1 DOOR SIDE PANEL DOOR SIDE PANEL PAGE 7/7...
Need help?
Do you have a question about the TV001 and is the answer not in the manual?
Questions and answers