Advertisement
Quick Links
Advertisement

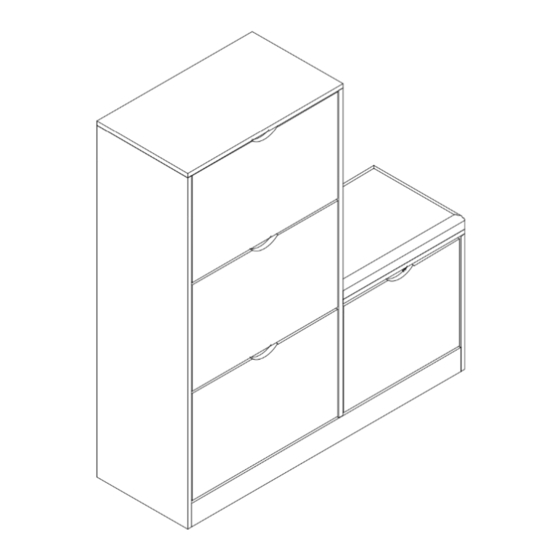
Summary of Contents for Otto WF319215AAA
- Page 1 SKU WF319215AAA& WF319216AAA Assembly Instruction Montageanleitung 2 PERS 1 h 30 min...
- Page 2 Our product will be delivered to you in 2 packages. The delivery times of these 2 packages may differ, please be patient and thank you for your understanding. Unser Produkt wird Ihnen in 2 Paketen geliefert. Die lieferzeiten dieser 2 Pakete Können abweichen, bitte haben Sie etwas Geduld und vielen Dank für Ihr Verst ändnis.
- Page 3 WARNING Serious or fatal injury may occur from unexpected assembly or use. 1. During the assembly process, keep all parts away from babies or children. 2. Always securely fix this product to the wall. Make sure the wall area to be drilled is free from hidden electrical wires, water and gas pipes.
- Page 4 ADVERTENCIA Puede producirse lesiones graves o fatales debido a un montaje o uso inesperado. 1.Durante el proceso de montaje, mantenga todas las piezas alejadas de bebés o niños. 2.Siempre fije este producto de forma segura a la pared. Asegúrese de que el área de la pared donde se realizará...
- Page 7 HARDWARE WF319215AAA 1 x 1 3 x 1 2 x 1 4 x 1 6 x 1 10 x 2 14 x 1 11 x 3 15 x 1 WF319216AAA 9 x 1 8 x 1 7 x 3 12 x 3...
- Page 8 Step 1 Schritt 1 G x4 Step 2 Schritt 2 B x15...
- Page 9 Step 3 Schritt 3 180° 180° B x5 G x4...
- Page 10 Step 4 Schritt 4 Ø 6x30mm B x7 Step 5 Schritt 5 Ø 6x30mm...
- Page 11 Step 6 Schritt 6 Step 7 Schritt 7...
- Page 12 Step 8 Schritt 8 Step 9 Schritt 9 Ø 4x40mm...
- Page 13 Step 10 Schritt 10 Step 11 Schritt 11 A x4 C x4 6x30mm Ø...
- Page 14 Step 12 Schritt 12 4x12mm Ø Step 13 Schritt 13 4x12mm Ø...
- Page 15 Step 14 Schritt 14 4x12mm Ø Step 15 Schritt 15 4x12mm Ø...
- Page 16 Step 16 Schritt 16 Wall Please mark the location on the wall with a pencil, the punch the hole. Bitte markieren Sie die Stelle an der Wand mit einem Bleistift und machen Sie dann ein Loch. Step 17 Schritt 17 4x40mm Ø...
- Page 17 Step 18 Schritt 18 Ø 4x12mm Step 19 Schritt 19 4x12mm Ø...
- Page 18 Step 20 Schritt 20 Ø 4x12mm Step 21 Schritt 21 4x12mm Ø...
- Page 19 Step 22 Schritt 22 Ø 4x12mm Step 23 Schritt 23 4x12mm Ø...
- Page 20 Step 24 Schritt 24 4x12mm Ø Step 25 Schritt 25 Ø 4x12mm...
- Page 21 Step 26 Schritt 26 Step 27 Schritt 27...


Need help?
Do you have a question about the WF319215AAA and is the answer not in the manual?
Questions and answers