
Related Manuals for Aerofit AF-781

Summary of Contents for Aerofit AF-781
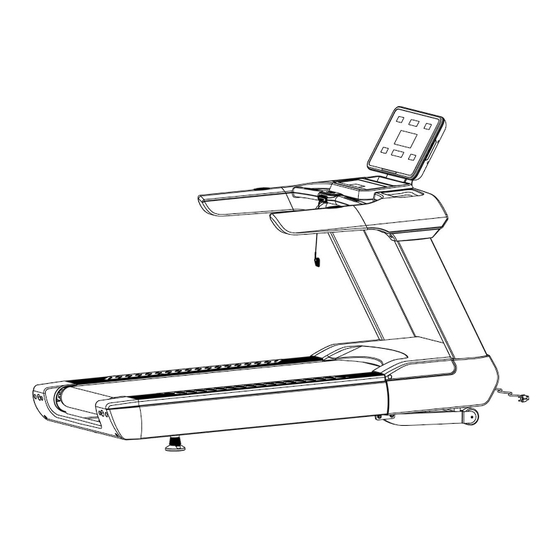
- Page 1 OWNER’S MANUAL MOTORIZED TREADMILL PLEASE READ THE INSTRUCTIONS CAREFULLY BEFORE ASSEMBLY AND USING THE TREADMILL KEEP THE MANUAL FOR FUTURE REFERENCE.
- Page 2 WARNING ----When using this treadmill, keep attaching the safety key rope to your clothes. ----When you are running, keep your hands swinging naturally, your eyes staring frontward and never look down at your feet. ----Increase the speed step by step when running. ----When emergency happens, take away the “safety key”...
-
Page 3: Important Safety Precautions
IMPORTANT SAFETY PRECAUTIONS 1. Plug the power cord of the treadmill directly into a dedicated grounded circuit. This product must be grounded. If it has breakdown, grounding provides a path of least resistance for electric current to reduce the risk of electric shock. 2. -
Page 4: Assembly Steps
17. If the supply cord is damaged, it must be replaced by the manufacturer, its service agent or similarly qualified persons in order to avoid a hazard. 18. Put your feet on the side rail before using the treadmill, and always attach the safety key rope to your clothing. - Page 5 STEP 3: 1. Insert the upright tube cover (29L/R) into the upright tube (2L/R); 2. Connect the computer upper wire (84) and computer connecting wire (85); 3.lock the computer frame(3)on the upright tube(2L/R)with the inner hexagonal head bolts (46)、internal serrated locking washer(72); 4.
- Page 6 STEP 4: 1. As picture 1 shown, connect the wires of panel bracket (4) and computer frame (3) (Lines of the same number are joined together); 2.lock the panel bracket(4)on the computer frame(3)with inner hexagonal head bolts(48)、standard spring washer(79)and standard plain washer(75); 3.attach the computer panel connecting cover(32)to the computer panel lower cover(30)by using cross recessed pan head self tapping screw(62).
- Page 7 STEP 5: 1.fasten the frame side tube cover(20L/R)on each end of the main frame(1)and adjust the right hole site, and then lock them with cross grooved washer head screw(54)、cross recessed self tapping screw with padded head(61)and cross recessed pan head self tapping screw(62). - 6 -...
- Page 8 STEP 6: 1.install the motor cover(18)on the main frame(1),adjust the right hole site, and then lock it tightly by using cross grooved washer head screw(55); 2. Insert the end of power line (90) into the power socket of main frame (1). - 7 -...
-
Page 9: Grounding Methods
GROUNDING METHODS This product must be grounded. If it should malfunction or breakdown, grounding provides a path of least resistance for electric current to reduce the risk of electric shock. This product is equipped with a cord having an equipment-grounding conductor and a grounding plug. -
Page 10: Window Display
OPERATION INSTRUCTIONS 1. Window display 1. :display speed; 2. :display time; :display distance; :display incline; 4. :display calories and steps, when it lit,display calories; 5. when it lit,display steps; :display program and heart rate, 6. when it lit,display the name of program; when it lit,display heart rate;... -
Page 11: Button Instruction
7. indicator light:when it lit,the system is refueling automatically; indicator light(optional) :when it lit,the system is connected to bluetooth 9. The indicator lights of handrail and rear cap: Used to indicate the running state of the treadmill, when the light is green,the treadmill is standby mode;when the treadmill is running state, the light is red 2. -
Page 12: Range Of Values
accurate heart rate. Please stand on the treadmill and test it after the machine is stop, and the time no less than 30 seconds .Display range:50-200 times/ min. This data is for reference only and cannot be used as medical data. 5. -
Page 13: User Program
incline speed incline speed incline speed incline speed incline speed incline speed incline 7. User program In addition to 18 built-in programs, the treadmill also has 3 customized programs to support the customized setting based on the user’s specific situation: U-1, U-2 and U-3. 1、Settings of user programs::... -
Page 14: Power Saving Mode
B: If the user’s heart rate is lower than target heart rate by 30 times/min, then speed increases by 2 km/h C: if such a discrepancy is within 1-29 times/min, then speed increases by 1 km/h D: Vice versa, if the user’s heart rate is higher than target heart rate, the speed decreases and the same rule applies E:During the following circumstances, the treadmill will run at 1km/h for 15 sec and then shut down automatically;... - Page 15 Fan fault power voltage below 185V Make sure the voltage in the right Low-voltage protection range power voltage normal Incline motor correction Incline motor correction failure Re-check incline motor after power failure or error Inverter connection loosed Check the connection Inverter broken Change inverter and re-check it Incline motor broken...
-
Page 16: Exercise Instructions
EXERCISE INSTRUCTIONS 1. The Warm Up Phase This stage helps get the blood flowing around the body and the muscles working properly. It will also reduce the risk of cramp and muscle injury. It is advisable to do a few stretching exercises as shown below. -
Page 17: Maintenance Instructions
MAINTENANCE INSTRUCTIONS WALKING BELT CENTERING AND TENSION ADJUSTMENT DO NOT OVERTIGHTEN the walking belt. This may cause reduced motor performance and excessive roller wear. TO CENTER WALKING BELT: ● Place treadmill on a level surface ● Run treadmill at approximately 3.5 mph ●... - Page 18 WARNING: ALWAYS UNPLUG THE TREADMILL FROM THE ELECTRICAL OUTLET BEFORE CLEANING OR SERVICING THE UNIT. CLEANING General cleaning or the unit will greatly prolong the treadmill. Keep treadmill clean by dusting regularly. Be sure to clean the exposed part of the deck on either side of the walking belt and also the side rails. This reduces the build up of foreign material underneath the walking belt.
-
Page 19: Exploded Drawing
EXPLODED DRAWING - 18 -... -
Page 20: Parts List
PARTS LIST - 19 -... - Page 21 Part Part Description Description Main frame hexagon socket cap screws M10*55 2L/R Upright tube 1 pr. Cross recessed pan head screw M6*15 Computer frame Cross recessed pan head screw M6*20 Cross grooved washer head screw M5*8 Panel bracket Cross grooved washer head screw Incline frame M5*16 Running board clamp...
- Page 22 Standard spring washer Φ6*1.6 Computer panel lower cover Standard spring washer Φ5 Computer panel Computer panel connecting pinboard cover Silicon cushion Short-cut key Running board Computer upper wire Running belt Computer connecting wire Running board locating part Computer lower wire Belt Ac motor 38L/...
Need help?
Do you have a question about the AF-781 and is the answer not in the manual?
Questions and answers