
Subscribe to Our Youtube Channel
Related Manuals for Brother MB6002B


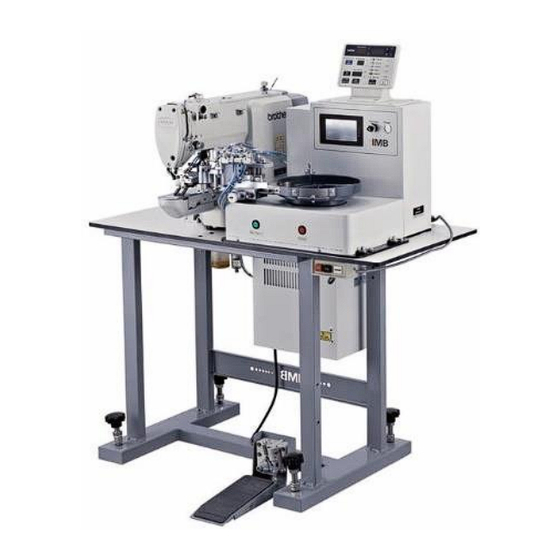
Summary of Contents for Brother MB6002B
- Page 1 MB6002B Instruction Manual CONFIDENTIAL © 2019CHANGZHOU ZHIGU SEWING MACHINE TECHNOLOGY CO.,LTD...
- Page 2 IMB STEP 1: to replace brother original button clamp with IMB button clamp Rmove brother original button clamp and replace it with IMB button clamp Fix button clamp from backside with screw to be sure smoothly movement up/down , adjust button position after clamp fixing.
- Page 3 IMB Button position adjusting Adjust button clamp position through above red circled M5 screw to be sure needle tip always match button hole center in each single stitch CONFIDENTIAL © 2019CHANGZHOU ZHIGU SEWING MACHINE TECHNOLOGY CO.,LTD...
- Page 4 IMB Button feeder position setting Follow above yellow arrow showing sequence to set button feeder position with machine head, allowed button feeder position difference should be within -8mm \+ 8mm CONFIDENTIAL © 2019CHANGZHOU ZHIGU SEWING MACHINE TECHNOLOGY CO.,LTD...
- Page 5 IMB To Install sensor X6. Connect air pipe Y5A,Y5B to desired cylinder as upper left picture shown. Fix sensor X6 to button clamp cylinder with screw as upper right picture shown. CONFIDENTIAL © 2019CHANGZHOU ZHIGU SEWING MACHINE TECHNOLOGY CO.,LTD...
- Page 6 IMB Cable to be used to connect machine head and IMB button feeder button clamp cylinder safety signal cable to be Button feeder pipe Y5A,Y5B connected with pedal main air pipe send sensor X5 cable(No need to connect ,it will give error if button size change everytime.) 220V power...
- Page 7 IMB Cable threading demo Following above way to do cable threading, then install black sensor as above demo showing ,black sensor is to detect thread trimming movement ,thus ,should be installed under thread trimming level bar to detect level bar each movement then to control button feeding &...
- Page 8 IMB Safety cable connection with pedal cable demo (This step is optional ,better not connect.) Take BE-438H as example: Remove port P8 connected cable ,and find white thin cable cut into 2, then joint white cable 2 sides with safety cable regardless of plus or minus, then put it back with P8 port.
- Page 9 IMB Touch screen introduction Touch screen panel introduction: 1、power on page 2、menu 3、counter 4、function option 5、input/output signal 6、parameter setting 7、feeding test CONFIDENTIAL © 2019CHANGZHOU ZHIGU SEWING MACHINE TECHNOLOGY CO.,LTD...
- Page 10 Sensor X2 setting Function of X2: error E01 will come out while there is no button in above red marked position , and machine will stop , in the meanwhile sensor X2 light will be in ON status ,while no button. X2 position setting requirement: IF button there , X2 sensor light should be ON (Related error E01).
- Page 11 IMB Sensor X3 position setting Function of sensor X3: to detect if button claw catch button successfully or not . X3 position setting requirement: IF button being caught , X3 sensor light should be ON IF button not being there , X3 sensor light should be OFF. (Related error E02). X3 timing setting requirement: while rotating cylinder going down to fix button into button claw pin, button claw will go to upper position to match button hole ,during this time, sensor X3 light shoud be just in ON status , if sensor light too much early or later in ON status , Error E02 will come out.
- Page 12 IMB Sensor X7 position setting Sensor X7 : to limit button out stroke position so that button will not go outside more then drop down. Setting requirement:there should be 0.5mm gap between button edge and block pin. X7 sensor light should be ON when cylinder pin comes out .
- Page 13 IMB Sensor X4 position setting Sensor X4 : is to deliver button to button clamp center , when this cylinder pin in most out position sensor X4 light should be ON , if sensor light not in on status , button claw won't reture back for next feeding cycle, button claw will be stuck in button clamp position CONFIDENTIAL ©...
- Page 14 IMB Sensor X5 position setting Sensor X5: is to detect if button claw cylinder return back to desired position. sensor X5 light should be ON after button claw controlled cylinder return back , if sensor position not setting properly , Button feeder will not go for next step even button claw reture back . CONFIDENTIAL ©...
- Page 15 Error shooting Error1: No Button Error3: Feeding Failure Solutions: Solutions 1.Check the position of the magnetically 1. Check the position of button-free magnetically controlled switch X2. controlled switch. 2. Check the position of auto-feeding photoelectric switch X1. 2.Check the PLC input terminal X2. 3.
Need help?
Do you have a question about the MB6002B and is the answer not in the manual?
Questions and answers