Advertisement
Advertisement
Table of Contents

Related Manuals for AguaStella AS1010


Summary of Contents for AguaStella AS1010
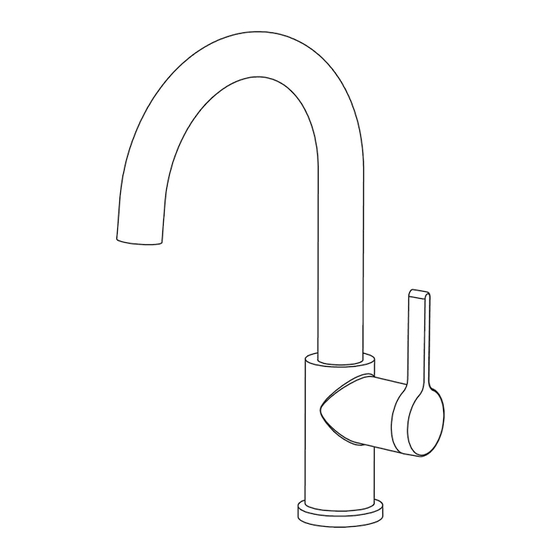
- Page 1 Installation Instructions AS1010 Bar Sink/Prep Sink Faucet...
- Page 2 Features 1. Sedal ceramic disc cartridge: Tested with 500,000 cycles 2. Metal construction :Spout: Stainless Steel ; Body: Brass; Handle: Zinc Alloy 3. Spout swivels 360° for complete sink access 4. Neoperl aerator: Save water and reduce energy costs 5. Neoperl Softpex connecting hoses with SPX inliner: Length: 23-3/5";...
-
Page 3: Tools Needed
Turn on the hot and cold knobs on the existing faucet to release the built-up pressure. ·Always wear safe glasses when cutting or soldering water supply lines. ·Keep the drain covered to avoid losing parts. · AguaStella is not liable for any damage to the product, countertop or sink due to improper installation. Installation 1. - Page 4 2. Place the the faucet body into the faucet hole of the deck/sink (Figure 3). A standard 1-3/8" hole is required for this faucet. Figure 3 3. From underneath the deck/sink, slide the rubber washer followed by the metal washer all the way up to the threaded shank (Figure 4).
-
Page 5: Troubleshooting Guide
Trouble-Shooting Guide Issue Cause Solution Faucet cannot be secured The threaded shank is not Screw the threaded shank tight to the counter with tight in the faucet’s body. tight in the faucet’s body the black lock nut. with your hand. Water is leaking from inside The 3 hoses inside the faucet’s Screw the 3 hoses tight to the of the faucet’s body. -
Page 6: Product Information
Product Information Page 5...
Need help?
Do you have a question about the AS1010 and is the answer not in the manual?
Questions and answers