Table of Contents
Advertisement
Quick Links
OWNER'S MANUAL
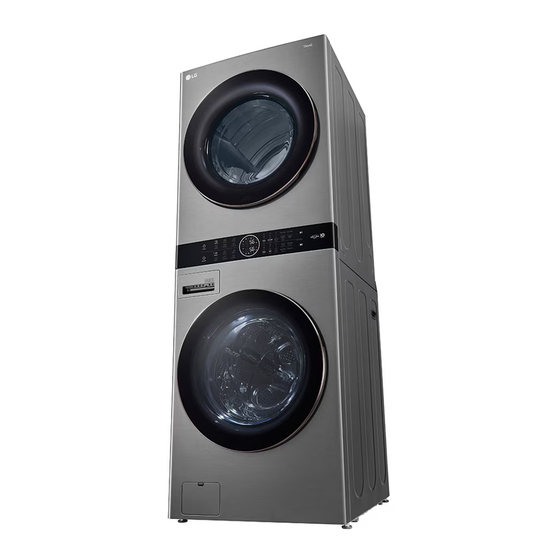
WASHTOWER
Before beginning installation, read these instructions
carefully. This will simplify installation and ensure that the
product is installed correctly and safely. Leave these
instructions near the product after installation for future
reference.
ENGLISH
WK25**S6 / WK25**S6E
MFL71983226
Rev.00_013024
Copyright © 2024 LG Electronics Inc. All Rights Reserved.
Scan the QR code to see the manual.
www.lg.com
Advertisement
Table of Contents


Need help?
Do you have a question about the WASHTOWER WK25 S6 Series and is the answer not in the manual?
Questions and answers
Es normal que la secadora le quede agua en la parte interna
Yes, it is normal for the LG WASHTOWER WK25 S6 Series dryer to have water inside during the Steam cycle. Condensation can form on the inside of the door, and some water may drip from the nozzle or door.
This answer is automatically generated