
Subscribe to Our Youtube Channel
Related Manuals for Safavieh Furniture Enid MED9639


Summary of Contents for Safavieh Furniture Enid MED9639
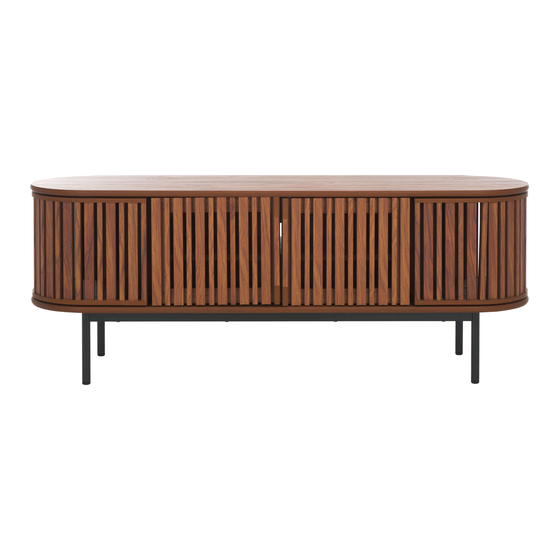
- Page 1 NOTICE email customersupport@safavieh.com Model# MED9639 Product Dimensions: 60”Wx15”Dx23”H Part List WARNING : WEIGHT CAPACITY: 85 LBS. Warning : Do not stand on media stand. Warning : Do not over torque bolts.
- Page 2 Hardware List HW1x12 HW2x16 HW3x8 HW4x20 HW5x10 Ø 6 x 35 mm Ø 15 mm Ø 8 x 30 mm Ø 6 x 30 mm HW6x4 HW7x4 HW8x4 HW9x4 HW10x2 M 3.5 x 13 mm M 7 x 50 mm HW11x2 HW12x2 HW13x2...
- Page 3 Piece Piece Top Board CamLock Big Top Swivel Board 1 HW10 HW11 Foam Pad HW12 Pivot Hinge Bo�om Set Back Board HW13 Pivot Hinge Top HW14 Corner Brace Bo�om Swivel Board 1 HW15 Plate for Push to Open Latch Top Swivel Board 2 HW16 Bo�om Swivel Board 2 HW17...
- Page 4 customersupport@safavieh.com STEP1: Insert Cambolt Long (HW1) into Top Board (A). Insert Dowel Big STEP2: Insert Push Tool (HW22) secure with Screw M3.5x13mm (HW6) (HW3) into Center Boards (C&D). Insert Dowel Small (HW4) into into Top Board (A). Bar Side 1 (G). Laminated FRONT Laminated...
- Page 5 customersupport@safavieh.com STEP6: Install the prepared Leg (HW28). Ensure the Corner Brace (HW14) hooks STEP5: I nsert Support Corner Brace (HW23) and place it inside Leg tube (HW28). Insert onto the hole of Support Metal Leg (HW26) and (HW27). Screw in just enough Screw (H18) into the hole of Corner Brace (HW14).
- Page 6 customersupport@safavieh.com FRONT STEP9: Insert Cambolt Short (HW16) into Bo�om Swivel Boards (M&O). STEP10: Now let’s build the le� hand swivel case. Insert Bar Side 1 (G) Carefully see the posi�on shown with arrow. into Bo�om Swivel Board 1 (M). Insert the Camlock Big (HW2) then �ghten using a screwdriver place the Screw Cap (HW24) over the camlock.
- Page 7 customersupport@safavieh.com Top View PULL EDGING PULL EDGING STEP13: A�ach Top Swivels (F&N) into assembled body Carefully see posi�on. Insert the Camlock Big (HW2) then �ghten using a screwdriver place the Screw Cap (HW24) over the screws as figure. STEP14: Install Bar Sides 2&3 (H&L) in altera�ng sequence. You can install the le�...
- Page 8 customersupport@safavieh.com STEP16: Place Swivel part (HW29) on Top Swivel Board, please align the center hole posi�on. A�ach Top Board (A) over the assembled unit, secure Camlock Big (HW2) then �ghten using a screwdriver. The Screw STEP15: A�ach Back Board (K), secure with Camlock Small (HW16) then Cap (HW24) over the camlock as shown.
- Page 9 customersupport@safavieh.com STEP19: Insert Shelf Pin (HW7) into the holes on Center Boards, on the desired level. Then place the Adjustable Shelf (E) by inser�ng the hole STEP20: Insert Pivot Hinge Bo�om Set (HW12) into Bo�om Board on the shelf into the shelf support. as shown.
- Page 10 customersupport@safavieh.com STEP23...
- Page 11 TIPPING RESTRAINTS KIT INSTALLATION GUIDANCE Different wall materials require unique wall fasteners. The wall plugs (AA2) and screws (AA3) are designed for fixing to concrete walls only. Please consult your local hardware store to ensure you are using the correct hardware for your wall type. AA1 x 2 AA2 x 4 AA3 x 4...
Need help?
Do you have a question about the Enid MED9639 and is the answer not in the manual?
Questions and answers