Advertisement
OSCILLATING WALL FAN
Model #52022
MULEPRODUCTS.COM
Thank you for purchasing this MULE PRODUCT. We know you will
enjoy the easy-to-follow instructions. If you have any questions,
problems, or missing parts, please visit MULEPRODUCTS.COM
or call customer service at 1-877-289-8692, 8 a.m. - 5 p.m. Central
Time, Monday - Friday.
Advertisement
Table of Contents

Related Manuals for MULE 52022

Summary of Contents for MULE 52022
- Page 1 OSCILLATING WALL FAN Model #52022 MULEPRODUCTS.COM Thank you for purchasing this MULE PRODUCT. We know you will enjoy the easy-to-follow instructions. If you have any questions, problems, or missing parts, please visit MULEPRODUCTS.COM or call customer service at 1-877-289-8692, 8 a.m. - 5 p.m. Central...
-
Page 2: Package Contents
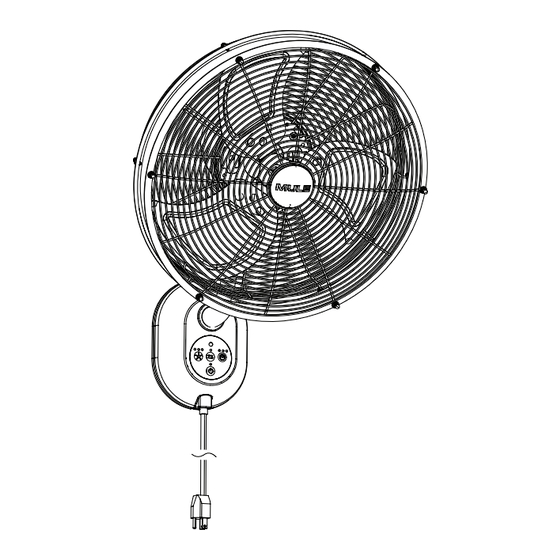
PACKAGE CONTENTS Fan Assembly Fan Control Plug Remote Pack Cord Clip (x6) HARDWARE CONTENTS Bracket Screw (x2) +2 extra TOOLS REQUIRED Tools required for assembly: Phillips screwdriver, level, drill, 1/8” drill bit, stud finder and pencil. - Page 3 ASSEMBLY INSTRUCTIONS Level Mounting Bracket Fan Base Pencil Mounting Bracket Mounting Screw Stud Remove the mounting screw from the underside of the fan Use a stud finder (sold separately) to locate the stud to which base. Then remove the mounting bracket. the fan will be mounted.
- Page 4 ASSEMBLY INSTRUCTIONS Mounting Screw Replace the previously removed mounting screw into the fan Plug the fan’s power cord into a 120 V grounded outlet. base to secure the base to the mounting bracket. Use cord clips to secure the fan’s power cord to wall in a path (Optional) Cord clips have a round hole to accommodate toward the power outlet.
- Page 5 ASSEMBLY INSTRUCTIONS Battery Battery Batteries Cover Compartment Secure each cord clip to the ceiling. Then insert the cord into Use screwdriver, if necessary, to remove the battery cover each clip and press the clip closed to secure the cord. Note: from the back of the remote.
-
Page 6: Maintenance
OPERATING INSTRUCTIONS Press buttons on fan base and/or remote to control fan functions. Lights over each button indicate the function is activated. Press the power button to turn fan off/on. Light over power icon represents fan off/on. Press button to adjust fan speed. Lights over fan icon represent fan speed. Fan Off, Low Speed, Medium Speed,... -
Page 7: Troubleshooting
TROUBLESHOOTING Fan does not work - A) Ensure the main power cord is plugged into a 120V receptable. B) Replace fuse in plug (see MAINTENANCE, page 6). SAFETY INFORMATION CAUTION: • Read and follow all instructions before operating fan. • Do not use fan if any part is damaged or missing. •...
Need help?
Do you have a question about the 52022 and is the answer not in the manual?
Questions and answers