
Related Manuals for Allstand SM1256DZUSBR-brown 001

Summary of Contents for Allstand SM1256DZUSBR-brown 001
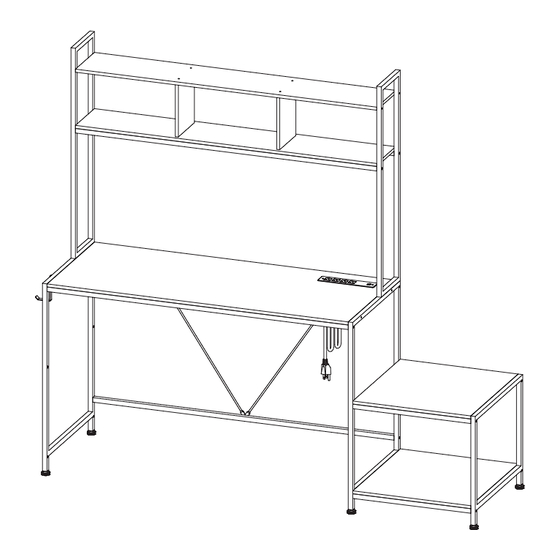
- Page 1 One Line Computer Desk Instruction Manual Note: There is also a more detailed installation video on the product detail page on Amazon. E-mail: support@allstand.net Made in China...
-
Page 2: Matters Needing Attention
MATTERS NEEDING ATTENTION You need a helper to finish the installation. Don't over-tighten the screws until all the parts are in place. Failure to follow the instructions may cause misalignment of the screws. DO NOT let children climb the product. To avoid suffocation danger, keep small parts and package materials away from children. -
Page 3: Part List
PART LIST... - Page 4 PART LIST x2+1...
- Page 5 PART LIST x24 + 2 x12 + 1 x18 + 2 x5 + 1 x2 + 1...
- Page 6 ASSEMBLY IN STRUCTION I ASSEMBLY IN STRUCTION ASSEMLYIN INSTRUCTION (Note: There is also a more detailed installation video on the product detail page on Amazon.) To better adapt to your home layout and environment, we provide 2 installation methods for you to choose from.
- Page 7 ASSEMLYIN INSTRUCTION Note: Don’t over-tighten all the screws until all the parts are in place.
- Page 8 ASSEMLYIN INSTRUCTION...
- Page 9 ASSEMLYIN INSTRUCTION...
- Page 10 ASSEMLYIN INSTRUCTION...
- Page 11 ASSEMLYIN INSTRUCTION...
- Page 12 ASSEMLYIN INSTRUCTION...
- Page 13 ASSEMLYIN INSTRUCTION...
- Page 14 ASSEMLYIN INSTRUCTION...
- Page 15 ASSEMLYIN INSTRUCTION Note: When pasting the LED strip in the position as shown, peel off the double-sided tape. Don't tear off the bottom side of the tape. After pasting the tail, you can use the cable ties to organize the wires.
- Page 16 ASSEMLYIN INSTRUCTION Note: Please power on the LED strip, remove the plastic piece inside the remote, and control the strip.
- Page 17 ASSEMLYIN INSTRUCTION Note: Don’t over-tighten all the screws until all the parts are in place.
- Page 18 ASSEMLYIN INSTRUCTION...
- Page 19 ASSEMLYIN INSTRUCTION...
- Page 20 ASSEMLYIN INSTRUCTION...
- Page 21 ASSEMLYIN INSTRUCTION...
- Page 22 ASSEMLYIN INSTRUCTION...
- Page 23 ASSEMLYIN INSTRUCTION...
- Page 24 ASSEMLYIN INSTRUCTION...
- Page 25 ASSEMLYIN INSTRUCTION Note: When pasting the LED strip in the position as shown, peel off the double-sided tape. Don't tear off the bottom side of the tape. After pasting the tail, you can use the cable ties to organize the wires.
- Page 26 ASSEMLYIN INSTRUCTION Note: Please power on the LED strip, remove the plastic piece inside the remote, and control the strip.
-
Page 27: Specification
ASSEMBLY INSTRUCTION I ASSEMBLY INSTRUCTION Turn On/Standby Dynamic Mode/ Speed Adjust Direct Color Select Static Color/ Brightness Adjust Specification Dynamic Mode 22 modes Static Color 20 colors PWM Grade 256 levels Brightness Grade 5 levels Speed Grade 10 levels Demo Mode Direct Color Select Output Color Switchable Yes, 6 options...
Need help?
Do you have a question about the SM1256DZUSBR-brown 001 and is the answer not in the manual?
Questions and answers