Table of Contents
Advertisement
Quick Links
PORTABLE AIR CONDITIONER
PAG Series
USER MANUAL
For models:
PAG-Y11KC0730C
PAG-Y14KCO790C
Thank you for selecting our quality appliance.
Please be sure to read this user manual carefully before using.
Any question, please contact the professional service for help.
IMPORTANT: The remote control and hardware
necessary to use your new product is included inside
the box. You will find them inserted in the Styrofoam
included in the box.
V2023-02
Advertisement
Table of Contents

Related Manuals for Global Commander PAG Series

Summary of Contents for Global Commander PAG Series
- Page 1 PORTABLE AIR CONDITIONER PAG Series USER MANUAL For models: PAG-Y11KC0730C PAG-Y14KCO790C Thank you for selecting our quality appliance. Please be sure to read this user manual carefully before using. Any question, please contact the professional service for help. IMPORTANT: The remote control and hardware necessary to use your new product is included inside the box.
-
Page 2: Table Of Contents
TABLE OF CONTENTS Important safeguards ......................3 Parts name ..........................5 Installation instructions ......................7 Description of the display screen ..................10 Remote control manual......................13 Tips for correct use .........................16 Water drainage method ......................17 Cleaning ..........................18 Start-end of season operations .....................18 Troubleshooting ........................19... -
Page 3: Important Safeguards
IMPORTANT SAFEGUARDS This appliance is for household use only. • Disconnect the appliance from its power source during service and when replacing parts and cleaning. • Please note: Check the nameplate for the type of refrigerant gas used in your appliance. •... - Page 4 Electrical connections Before plugging the appliance into the mains socket, check that: • The mains power supply corresponds to the value indicated on the rating plate on the back of the appliance. • The power socket and electrical circuit are adequate for the appliance. •...
-
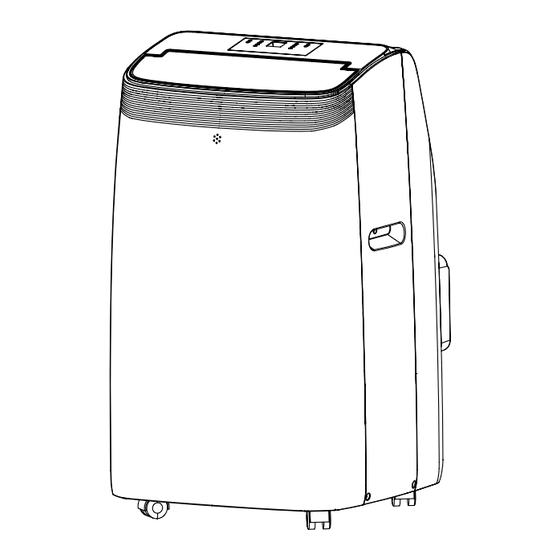
Page 5: Parts Name
PARTS NAME 1. Control panel 2. Handle (both sides) 3. Castors 4. Deflector 5. Remote control receiver 6. Intake grille 7. Air outlet grille 8. Intake grille 9. Power cable 10. Universal plug socket 11. Middle drainage 12. Condenser drain Remote control... - Page 6 Accessories Parts Parts name Quantity Exhaust hose Hose outlet 1 set Hose inlet Window slider kit 1 set Remote Control Batteries 1 set (2 * AAA 1.5V) Drain Hose 1 set Window Sealing 1 set Foam Assembly NOTE: All the illustrations in this manual are for explanatory purposes only. Your appliance may be slightly different.
-
Page 7: Installation Instructions
INSTALLATION INSTRUCTIONS Exhausting hot air In the Cool Mode the appliance must be placed close to a window or opening so that the warm exhaust air can be ducted outside. First position unit on a flat floor and make Extend the side of hose Fig. - Page 8 Window slider kit installation 1: Parts: A) Panel B) Panel with hole C) Screw to lock window kit in place 2: Assembly: Slide Panel A into Panel B and size to window width. Windows sizes vary. When sizing the window width, be sure that the window kit assembly is free from gaps and/or air pockets when taking measurements.
- Page 9 Window slider kit Window slider kit Foam seal Foam seal Location - The unit should be placed on a firm foundation to mini- mize noise and vibration. For safe and secure positioning. place the unit on a smooth, level floor strong enough to support the unit.
-
Page 10: Description Of The Display Screen
DESCRIPTION OF THE DISPLAY SCREEN Fan speed Mode symbol symbol Timer Sleep symbol Display screen symbol Fan speed Increase ON/OFF button temperature button button Timer Decrease MODE button temperature button button Turning the appliance on Plug into the main socket, then the appliance in standby mode. Press the button "... - Page 11 DRY MODE Ideal to reduce room humidity (spring and autumn, damp rooms rainy periods, etc). In dry mode, the appliance should be prepared in the same way as for cool mode, with the air exhaust hose attached to enable the moisture to be discharged outside. To set this mode correctly: - Press the "...
- Page 12 Description of the display screen Self-diagnosis The appliance has a self-diagnosis system to identify a number of malfunctions. Error messages are displayed on the appliance display. If is displayed What should i do? If this is displayed, contact your local authorized service center. PROBE FAILURE (sensor damaged) Empty the internal safety tank, following the instructions in the...
-
Page 13: Remote Control Manual
REMOTE CONTROL MANUAL On/Off button Mode button Sleep button Increase temperature button Decrease temperature button Swing button Fan speed button Timer button Unit Switch button Point the remote control at the sensor on the appliance. √ The remote control must be no more than 23ft (7 meters) away from the appliance (without obstacles between the remote control and the receiver). - Page 14 Inserting or replacing the batteries - Remove the cover on the rear of the remote control. - Insert two "AAA" 1.5V batteries in the correct position (see instructions inside the battery compartment). NOTE: √ If the remote control unit is replaced or disposed of, the batteries must be removed and discarded in accordance with current legislation as they are harmful to the environment.
- Page 15 DRY mode Ideal to reduce room humidity (spring and autumn, damp rooms rainy periods, etc). In dry mode, the appliance should be prepared in the same way as for cool mode, with the air exhaust hose attached to enable the moisture to be discharged outside. To set this mode correctly: - Press the "...
-
Page 16: Tips For Correct Use
- Press the " " button , the screen starts to flash, press the " " or " " to adjust the set time from 0.5-24 hours. - In 5 seconds without the operation, the timer start function, then the “Timer” symbol lights. - Press the "... -
Page 17: Water Drainage Method
WATER DRAINAGE METHOD When there is excess water condensation inside the unit, the appliance stops running and shows " " (FULL TANK as mentioned in SELF-DIAGNOSIS). This indicates that the water condensation needs to be drained using the following procedures: Manual Draining (Fig. -
Page 18: Cleaning
CLEANING Before cleaning or maintenance, turn the appliance off by pressing the" " button on the con- trol panel or remote control, wait for a few minutes then unplug from the mains socket. Cleaning the cabinet You should clean the appliance with a slightly damp cloth then dry with a dry cloth. - Never wash the appliance with water. -
Page 19: Troubleshooting
TROUBLESHOOTING Problem Cause Solution • There is no current • Wait The appliance • It is not plugged into the mains • Plug into the mains does not turn on • The internal safety device has • Wait 30 minutes, if the problem tripped persists, contact your service center •... - Page 20 ASSISTANCE Distributed by Ouellet Canada Inc. 1 877 247-3461 Before returning the unit to the retailer, for any problem related to the installation, use or proper functioning of the unit; contact our customer support department. One of our agents will guide you through the next steps.
Need help?
Do you have a question about the PAG Series and is the answer not in the manual?
Questions and answers