
Subscribe to Our Youtube Channel
Summary of Contents for ZERODRAG Nexus1
- Page 1 ZERODRAG ELRS-Supported 2.4GHz Receiver USER MANUAL VERSION 1.1 08/02/2024 nexus...
-
Page 2: Table Of Contents
ZERODRAG INDEX CONTENT PAGE NO. Product Description Specifications In The Box Pinout Wiring & Configuration Betaflight INAV PX4 / ARDUPILOT Binding Bind Phrase Method Conventional Method Binding Verification Troubleshooting Contact Reference nexus... -
Page 3: Product Description
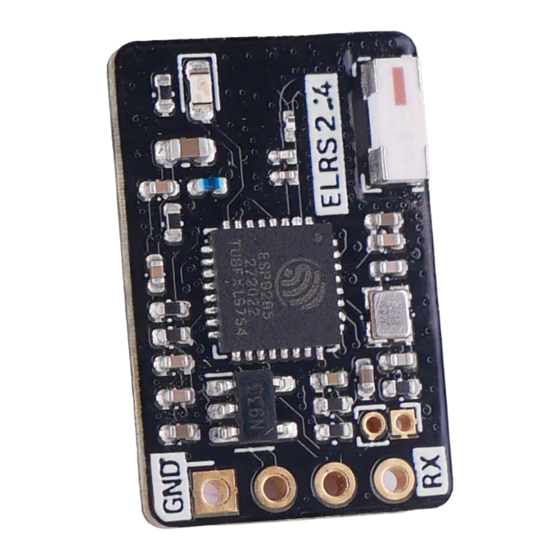
ZERODRAG 1. Product Description The ZERODRAG Nexus1 receiver is built upon the ExpressLRS project, an open-source RC link designed for various RC applications. ExpressLRS is dedicated to optimizing link performance in terms of speed, latency, and range, positioning itself as one of the fastest RC links with impressive long-range capabilities. -
Page 4: Pinout
5. Wiring & Configuration For connecting the ZERODRAG Nexus1 receiver to a flight controller using UART1 with the CRSF protocol: Connect Nexus1's TX to UART1 RX of the Flight Controller and Nexus1's RX to UART1 TX of the • Flight Controller. - Page 5 Save changes and reboot the flight controller by selecting the Save And Reboot on the bottom right corner. Note: These steps, using UART1 as an example, provide a concise guide for integrating ZERODRAG Nexus1 with Betaflight firmware. Depending on the free UARTs available on your flight controller, select the appropriate UART as per your wiring with Nexus1 Receiver.
-
Page 6: Inav
ZERODRAG 5.2. INAV Flight Controller 1. In the INAV Configurator, assign UART1 by enabling Serial Rx slider for receiver in the Ports tab, as shown below. nexus... - Page 7 ZERODRAG 2. In the Configuration tab, slide the Telemetry Output slider to allow telemetry data to be received on your radio. 3. In the Receiver tab, select SERIAL in Receiver Type and choose CRSF in Serial Receiver Provider from the dropdown, as shown below.
-
Page 8: Px4 / Ardupilot
ZERODRAG 5.3. PX4 / ARDUPILOT 1. Wiring Diagram for Cube 2. In the Vehicle Setup tab, select Parameters then choose SERIAL and assign RCIN to SERIAL 1_PROTOCOL, as shown below. nexus... -
Page 9: Binding
ZERODRAG 6. Binding You can bind the Nexus1 receiver with your radio controller using two methods, the Bind Phrase method and the Conventional method. In Bind Phrase method your receiver and radio controller will use a unique bind phrase to exclusively establish a connection between them. A single Bind Phrase can be used to connect multiple receivers to a single radio controller. -
Page 10: Conventional Method
Initiate the binding status on the transmitter module or the radio transmitter. Once the LED status on the receiver changes to a solid light, the binding process is successful. This concise set of instructions ensures a seamless binding procedure for the Nexus1 ELRS 2.4GHz receiver. -
Page 11: Binding Verification
ZERODRAG 7. Binding Verification You can verify the Nexus1 receiver’s communication link in the configurator software you are using. As an example, the real-time input preview from the Betaflight configurator is shown below. When you move the joysticks on the radio controller you should see the data indicators changing in response. -
Page 12: Troubleshooting
ZERODRAG 8. Troubleshooting Receivers with a single color LED communicate their status as follows: LED Indication Status Slow blink 500ms on/off Waiting for connection from transmitter Fast blinking 25ms on/off WiFi mode enabled Medium speed blink 100ms on/off Radio chip not detected...
Need help?
Do you have a question about the Nexus1 and is the answer not in the manual?
Questions and answers