Advertisement
Quick Links
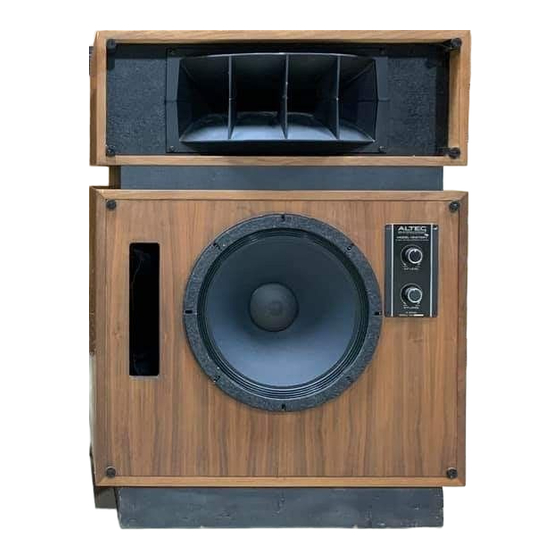
STUDIO MONITOR
SPEAKER SYSTEMS
OPERATING
INSTRUCTIONS
Model 19 Walnut
Model 19 Oak
MODEL 19
OAK
Altec Studio Monitor Speaker Systems are
designed to meet the stringent specifica¬
tions of extended
frequency response,
low distortion and wide dynamic range
that are required for use in recording and
broadcasting
studios.
The
bass
loud¬
speaker (woofer) produces extended low-
frequency response even when driven at
exceptionally high power levels. Two fre¬
quency
adjustment
controls (high
and
mid-range)
are
provided
to
adapt
the
Studio
Monitor Speaker Systems to a
wide
range
of
acoustic
environments,
including audition rooms, recording studio
control room monitoring, remix studios,
mastering rooms, broadcast studio moni¬
toring and playback, auditoriums, night¬
clubs,
conference
rooms,
theaters,
churches,
and
other
professional
applications.
All of these Studio Monitor Speaker Sys¬
tems
combine
excellent
overall
band¬
width, low distortion, uniform dispersion
and extended frequency response. Major
differences
between
the
larger (Model
Model 15 Walnut
Model 15 Oak
MODEL 15
OAK
19 and smaller (Model 15 systems are
sensitivity, acoustic output and enclosure
size. For applications where sensitivity
and acoustic output are of major impor¬
tance, the larger Model
19 should be
used. Where space is at a premium and
slight
reduction
In
sensitivity
and
acoustic output is not detrimental, the
smaller Model 15 becomes the logical
selection.
Wall or Ceiling Mounting
For many professional applications the
Studio Monitor Speaker System is hung
or suspended from a wall or ceiling. A
recommended type of installation utilizes
four V4 "-20 eyebolts which are secured
in the sides of the cabinet with flat
washers
and
nuts.
The
low-frequency
loudspeaker must be removed to install
the eyebolts. The Studio Monitor Speaker
System is then suspended by the four
eyebolts with a lightweight chain (200-
pound pull) from anchor points in the wall
or ceiling. Baffle angle of the monitor may
be adjusted by raising or lowering one
pair of supporting chains at the anchor
points.
Figure
1
illustrates
a typical
ceiling-mounted system. When the cabinet
Is
hung
'bass-side-up',
the
network/
equalizer assembly
may
be
removed,
rotated 180 degrees, and reinstalled to
maintain a right-side-up orientation.
Optional Mounting Base
If the discriminating listener wishes to
use the Studio Monitor Speaker System in
the
home
environment,
the
optional
mounting base may be secured to the
bottom
of the cabinet. To install the
optional
mounting
base,
position your
Studio Monitor Speaker System on one
side or the top, using a carpeted surface
to protect the finish of the cabinet. DO
NOT lay the system on its front side,
because the grille coverings may be dam¬
aged. Position the base against the bot¬
tom of the cabinet, rubber feet facing
outward, aligning the pilot screw holes.
Install the supplied screws (No. 8 x
2
V
2
"
for Model 19 and No. 10 x IV
2
" for Model
15 to secure the base to the cabinet.
Tighten all screws.
Figure 1. Suspended Studio Monitor
Speaker System
SOUND PRODUCTS DIVISION
Spcciliraiioiis
and rom ])0}nnts
to
rhanpc
ivithoiit
notice. Overall }>erforinanev icill he tnaintained or ini)iroved.
1515 S. Manchester Ave., Anaheim, Calif. 92803
42-02-033968-02
LITHO IN U.S.A. 278-6/VI
Advertisement


Need help?
Do you have a question about the 19 Walnut and is the answer not in the manual?
Questions and answers