Table of Contents
Advertisement
Quick Links
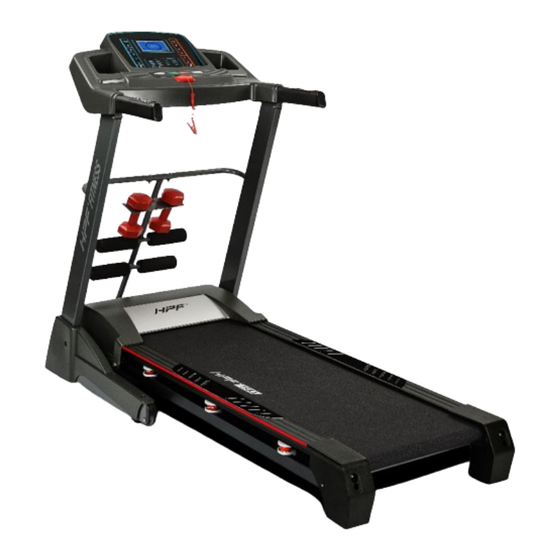
TRX3 Treadmill
User Manual
[Revision 6.0 March 2017]
READ THIS MANUAL CAREFULLY BEFORE USE – FAILURE TO DO SO MAY RESULT IN INJURY, PROPERTY DAMAGE AND
MAY VOID WARRANTY. • KEEP THIS MANUAL FOR FUTURE REFERENCE. • Products covered by this manual may vary in
appearance, assembly, inclusions, specifications, description and packaging.
Advertisement
Table of Contents

Related Manuals for HPF TRX3

Summary of Contents for HPF TRX3
- Page 1 TRX3 Treadmill User Manual [Revision 6.0 March 2017] READ THIS MANUAL CAREFULLY BEFORE USE – FAILURE TO DO SO MAY RESULT IN INJURY, PROPERTY DAMAGE AND MAY VOID WARRANTY. • KEEP THIS MANUAL FOR FUTURE REFERENCE. • Products covered by this manual may vary in...
-
Page 2: Table Of Contents
Detailed Operation ............................8 Exercise Instruction ............................. 10 Warm-Up..............................11 Maintenance ..............................12 Running Belt Adjustment ..........................12 Running Belt Lubrication ..........................12 Securing the Running Belt ........................... 13 Error Code Table ............................14 Specifications ..............................14 E&OE © 2017 HPF... -
Page 3: Safety
Unplug the power cord when the equipment is not in use. • Do not pull the power cord by the cord. Always grip at the plug and pull. • This treadmill is for home-use only. The max user weight is 100KG on running station. E&OE © 2017 HPF... -
Page 4: Included Items
Phillips & Multi-Tool Bolt M8*16mm 12/13/14mm HEX Allen Key Hand Weight Allen Key Foam Left base Bolt ST4.2*19 cover Right base Locking Washer cover Safety External frame 1 Key/Clamp Lock nut External frame 2 Bolt M8*45mm E&OE © 2017 HPF... -
Page 5: Set-Up
Lay the main frame flat on the ground and locate all included parts and tools. Step 2: Installing the Display Attach the display and place the locking washer #86 onto the screw #51 as illustrated. Using the multi-tool, tighten these items Step 3: Pull upright. E&OE © 2017 HPF... - Page 6 Attach side covers #76 & #77 onto side and screw in with screws #78 as illustrated. Step 6: Attaching the weight holder frame Using Allen key #5, attach external frame 1 #84 with screws #51 and washers #64 E&OE © 2017 HPF...
- Page 7 Then attach frame and the top, onto frame 1 using bolts #70, washers #64 and nuts #61 Step 8: Attach the cushioned foam into the bars Step 9: Place the safety key #71 on the display. Your treadmill is now ready for use! E&OE © 2017 HPF...
-
Page 8: Folding Instruction
NOTE: Always set-up the equipment on a flat and level surface. If the equipment "rocks", (if applicable) rotate feet under front of machine to move up or down as needed so equipment is steady. E&OE © 2017 HPF... -
Page 9: Operation
“SPEED”▲/▼: Adjust the speed. Press the button to adjust the speed when running, and adjust the data when stopped “INCLINE”▲/▼: Adjust the incline. Press the button to adjust incline section when running, and adjust the data when stop; E&OE © 2017 HPF... -
Page 10: Detailed Operation
Hold the handle pulse with two hands, it will show your BMI data after 5 seconds. a. Data display and set range Parameter Default Range Remark Sex (-1) 0 (Male) 1: Male, 2: Female Age (-2-) 10-99 Height (-3-) 170 CM 100-220 CM Weight (-4-) 70 KG 20-150 KG E&OE © 2017 HPF... - Page 11 Mode Default Program Default Setting Range INCLINE 1-15 1-15 TIME 0:00-99:59 30:00 30:00 5:00-99:00 DISTANCE 0.00 KM-99.9 KM 1:00 KM --------------------------- 1.0 KM – 99.0 KM CALORIES 0 KCL-999KCL 50KCL --------------------------- 20 KCL – 990 KCL E&OE © 2017 HPF...
-
Page 12: Exercise Instruction
You can choose the normal walking speed or the jogging speed, if you always workout with a treadmill. Attention: The velocity of movement ≤6KM/H, on normal walking; the velocity of movement ≥8.0KM/H, on running. E&OE © 2017 HPF... -
Page 13: Warm-Up
5. Sartorius muscle (inner thigh muscles) stretch: sitting with foot in contrast and knee outward. The hands grasp the feet to the groin pulling .Maintain the pose for 10-15 seconds, then relax. Repeat this action for 3 times. E&OE © 2017 HPF... -
Page 14: Maintenance
3. Run the equipment at a slow speed for 3 to 5 minutes to evenly distribute the lubricant. Note: Do not over lubricate. Wipe away any excess lubricant from the running belt. • All-purpose household oil or sewing machine oil can also be used. E&OE © 2017 HPF... -
Page 15: Securing The Running Belt
Timely adjust the tightness of the belt for the looseness after a period of time running. Pull out of the safety clock and switch , turn the left and right adjusting bolt 1/4 turn clockwise ,then re-start running, confirm the belt-tightness until the belt be right tightness (pic C). E&OE © 2017 HPF... -
Page 16: Error Code Table
Run Belt Width 450mm Bonus 2x 2lbs Hand Weights Product Dimensions 72 x 145 x 135cm Folded Dimensions 72 x 88 x 146cm Gross Weight 79 KG Net Weight 68 KG Carton Dimension 177 x 80.5 x 37.5cm E&OE © 2017 HPF... - Page 17 ©2017 HPF. All rights reserved. No part of this document, including descriptive content, concepts, ideas, diagrams or images may be reproduced or transmitted in any form or by any means, electronic or mechanical, including photocopying, scanning or recording, or any information storage and retrieval system, without express permission or consent from the publisher.
Need help?
Do you have a question about the TRX3 and is the answer not in the manual?
Questions and answers
Treadmill powers up with 2 beeps but belt won't start