
Related Manuals for Fleurco ALT4836-L2


Summary of Contents for Fleurco ALT4836-L2
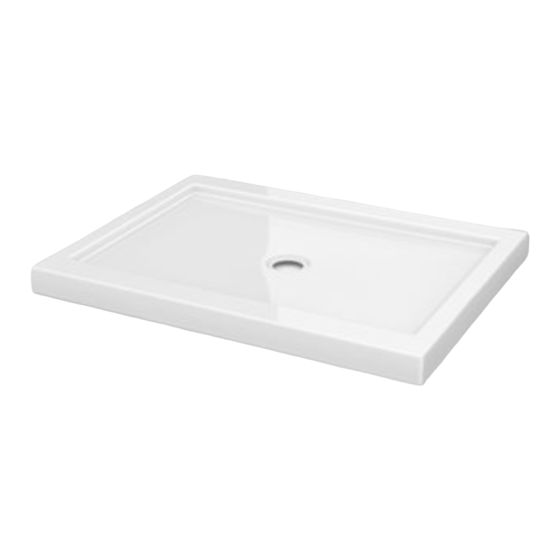
- Page 1 Base de Douche en Acrylique Modèle Model ● Acrylic Shower Base ALT4836-L2 ● ALT4836-R2 ALT6036-L2 ● ALT6036-R2 GUIDE D’INSTALLATION INSTALLATION MANUAL ● 12.2023...
-
Page 2: Table Of Contents
● Table des matières ● Table of Contents IMPORTANT ............ 2 IMPORTANT ............ 2 L’ENTRETIEN DE VOTRE BASE DE DOUCHE ....2 CARE FOR YOUR ACRYLIC SHOWER BASE ....2 SPÉCIFICATION..........3 SPECIFICATION..........3 OUTILS ET MATÉRIAUX REQUIS......3 TOOLS AND MATERIALS REQUIRED. -
Page 3: Spécification
SPÉCIFICATION. SPECIFICATION. Dimensions* Modèle Model 36” 48” 3 3/4” 18” 24” ALT4836-L2 [91cm] [122cm] [10cm] [46cm] [61cm] 36” 48” 3 3/4” 18” 24” ALT4836-R2 [91cm] [122cm] [10cm] [46cm] [61cm] 36” 60” 3 3/4” 18” 30” ALT6036-L2 [91cm] [152cm] [10cm] [46cm] [76cm] 36”... -
Page 4: Type D'installation
TYPE D’INSTALLATION. TYPE OF INSTALLATION. ALT4836-L2 | ALT6036-R2 ALT4836-R2 | ALT6036-R2 12.2023... -
Page 5: Préparez La Plomberie D'évacuation
PRÉPAREZ LA PLOMBERIE D’ÉVACUATION PREPARE DRAINING PIPE. Au préalable assurer que le sous-plancher est à niveau. 1A. Préparer une découpe dans le plancher Si nécessaire, niveler avec du ciment égalisateur sur toute la [approx 6” x 6” (15cm x 15 cm)] pour la plomberie surface d’installation. -
Page 6: Nivelez La Base
NIVELEZ LA BASE. LEVELING THE BASE. 3A. Avant d’installer la base et la connecter au drain, appliquez l’adhésif polyuréthane pour la construction (PL type) sur les blocs de soutien inférieurs. Prior to installing the base and connecting it to the drain,apply polyurethane construction adhesive (PL type) onto bottom. -
Page 7: Fixez La Base
PRE-DRILL THE BASE PRÉ-PERCER LA BASE 5. Percer des trous pour les vis à travers la bride de carrelage et la base. Drill holes for the fasteners through the tiling flange and the base. FIXEZ LA BASE. FASTEN THE BASE. 6. -
Page 8: Finishing
FINITION. FINISHING. INSTALLATION DETAIL DÉTAIL D'INSTALLATION Conseils pour une finition étanche STUD d’aspect professionnel. MONTANT Tips to achieve a professional looking and watertight finish. CEMENT BOARD PANNEAU DE BÉTON LÉGER TILE ADHESIVE CIMENT POUR CARREAUX DE CÉRAMIQUE TILE CARREAUX DE CÉRAMIQUE TILING FLANGE BRIDE DE CARRELAGE SILICONE...
Need help?
Do you have a question about the ALT4836-L2 and is the answer not in the manual?
Questions and answers