Advertisement
Quick Links
Quick Start Guide
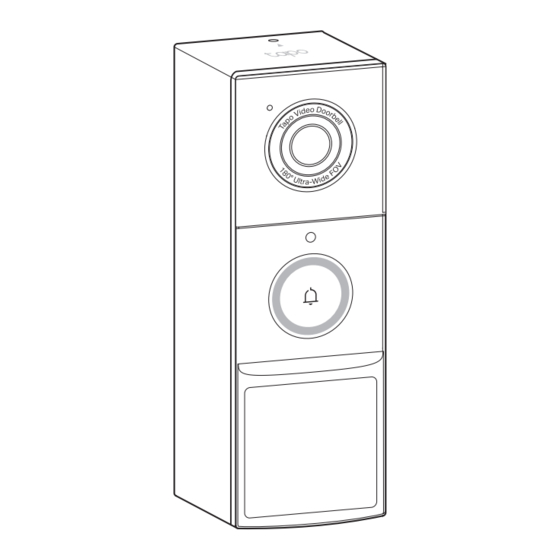
Video Doorbell Camera
*Images may differ from your actual product.
©2024 TP-Link 7106511001 REV1.0.0
Determine Power Options
Option A: Battery Powered
If you don't have existing doorbell wiring at the door,
use the built-in battery. You are free to determine
the doorbell position and the mounting is easy and
quick.
When the doorbell battery level is low, you need to
detach and charge it.
Mount Your Doorbell
01 /
Install Jumper Wire for Your Existing Chime
(Only necessary when hardwiring the doorbell and enabling Always-On Mode.)
1. Turn off the circuit breaker. Make sure the power is
off by ringing your doorbell a few times.
OFF
2. Remove the chime cover and take a photo of the
wiring in case you want to reconnect it.
03 /
Install Your Doorbell
Option 1. Stick to the wall
1. Attach the included adhesive to the back of the bracket or the wedge you have selected. If you use the
wedge, affix the bracket and the wedge with screws.
Note: The adhesive is for one-time use. Avoid re-using the adhesive to ensure its adhesion.
UP
Requires:
• Mounting Bracket
• 3M Adhesive
3M Adhesive
2. Route the wires through the bracket (if there are existing wires) . Wipe off the dust from the surface using
a dry cloth, stick the bracket with adhesive to the smooth wall, and press it down for 15 seconds to
ensure the bracket is firmly attached.
Note: This is applicable with tile, glass, marble, metal, stainless steel, and smooth wall surfaces.
Set Up Your Doorbell and Chime
1. Plug in the USB cable to charge your doorbell.
When you plug in the charger, the LED should
blink amber quickly for 3 seconds.
5V/2A USB Charger
Note:
1. Charge the doorbell before use. This will take about 6 hours.
2. The USB charger is not provided.
3. Peel off film from the doorbell before use.
4. Warning: Do not tear off the silicone part by force as it may affect
the waterproof performance.
5. Keep the ports firmly covered when not in use to ensure
waterproof performance.
For installation, skip 01/ Install Jumper Wire for
Your Existing Chime and choose either installation
option to install your doorbell without existing wires.
Take care to avoid electric shocks.
3. Slightly loosen the screws for the Front and Trans of
your front doorbell or the Rear and Trans of your
rear doorbell, then insert the included jumper wire.
Note: If your doorbell chime has different markings, consult a
licensed electrician.
Front Doorbell
TRANS
FRONT
4. Tighten the screws and replace the chime cover. If
you want to disable Always-On Mode, just remove the
jumper wire.
Take care to avoid electric shocks.
Requires:
• Mounting Bracket
UP
• 3M Adhesive
• Horizontal or Vertical
Mounting Wedge
• Mounting Wedge
Screws ×4
3M Adhesive
Mounting Wedge
2. Download the Tapo app from the App Store or
Google Play.
OR
3. Press and hold the ON/OFF button on the back of
the doorbell for 3 seconds to turn it on.
Option B: Hardwire Powered
WARNING: Risk of Electric Shocks
• Your existing doorbell must be wired (not battery
powered) and supplied by an 8-24V AC, 10VA
minimum transformer.
• Ensure that your existing doorbell works by ringing
the doorbell.
• Locate your existing doorbell chime.
• Disconnect power at the fuse or circuit breaker
before installing.
• You can always find detailed wiring and installation
instructions in the Tapo app.
8-24V
02 /
Preparations for Installing Your Doorbell
1. Remove your existing doorbell on the door. Then
disconnect the wires.
Rear Doorbell
REAR
TRANS
*Recommended Installation Height: 1.2 m (4 ft) above the ground
3. Mount the doorbell to the bracket.
Option A: Battery Powered
Mount the doorbell to the bracket.
Requires:
• Video Doorbell Camera
UP
4. Tap the
button in the app and select your
model. Follow the app instructions to set up your
doorbell and pair with the chime.
Note: If you didn't pair the chime during the setup, please
refer to https://www.tp-link.com/support/faq/3818/.
Tapo
You can choose whether to enable Always-On
Mode, which supports 24/7 recording.
Enabling Always-On Mode requires bypassing
your existing chime.
For installation, follow instructions in the Mount
Your Doorbell section to bypass your existing
chime and install your doorbell.
Disabling Always-On Mode allows using your
existing chime. Hardwiring provides a constant
power source.
For installation, skip 01/ Install Jumper Wire for
Your Existing Chime and then install your doorbell.
2. (Optional) Select the mounting wedge to adjust the
viewing angle of the doorbell.
Without Mounting
Wedge
15°
With Horizontal
Mounting Wedge
Option B: Hardwire Powered
Connect the wires to the doorbell and tighten the
screws. Mount the doorbell to the bracket and turn on
the circuit breaker.
Note: If the wires are too short, use the included extension
wires and wire nuts to make them longer.
Requires:
• Video Doorbell Camera
• (Optional) Extension Wires ×2, Wire Nuts ×2
If the wires are too short:
UP
Flip the page over for Option 2, and more.
Without Mounting
Wedge
5°
With Vertical
Mounting Wedge
UP
Advertisement

Related Manuals for TP-Link tapo D235


Summary of Contents for TP-Link tapo D235
- Page 1 *Images may differ from your actual product. 5. Keep the ports firmly covered when not in use to ensure waterproof performance. ©2024 TP-Link 7106511001 REV1.0.0 Determine Power Options Option A: Battery Powered Option B: Hardwire Powered If you don’t have existing doorbell wiring at the door,...
- Page 2 Safety Information • Do not place heavy objects on top of the product. TP-Link hereby declares that the device is in compliance with the • This product may interfere with other electronic products such essential requirements and other relevant provisions of directives •...
Need help?
Do you have a question about the tapo D235 and is the answer not in the manual?
Questions and answers