
Subscribe to Our Youtube Channel
Related Manuals for BUSH FURNITURE Cabot WC31940


Summary of Contents for BUSH FURNITURE Cabot WC31940
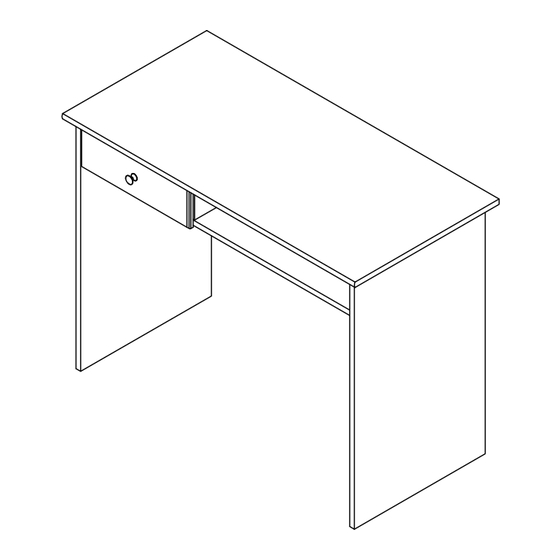
- Page 1 40W Writing Desk Lot Code # Instruction Sheet Number A218148 Keep manual for future reference.
- Page 2 Get Ready to Assemble A218148...
-
Page 3: Important Safety Information
IMPORTANT SAFETY INFORMATION PLEASE READ WARNINGS Improper use can cause safety hazards, or damage to your furniture and household items. Warning Don't Why it's important Serious injury • • Assemble following all instructions Do not move unit when Improper assembly, may occur. - Page 4 Get to know your Boards A218148 Have an assembly question or need a replacement part? Just call 1-800-950-4782, we are here to help.
- Page 5 Get to know your Fasteners A218148 Fasteners are shown actual size. [ 20 ] H72988 [ 2 ] H146988 KD Bolt Euro 13/14mm [ 20 ] H181468US H192260 [ 4 ] KD Cam3000 Euro 10mm [ 1 ] H92848 [ 4 ] H192100 (Silver) M4 x 25mm...
- Page 6 Get to know your Hardware A218148 Hardware not to scale. 10" Ball Bearing Slide Set Q184100 [ 1 ] [ 6 ] [ 2 ] H100444 Cover Cap DWR Bracket [ 1 ] Door Knob Have an assembly question or need a replacement part? Just call 1-800-950-4782, we are here to help.
- Page 7 Prepare Panel STEP A218148 [ 2 ] H146988 [ 2 ] H100444 Euro 13/14mm DWR Bracket Have an assembly question or need a replacement part? Just call 1-800-950-4782, we are here to help.
- Page 8 Assemble Panels STEP A218148 H128624 [ 4 ] (Black) #8 x .5" Have an assembly question or need a replacement part? Just call 1-800-950-4782, we are here to help.
- Page 9 Assemble Panels STEP A218148 [ 4 ] H150333 #8 x 1-1/2" Flush Alineado Aligné Have an assembly question or need a replacement part? Just call 1-800-950-4782, we are here to help.
- Page 10 Separate Slides STEP A218148 Slides Must Be Separated Before Assembly. After Separated, Set Aside Until Needed for Assembly. Las diapositivas deben separarse antes del montaje. Después de la separación, déjelo a un lado hasta que sea necesario. Les glissières doivent être séparées avant l'assemblage. Après la séparation, mettez de côté...
- Page 11 Attach Hardware STEP A218148 [ 1 ] H92848 [ 4 ] H192100 (Silver) M4 x 25mm #8 x 1/2" 10" Slide Runner [ 1 ] Q184100 [ 2 ] Door Knob Orientation Orientación L'orientation H92848 Have an assembly question or need a replacement part? Just call 1-800-950-4782, we are here to help.
- Page 12 Prepare Panels STEP A218148 [ 8 ] H72988 KD Bolt Have an assembly question or need a replacement part? Just call 1-800-950-4782, we are here to help.
- Page 13 Assemble Panels STEP A218148 [ 2 ] H181468US KD Cam3000 190° Minimum Have an assembly question or need a replacement part? Just call 1-800-950-4782, we are here to help.
- Page 14 Prepare Panel STEP A218148 [ 4 ] H72988 H192260 [ 2 ] KD Bolt Euro 10mm 10" Slide Mount Q184100 [ 1 ] Orientation Orientación L'orientation H192260 Have an assembly question or need a replacement part? Just call 1-800-950-4782, we are here to help.
- Page 15 Assemble Panels STEP A218148 [ 4 ] H181468US 190° Minimum KD Cam3000 [ 1 ] Cover Cap Team Lift Have an assembly question or need a replacement part? Just call 1-800-950-4782, we are here to help.
- Page 16 Assemble Panels STEP A218148 [ 4 ] H181468US 190° Minimum KD Cam3000 [ 2 ] Team Lift Cover Cap Have an assembly question or need a replacement part? Just call 1-800-950-4782, we are here to help.
- Page 17 Prepare Panel STEP A218148 H192260 [ 2 ] Euro 10mm 10" Slide Mount Q184100 [ 1 ] Orientation Orientación L'orientation Finished edge Borde acabado Bord fini Have an assembly question or need a replacement part? Just call 1-800-950-4782, we are here to help.
- Page 18 Assemble Panels STEP A218148 With an assistant carefully stand unit upright. Con un asistente cuidadosamente levante la unided a una posicion vertical. Avec l'aide d'un assistant placez soigneusement l'unité debout. [ 2 ] H181468US 190° Minimum KD Cam3000 Team Lift Finished edge Borde acabado Bord fini...
- Page 19 Prepare Panel STEP A218148 [ 8 ] H72988 KD Bolt Have an assembly question or need a replacement part? Just call 1-800-950-4782, we are here to help.
- Page 20 Assemble Panels STEP A218148 [ 8 ] H181468US KD Cam3000 190° Minimum [ 3 ] Cover Cap Team Lift Have an assembly question or need a replacement part? Just call 1-800-950-4782, we are here to help.
- Page 21 Insert Drawer STEP A218148 Team Lift Have an assembly question or need a replacement part? Just call 1-800-950-4782, we are here to help.
- Page 22 Drawer Adjustment STEP A218148 DRAWER FRONT VIEW REQUIRED TOOL: PHILLIPS SCREWDRIVER HERRAMIENTA REQUERIDA: DESTORNILLADOR PHILLIPS OUTIL REQUIS: TOURNEVIS CRUCIFORME 1. LOOSEN SCREWS. 2. ADJUST DRAWER FRONTS. 3. TIGHTEN SCREWS. 1. Afloje los tornillos 2. Ajustar frentes de cajón 3. Apriete los tornillos 1.
- Page 23 Maximum Loading & Cleaning STEP A218148 Gently clean surfaces with a damp sponge eraser. Maximum Weight: 200 Lbs. Peso Máximo: 200 Libras Poids Maximum: 90.7 kilogramme Maximum Weight: 15 Lbs. Peso Máximo: 15 Libras Poids Maximum: 6.8 kilogramme Maximum Weight: 15 Lbs. Peso Máximo: 15 Libras Poids Maximum: 6.8 kilogramme Congratulations! You are all done.
-
Page 24: Parts List
PARTS LIST A218148 WC31740 WC31840 LABEL PART NUMBER LABEL PART NUMBER W218149 W218156 W218150 W218157 W218151 W218158 W218152 W218159 W218154 W218161 W218153 W218160 W218155 W218162 W107674 W107674 W107689 W107689 W128623 W128623 [ 6 ] [ 6 ] H73621 H92521 Cover Cap Cover Cap [ 1 ] [ 1 ]... -
Page 25: Drawer Removal
Drawer Removal A218148 Drawer Removal (if required) Quitado de Gaveta (si es necesario) retrait du tiroir (si necessaire) Lock Lever (Left) Palanca de Cerradura (Izquierdo) Levier d'arrêt (Gauche) For left side push lock lever up and pull-out drawer. Para deslizable izquierdo, empuje la palanca de cerra hacia arriba y tapa del gaveta. Pour la coulisse gauche placez le verrou vers le haut et dessus du tiroir.
Need help?
Do you have a question about the Cabot WC31940 and is the answer not in the manual?
Questions and answers