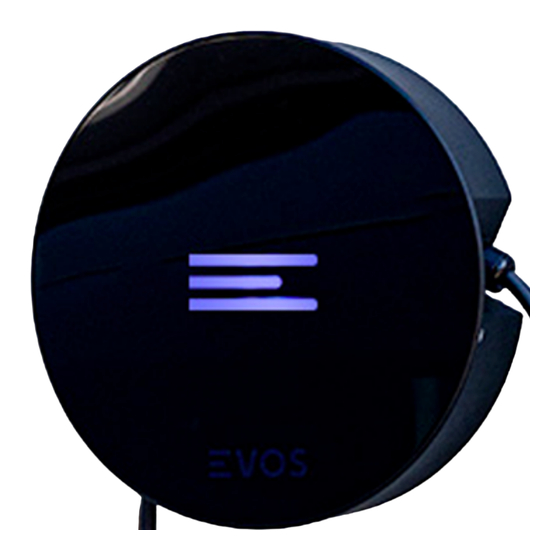
Summary of Contents for EVOS SB7
- Page 1 EVOS SB7 - Installation Manual Australia Page 1/1 EVOS SB7 Installation Manual - Australia...
-
Page 2: Table Of Contents
EVOS SB7 - Installation Manual Australia Page 2/14 Contents QUALIFICATIONS PRODUCT SPECIFICATION Communication Compliance Connector Electrical Environmental Logistics Physical INSTALLATION PREPARATION Electrical Safety IP 65 Ingress Protection Supply Wiring 1 Phase installation INSTALLATION Tools Location Component Guide Installation Steps 1. Remove lid 2. -
Page 3: Qualifications
Page 3/14 Qualifications The EVOS SB7 is designed to only be connected to a dedicated AC supply. The EVOS SB7 requires only Type A RCD + MCB upstream protection. The use of adapters or conversion adapters are not permitted with EVOS SB7. -
Page 4: Product Specification
EVOS SB7 - Installation Manual Australia Page 4/14 Product Specification Communication Charging Mode Protocol OCPP1.6j Wi-Fi: 2.4GHz IEEE 802.11.b/g/n Wireless Bluetooth: 4.1 Compliance Certification CE Certified Protection Class IEC 61851-1, IEC 61851-21-2 Standards EU RoHS Directive Compliant Connector Charging Cable length... -
Page 5: Installation Preparation
Recommended Type C MCB 40A IP 65 – Ingress Protection - Ingress protection for the SB7 must be maintained on installation of the input power cable. - Use the correct cable gland for the size of supply cable, hole size is M20. -
Page 6: Installation
5. Station lower edge mounting height is minimum 900mm from floor level. 6. No obstructions to left and right of the charger. Maximise Wi-Fi signal reception: Avoid installing SB7 on opposite sides of concrete, masonry, metal studs, and other physical obstructions that could impede Wi-Fi signal reception. -
Page 7: Component Guide
EVOS SB7 - Installation Manual Australia Page 7/14 Component Guide Charging Cable with Contact Type 2 Plug Installation Steps Please check off the items on the checklist located on the last page of this document 1. Remove lid (1) Using a 3mm Post Hex Security Bit, remove the charger housing fasteners and place them aside carefully for re-installation. -
Page 8: Mark Fixing Point
EVOS SB7 - Installation Manual Australia Page 8/14 2. Mark fixing point Use a level and the provided marking template to drill holes and to ensure that the charger is properly aligned. Minimum height of the lower edge is 900mm from floor level. -
Page 9: Register And Configure
EVOS SB7 - Installation Manual Australia Page 9/14 5. Register and configure (mandatory) Connect to the EVOS App using the QR code on the base and register the charger. If the QR code does not work, enter this URL into a browser https://evos.app/c/<serial>... -
Page 10: Electrical Tests
EVOS SB7 - Installation Manual Australia Page 10/14 5. Register and configure (Mandatory) Electrical License At the install screen, please enter 1. Your electrical license number 2. Your electrical license type 3. Your electrical license expiration date 4. Which country is this license for 5. -
Page 11: Using Sb7
Page 11/14 Using SB7 Charging a Vehicle 1. Check EVOS SB7 status LED is White. 2. Follow vehicle preparation instructions for starting a charging session (unlock inlet / open door / remove inlet cover). 3. Remove the protective cap from the plug. -
Page 12: Charger Status Information
EVOS SB7 - Installation Manual Australia Page 12/14 Charger Status Information The LEDs on the EVOS SB7 convey the state of the station as listed below. -
Page 13: Wi-Fi Setup Process
Step 4: Select your network Step 5: Set-up Wi-Fi Network Connecting 3) Your SB7 is now connected to Wi-Fi and you can unlock all its capabilities. Step 5: Success page If your charger didn’t connect successfully to the Wi-Fi, the App will show this alert, also the charger will blink with a white and cyan light. -
Page 14: Version Control Information
Please use this checklist to ensure the station has been installed safely. Item No Comment SB7 and charging cable are not damaged Station mounting position is easy to access Station mounting position is protected from vehicle damage Station lower edge above 900mm above ground level...


Need help?
Do you have a question about the SB7 and is the answer not in the manual?
Questions and answers