Advertisement
Quick Links
User Manual of Product 1:
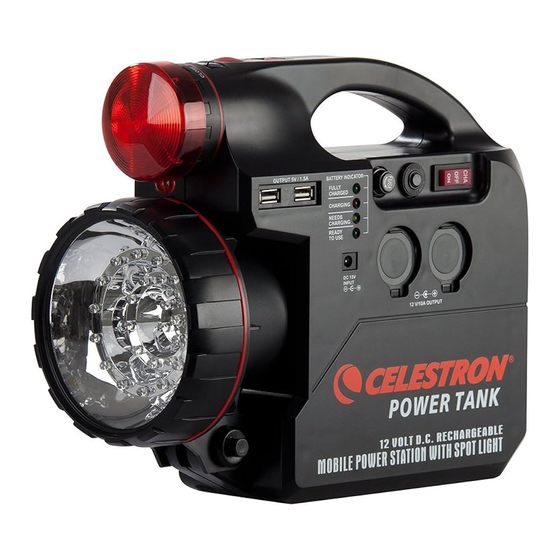
Celestron – PowerTank 12 Telescope Battery – Rechargeable
Portable 12V Power Supply for Computerized Telescopes – 84
Wh Power – Built–in 2 USB Ports, Cigarette Lighter Adapter,
Built-in Flashlight
User Manual of Product 2:
Celestron – NexYZ – 3–Axis Universal Smartphone Adapter for
Telescope – Digiscoping Smartphone Adapter – Capture
Images and Video Through Your Telescope or Spotting Scope
Advertisement

Related Manuals for Celestron POWERTANK


Summary of Contents for Celestron POWERTANK
- Page 1 User Manual of Product 1: Celestron – PowerTank 12 Telescope Battery – Rechargeable Portable 12V Power Supply for Computerized Telescopes – 84 Wh Power – Built–in 2 USB Ports, Cigarette Lighter Adapter, Built-in Flashlight User Manual of Product 2: Celestron – NexYZ – 3–Axis Universal Smartphone Adapter for Telescope –...
- Page 2 POWER TANK With Built-in Spotlight & Flashlight (plus 3V, 6V, 9V, output) Model: #18774...
- Page 3 - Make sure the PowerTank is disconnected from charger, which must be OFF from the - It is important to store the PowerTank in a clean, cool and dry place. Radiant heat such as sunshine, electric supply. (Fig. 22) heating units, radiators or steam pipes will shorten the life of the PowerTank.
-
Page 4: Troubleshooting
STARTING AID FOR MOTOR VEHICLES - The jumper cable terminals are located at the back of the PowerTank. (Fig. 23) - Use the PowerTank as a source of a starting aid only when the vehicle battery is partially discharged. - The PowerTank is not suitable for starting a vehicle with a fully discharged battery! - Use only jumper cables of sufficient size (cross section). - Page 5 (Puede que tenga que retirar el ocular del microscopio para instalar la arandela). A continuación, siga las instrucciones anteriores. © 2018 Celestron • All rights reserved celestron.com/pages/warranty 2835 Columbia Street • Torrance, CA 90503 U.S.A...
- Page 6 Enfin, ajustez la molette de mise au point de votre oculaire et capturez l’image. Pour obtenir plus de conseils et d’astuces, consultez celestron.com/NexYZ-tips 3. AUSRICHTEN UND KNIPSEN BILDER Öffnen Sie Ihre Kamera App. Positionieren Sie Ihr Telefon über den Knöpfen der X- und Y-Achsen über dem Okular.
Need help?
Do you have a question about the POWERTANK and is the answer not in the manual?
Questions and answers