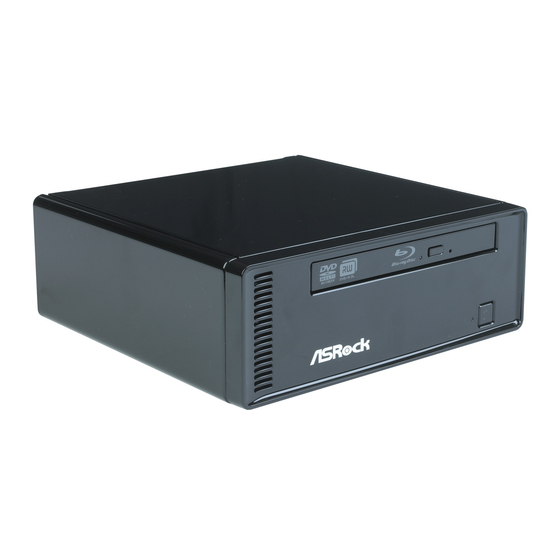
ASROCK A330ION Installation Manual
Raid
Hide thumbs
Also See for A330ION:
- Brochure (5 pages) ,
- User manual (44 pages) ,
- Installation manual (101 pages)
Advertisement
Quick Links
Download this manual
See also:
User Manual
RAID Installation Guide
1. NVIDIA BIOS RAID Installation Guide .................................... 2
1.1 Introduction to RAID ................................................... 2
1.2 RAID Configurations Precautions .................................. 3
1.3 Create Disk Array ........................................................ 4
2. NVIDIA Windows RAID Installation Guide ............................... 8
2.1 Introduction to RAID ................................................... 8
2.2 RAID Configurations Precautions .................................. 9
2.3 Create Disk Array ...................................................... 10
1 1 1 1 1
Advertisement

Summary of Contents for ASROCK A330ION
-
Page 1: Table Of Contents
RAID Installation Guide 1. NVIDIA BIOS RAID Installation Guide …………………….... 2 1.1 Introduction to RAID ……………………………………..2 1.2 RAID Configurations Precautions ………………………..3 1.3 Create Disk Array ....………………………..… 4 2. NVIDIA Windows RAID Installation Guide ……………………..8 2.1 Introduction to RAID ……………………………………..8 2.2 RAID Configurations Precautions ……………………….. -
Page 2: Nvidia Bios Raid Installation Guide
NVIDIA RAID Utility under BIOS environment. After you make a SATA / SATAII driver diskette, press <F2> to enter BIOS setup to set the option to RAID mode by following the detailed instruction of the “User Manual” in our support CD, then you can start to use NVIDIA RAID Utility to configure RAID. -
Page 3: Raid Configurations Precautions
RAID 0 set is 120GB. You may use two new drives, or use an existing drive and a new drive to create a RAID 1 (mirroring) array for data protection (the new drive must be of the same size or larger than the existing drive). -
Page 4: Create Disk Array
RAID software prompting you to press <F10>. The RAID prompt appears as a part of the system POST and boot process prior to loading the OS. You have a few seconds to press <F10> before the window disappears. - Page 5 [ESC] Quit [F6] Back [F7] Finish [TAB] Navigate [ ] Select [ENTER] Popup Tab to the Free Disks section. The first disk in the list is selected. Move it from the Free Disks block to the Array Disks block by pressing the right-arrow key.
- Page 6 The adapter / channel / master / slave status of each hard disk is given in the Loc (location) columns of the Free Disks and Array Disks lists.
- Page 7 . Please click “Start” button. Click “All Programs”, “NVIDIA Corporation”, “NVIDIA Control Panel”, and then “Storage”. You can review the RAID arrays that you have set up and start to use RAID function. If you want to install Windows ®...
-
Page 8: Nvidia Windows Raid Installation Guide
It will improve data access and storage since it will double the data transfer rate of a single disk alone while the two hard disks perform the same work as a single drive but at a sustained data transfer rate. -
Page 9: Raid Configurations Precautions
RAID 0 set is 120GB. You may use two new drives, or use an existing drive and a new drive to create a RAID 1 (mirroring) array for data protection (the new drive must be of the same size or larger than the existing drive). -
Page 10: Create Disk Array
After adjusting the system BIOS to RAID mode, reboot your system. RAID driver is built in NVIDIA ALL in one driver provided in our support CD. After you finish the driver installation, you can create, delete, or rebuild any RAID array. Please enter Storage... - Page 11 Then, below screen appears. Migrate Array Wizard If you plan to install one more HDD, and build RAID 0 (Striping) or RAID 1 (Mirror) on the two HDDs you install. Please click “Migrate arry” to enter “NVIDIA Migrate Array Wizard” to set up the function. Click “Next” to continue.
- Page 12 The following screen shot will appear. Select the RAID array from the list to migrate. And click “Next” to confirm. Select the RAID mode to migrate the array. You may select Striping (RAID 0) or Mirroring (RAID 1). Click “Next”.
- Page 13 Below screen appears so that you can view the details of your storage devices. Striping (RAID 0) Mirroring (RAID 1)
- Page 14 This applies only to fault tolerant arrays. For example, assuming you have a free disk RAID 0 array, and one of the drives fail, then you need to replace the failed drive with a new one, and rebuild the array to re-generate the lost data on the newly added drive.
- Page 15 Synchronizing an array will force a rebuild of redundancy or parity. The operation is applicable to any fault tolerant array. For RAID1, “sync” results in copying the data to the redundancy disk. To sync an array, please click “Synchronize arry” to enter “NVIDIA Synchronize Array Wizard”, and follow the instructions on the...


Need help?
Do you have a question about the A330ION and is the answer not in the manual?
Questions and answers