Table of Contents
Advertisement
Quick Links
Advertisement
Table of Contents

Subscribe to Our Youtube Channel
Related Manuals for Memorex MX-PJ720

Summary of Contents for Memorex MX-PJ720
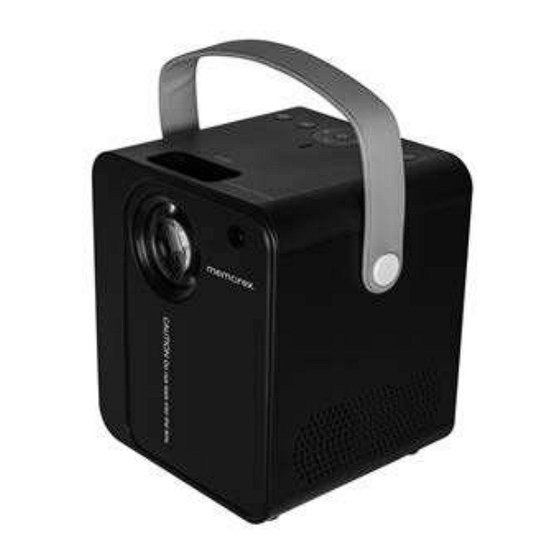
- Page 1 720p Portable HD Projector MX-PJ720 MODEL OPERATION MANUAL ENGLISH...
-
Page 2: Special Notes
SPECIAL NOTES FOR YOUR RECORDS CAUTION For your assistance in reporting this unit in case of loss or theft, please record below the RISK OF ELECTRIC SHOCK DO NOT OPEN model number and serial number which are CAUTION: TO REDUCE THE RISK OF ELECTRIC SHOCK, DO NOT REMOVE located at the bottom of the unit. - Page 3 Read Instructions: All the safety and operating instructions should be read before the appliance is operated. Retain Instructions: The safety and operating instructions should be well kept for future reference. Heed Warnings: All warnings on the appliance and in the operating instructions should be adhered to.
-
Page 4: Standard Accessories
THANKS FOR YOUR CHOOSING! Warning Please do not open the case in order to prevent electric shock. Customers cannot repair parts of inside devices. Please contact professional maintenance staff to repair it. Environmental parameters: Working height: no more than 2000 meters Working temperature:0-40 Working humidity: 10%-90%,non-condensing Storage temperature:-10-50... -
Page 5: Control Panel
CONTROL PANEL Focus Indicator Right Left Power Menu Down Return Homepage REMOTE CONTROL Source Power Left Right Down Return Homepage Menu Volume- Volume+... - Page 6 BATTERY INSTALLATION OF REMOTE CONTROL 1. Slide and lift the battery door. 2. Install 2 (two) AAA size batteries(not included)into the battery compartment as indicated by the polarity markings. 3. Close the battery door. 1. Use only the size and type of battery specified. 2.
-
Page 7: Installation
INSTALLATION Choosing a location Before choosing an installation for your projector,take the following factors into consideration: • Size and position of your screen • Electrical outlet location • Distance between the projector and the screen Select a proper location to place the projector in front of the screen as the illustration. - Page 8 ABCD Good! After switching on the projector, turn the Focus knob to make the projected content clear. Source Starting up the projector HDMI 1. Press " " on the remote control, the figure will Wired appear at the upper right of the screen, you can screen Media choose different sources in.
- Page 9 USB AND TF CARD OPERATION Media Play from USB and TF card. When turn on the unit, the main screen will be as below(specifics are based on the projector), you can choose Movie, Photo, Music and Text to display. The file formats supported by the product are shown in the figure.
-
Page 10: Connecting Hdmi Devices
CONNECTION When connecting a signal source to the projector, be sure to: 1. Turn all equipment off before making any connections. 2. Use the correct signal cables for each source. 3. Make sure the cables are firmly inserted. In the connection illustrations shown below, some cables may not be included with the projector (see accessories). -
Page 11: Connecting Av Devices
CONNECTING AV DEVICES Connect the DVD, DTV Tuner with AV output devices,like DVD Player, DTV Tuner, etc. WIRED SCREEN 1.Press the SOURCE button on the remote control to switch to wired screen mode. 2.A QR code will appear at the lower left corner of screen, scan the code and download the app if using the Android phone. - Page 12 SETTINGS You can get better video performance, from the machine setting. Touch menu key on control panel or remote control, Please note that you can switch between Picture, Sound, Option,BT Device and Keystone with the left and right buttons on the unit or the remote control. Picture Mode: You can adjust the color temperature, contrast, brightness, color, sharpness etc..
- Page 13 Keystone Flip,Vertical Keystone,Trapezoidal reset,window zoom and Zoom screen reset. Filp Back Table Vertical Keystone < 0 > Trapezoidal reset window zoom <100%> Zoom screen reset Keystone BT Device You can turn on the BT Mode and Search Bluetooth to connect wireless bluetooth speaker.
- Page 14 WARNING 1. Use this product only for intended use as described in this manual. 2. No peeking into the lens while projectors is working. 3. No cloth, or any other material that could stock ventilation holes of the projector. 4. No water-proof function for this projector, no such apparatus as vase or cup should be put around the projector.
-
Page 15: Specifications
SPECIFICATIONS Power input ...........AC 100-240V 50/60Hz Power output .............DC 22V Power consumption ..............48W Bluetooth version ................5.1 The symbol indicates AC voltage The symbol indicates DC voltage For indoor use only The symbol indicates energy efficiency marking CAUTION The battery used, please refer for further information to the user manual The symbol indicates polarity of d.c. - Page 16 Printed in China...
Need help?
Do you have a question about the MX-PJ720 and is the answer not in the manual?
Questions and answers