Retrospec Weekender - Inflatable Platform Manual
- User manual ,
- Owner's manual (16 pages)
Advertisement
What's In the Box
If you're missing any of these items, please let us know as soon as possible!
- Your new rolled-up inflatable stand up paddleboard (iSUP)
- Floor hand-pump with integrated gauge & quick attach hose
- 3 piece aluminum length adjustable paddle
- Rucksack backpack
- Fins
- Weekender-10'/Nano/Yogi/Plus - 3 pieces
- Weekender Crew/Crew XL - 5 pieces
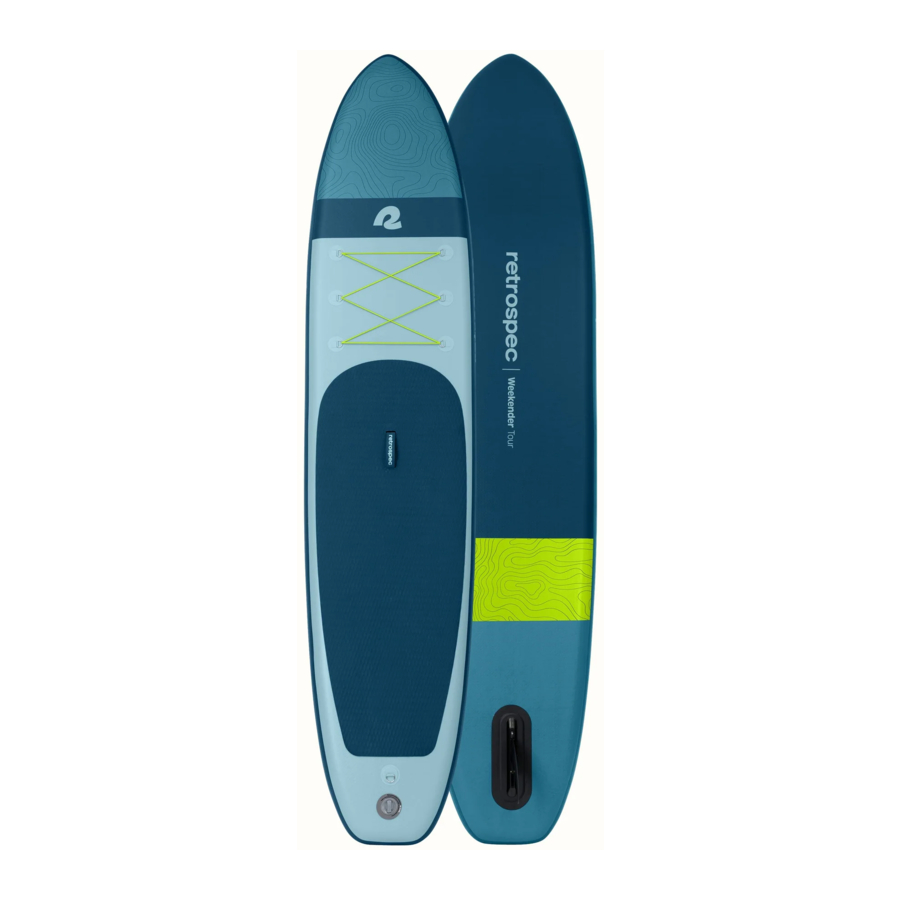
- Weekender Tour - 1 piece
- Waterproof smartphone case
- Leash
What's Not in the Box
(but you might want anyway for safety and security)
- US Coast Guard Approved Personal Flotation Device (PFD)
- UV 30+ protective clothing
- Slip-resistant footwear
- Waterproof flashlight
- Sunscreen
- Whistle
- Hat
General Use Information
- Stand at the center of the board facing forward with your feet approximately shoulder width apart and your knees slightly bent.
- Place one hand on top of the paddle handle. Place the other hand on the shaft of the paddle about 24" below the handle.
- To go straight, paddle alternating from left to right side of board using the same number of strokes on each side.
- To turn left, paddle on the right side of the board. To turn right, paddle on the left side.
Caring for your Product
We have a feeling you're going to love your new board. There are a few things you should know about caring for your board before hopping on. Hey, we all need some TLC.
- Do not store your board (inflated or uninflated) in direct sunlight or excessive heat conditions, such as inside a closed vehicle. Excessive heat will increase the pressure in the board beyond the recommended PSI and may cause irreversible damage.
- If you must store your inflated board in the sun temporarily, protect it by placing it in the shade or by covering it in a towel. Release a small amount of air pressure to allow it room to expand from the heat. Pump it back to full pressure before using it again.
- Rinse your board
- Rinse your board with fresh water after every use. Allow the deck pad to dry thoroughly before rolling or storing.
- Properly Roll Board
- Roll your board from the nose toward the valve end and allow the board to deflate completely.
Inflation Instructions
- Preparing the Board:
Find a clean flat surface free of any debris or sharp objects and unroll your paddleboard with the deck and valve facing up - Preparing the Valve:
Remove the valve cover. Make sure the red valve is locked to keep air from escaping (up position) If the red valve stem is down and air is escaping, turn the red valve stem counter clockwise to close the valve - Assembling the Pump:
Install the pressure guage onto the pump handle - start with the gauge facing down and screw on by rotating clockwise until it stops to secure it to the handle. The guage face should be facing up when finished. Screw the yellow hose to the guage outlet - Secure the Hose to the Board:
Push the hose into the air valve and twist clockwise unti you feel it lock onto the valve - Inflating the Board:
Begin pumping air into the board. Note that the pressure gauge will not register pressure until the board reaches 10psi. The board will begin to take shape after 4min/100 full pumps. Once the board reaches the desired pressure (15psi/225 full pumps), remove the hose from the valve and replace the valve cap onto the valve body. Recommended pressure 12-15psi. Check pressure before each use. Do not transport fully pressurized. Traveling from low to high altitudes will increase air pressure in the chamber and possibly damage your board due to over-pressurization - Do not Exceed the Recommended Pressure!
Do not use an unregulated air compressor to fill the board. Exceeding the recommended pressure will permanently damage the board and voids the warranty - If the valve leaks:
Use the supplied crown wrench to tighten the valve clockwise and stop the leak
| Weekender 10' | Weekender Plus 10' | Weekender Yogi 10' | Weekender Tour 11' | Weekender Nano 8' | Weekender Crew 12' | Weekender Crew XL 16' | |
| Weight Limit lbs. | 275 | 300 | 275 | 300 | 140 | 500 | 1200 |
| PSI Recommended | 15 | 12 | 15 | 15 | 15 | 12 | 12 |
Fin Installation
Tri-Fin & 5 Fin Models:
- Slide the central fin into the center mounting slot and lock in place by screwing the locking pins into the base
- Slide the two smaller outer fins (4 fins for Weekender Crew) into the slots on the outside of the hull and lock in place by screwing the locking pins into the base
- Some force may be necessary to fully insert the fins into their slots
Single-Fin Model:
Place the round pegs at the back of the fin into the fin box. Locate the clip at the front of the fin box and place it at the "c" notch at the front of the fin. Press down at the front of the fin to lock it in place into the fin box
Deflation and Storage
- Fin Removal
Lay board with fins facing up on a clean flat surface free of any debris or sharp objects. Remove the central and side fins by pressing the tab on the lock clip and sliding them out of their mounts - Clean and Dry the Board:
With the board inflated and the valve close, rinse the board with fresh water to clean it of any sand or debris. Allow the board to dry completely. Do not store board while still wet to prevent mildew build up - Deflating the Board:
- Push down on the red valve for 10 seconds to "burp" air pressure from the inside the board before turning the red valve into the down/release position. (If this step is not done, the strong air pressure can rupture the valve's internal mechanism.
- Turn the red valve stem clockwise and push in to release the air. Keep your face away from the valve as the air will escape rapidly and could cause harm
- Rolling up the Board:
- With the board deflated and the valve still open, start at the nose of the board opposite the valve. Fold 3 in. over and roll the board as tight as you can until reaching the valve.
- Close the valve stem by turning the red valve stem counter clockwise to the up/closed position and replace the valve cap.
- Wrap the belt around the rolled up board and fasten the buckle
Let's Keep it Safe Out There

Failure to follow the warnings; precautions; and instructions below and throughout this manual may lead to serious injury or death!
Do not exceed your physical ability:
Determine how long you are able to paddle or swim before using your paddleboard
Always paddle with others:
Avoid paddling alone
Always wear a leash:
Prevents you from becoming separated from your board in case you fall
Familiarize yourself with the body of water where you plan on using your paddleboard:
Check for any known hazardous areas, hours of operation, and where the nearest help can be reached in case of emergency
Don't use your paddleboard in severe weather or in strong windy conditions
Slip hazard:
Hull materials may become slippery when wet. Always wear slip resistant footwear
Hypothermia can cause death:
It can occur in relatively warm water. Survival time decreases dramatically as water temperature drops as quickly as 15 minutes in 35 degree fahrenheit water (2 degrees celsius). Wear a wet or dry suit when necessary
Wear a coast guard approved personal flotation device
Carry a whistle on board (Required by law beyond the surf line):
Allows you to signal other boaters
Never use this paddleboard after sunset:
Always carry a waterproof flashlight in case you are caught in the water after dark to warn other boaters of your presence. Required by US law
Inform others of your paddling plans:
Where you plan to go and how long you plan to be gone
Minors must be supervised at all times
DO NOT consume alcohol or drugs, this may affect your ability to safely operate this paddleboard
Avoid riding your board through shallow water:
Fins may strike submerged objects causing damage to the fins and/or fin boxes which is not covered by warranty
Contact Us
Need some help with your new board? Just want to say "hey" and talk to some fellow outsiders? We're here for that too. team@retrospec.com
Give us a follow, while you're at it:
Instagram: @retrospec
#retrospec
#readytooutdoor
Documents / ResourcesDownload manual
Here you can download full pdf version of manual, it may contain additional safety instructions, warranty information, FCC rules, etc.
Advertisement


Need help?
Do you have a question about the Weekender and is the answer not in the manual?
Questions and answers