
Related Manuals for ThermoSphere TSGFR-2000-B


Summary of Contents for ThermoSphere TSGFR-2000-B
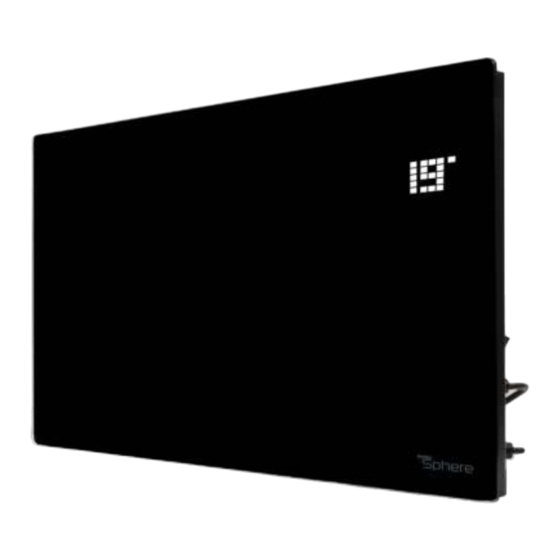
- Page 1 Instructions Glass Panel Heater Digital touch controls and Wi-Fi connectivity Leading the charge for electric heating...
-
Page 2: Table Of Contents
How to use the app Setting up a heating schedule Warranty Watch the ThermoSphere Glass Panel Heater videos! Scan the QR code to see our Glass Panel Heater video playlist and learn everything from how to install your new heater, to setting up a custom heating shcedule on the ThermoSphere app. -
Page 3: Before First Use
• Do not operate the appliance when there is a risk of it coming into contact with water. 0800 019 5899 | enquiries@thermosphere.com | thermosphere.com... -
Page 4: Box Contents
Box contents What‘s inside your Glass Panel Heater box? Glass Panel Heater Wall fixing screws Wall plugs Aluminium feet Fixing screws (for feet) Remote control 0800 019 5899 | enquiries@thermosphere.com | thermosphere.com... -
Page 5: Control Panel Display
9. Temperature (°C) symbol 3. Down button 10. LED temperature display 4. Power button 11. Wi-Fi indicator 5. Heating on symbol 12. Heating power mode 6. Low heating indicator 13. ECO button High heating indicator 0800 019 5899 | enquiries@thermosphere.com | thermosphere.com... -
Page 6: App Overview
App overview Conveniently control your heating and create schedules that suit you, straight from your phone using the ThermoSphere app. Heater name Edit heater name Current heating power ECO mode Set temperature Current room temperature Heating on indicator Adjust set temperature... -
Page 7: Installation
Minimum spacing around the heater must be provided to avoid WARNING! potential performance and safety issues. Wall mounting dimensions and minimum spacing requirements Minimum 1000mm Minimum 100mm Minimum 100mm Minimum 100mm Power Model (mm) (mm) (mm) (mm) TSGFR-1500 750/1500 TSGFR-2000 1000/2000 0800 019 5899 | enquiries@thermosphere.com | thermosphere.com... -
Page 8: Wall Mounting Installation
Plug the heater in and turn on the power. Now, turn the heater on using the switch located on the right-hand side. 0800 019 5899 | enquiries@thermosphere.com | thermosphere.com... -
Page 9: Free Standing Installation
Plug the heater in and turn on the power. Your Glass Panel Heater is now on and Now, turn the heater on using the switch ready to heat your room. located on the right-hand side. Watch the installation video! 0800 019 5899 | enquiries@thermosphere.com | thermosphere.com... - Page 10 To change back to °C or °F, simply repeat step 1. Watch how to use Watch how to use your heater display your heater remote 0800 019 5899 | enquiries@thermosphere.com | thermosphere.com...
- Page 11 On the remote, press and the Mode. The display will light up for any display will fade and only the power changes you make, before returning symbol will show. back to a blank display. 0800 019 5899 | enquiries@thermosphere.com | thermosphere.com...
- Page 12 Using the remote, press to switch between the modes and see the display change from (full power) to (half power). 0800 019 5899 | enquiries@thermosphere.com | thermosphere.com...
- Page 13 Setting up the ThermoSphere app If you want to control your Glass Panel Heater from your phone, download ThermoSphere app. Follow the instructions below to get set up. App installation Scan the QR code below or search ‘ThermoSphere‘ in your device‘s app store.
- Page 14 ‘+‘ at the top right of the screen. 3. Then select ‘Heater‘ from the options. 4. Now on the Glass Panel Heater, press and hold the settings button until you hear it beep. 0800 019 5899 | enquiries@thermosphere.com | thermosphere.com...
- Page 15 Once details are entered press ‘Confirm.‘ 7. You will see the app progressing to 8. The Wi-Fi symbol will disappear from complete connection. This can take up to 2 the heater upon successful connection. minutes. 0800 019 5899 | enquiries@thermosphere.com | thermosphere.com...
-
Page 16: Setting Up A Heating Schedule
10. If you‘ve edited the name press ‘Save‘ the pencil icon. and then ‘Done‘ . You‘ll see your heater‘s control display on the app. Setting up a heating schedule 1. Start by pressing ‘Settings‘ . 2. Then select ‘Schedule‘ . 0800 019 5899 | enquiries@thermosphere.com | thermosphere.com... - Page 17 ON by scrolling up or down. 5. You can apply this heating event to 6. Now, press ‘Save‘ at the top right to confirm your ON times. multiple days by pressing repeat and selecting them. 0800 019 5899 | enquiries@thermosphere.com | thermosphere.com...
- Page 18 ‘ A dd Schedule‘ . 9. Now choose the time you‘d like your 10. Then press ‘Repeat‘ and select which heater to turn OFF. other days you‘d like this off time to apply to. Press ‘Confirm‘ . 0800 019 5899 | enquiries@thermosphere.com | thermosphere.com...
- Page 19 Warranty terms & conditions ThermoSphere Glass Panel Heaters come with product with an available equivalent product. a 2 year warranty. ThermoSphere will supply No responsibility can be taken for altered a replacement product where a fault is shown dimensions and lining up of existing holes.
- Page 20 +44 (0) 800 019 5899 Find us on LinkedIn Search “ThermoSphere” Check out our Youtube channel Search “ThermoSphere underfloor heating” Find us on Instagram Search “ThermoSphere” All content © 2024 Thermogroup Ltd. ThermoSphere is a trading name of Thermogroup Ltd. E&OE...
Need help?
Do you have a question about the TSGFR-2000-B and is the answer not in the manual?
Questions and answers