Table of Contents
Advertisement
Quick Links
Advertisement
Table of Contents

Related Manuals for Curtis pmn


Summary of Contents for Curtis pmn
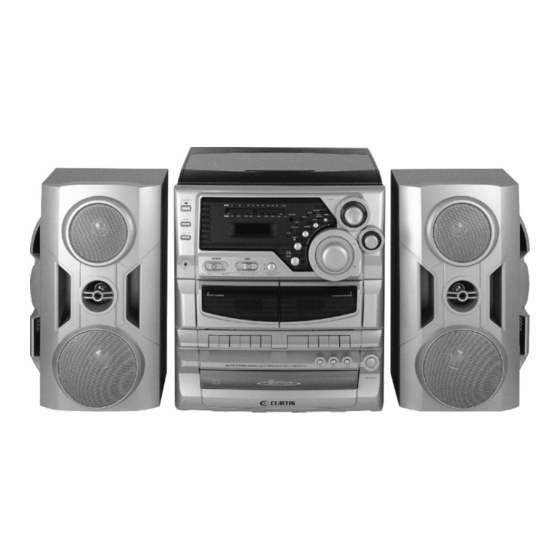
- Page 1 RCD898 INSTRUCTION MANUAL...
-
Page 2: Important Safety Instructions
TO Prevent fire or shock hazard, do not use this plug with an extension cord, receptacle or add other outlet unless the blades can be can be fully inserted to prevent blade exposure. To prevent fire or shock hazard, do not expose this appliance to rain or moisture. The lightning flash with arro- whead symbol,within an equ- ilateral triangle is intented to... -
Page 3: Table Of Contents
ABLE OF ONTENTS Location of controls ...3-4 Remote Control ... 5 Headphones ... 5 Preparation For Use ... 6 Listening to the Radio ... 6 Mute Function ... 6 Preset Equalizer... 6 Handling compact discs ... 7 Loading discs ... 7 Playing Discs... -
Page 4: Location Of Controls
OCATION OF CONTROLS 21-26 - 3 - 27-31 36-40 42-44... - Page 5 OCATION OF CONTROLS MAINS LEAD,SPEAKER SOCKETS AND FM AERIAL WIRE (AT THE REAR OF THE UNIT) CD Door RECORD Key (Deck A) PLAY Key (Deck A) REWIND Key (Deck A) FAST Forward Key (Deck A) STOP / EJECT Key (Deck A) PAUSE Key (Deck A) CASSETTE Compartment A HI-SPEED DUBBING FM MONO Button...
-
Page 6: Battery Installation
EMOTE ONTROL POWER Button STOP Button PLAY / PAUSE Button CD SKIP/SEARCH Buttons PROGRAM Button DISC SKIP Button MUTE Button VOLUME UP/DOWN Buttons. BATTERY INSTALLATION Insert 2 Alkaline (AAA or equivalent) size batteries into the battery compartment of the remote controller and replace the cover(battery not included). BATTERY REPLACEMENT When the batteries become too weak, the operating distance of the remote controller is greatly reduced and you will need to replace the... -
Page 7: Preparation For Use
REPARATION FOR Remove the stereo carefully from the box, retaining the packaging for future use. Read these instructions carefully before use. CONNECTIONS Before switching on your stereo system, ensure that it is connected as follows: SPEAKERS Connect the speakers to the speaker sockets on the back of the music system. Connect the left speaker to the left speaker socket and the right speaker to the right speaker socket. -
Page 8: Handling Compact Discs
ANDLING To remove a disc from its storage case, press down on the centre of the case and lift the disc out, holding it carefully by the edges. Fingerprints and dust should be carefully wiped off the disc's recorded surface with a soft cloth. -
Page 9: Important Information
LAYING ISCS Press the CD Open/Close Button to open the disc compartment, and load a CD. Close the disc compartment, the unit will search for the first tray to contain a CD and the display will show the total playing time of the CD. Press the CD SKIP Button to select the CD of your choice or select the disc using the direct acceess buttons on the front of the unit. -
Page 10: Disc Skip
TO SKIP BACK TO THE PREVIOUS TRACK ON A DISC For example to skip back to the beginning of track 3 while track 4 is playing. Press the Button twice. Disc play will resume at the beginning of track 3. The CD player will skip back one track each time the Button is pressed once in the middle of a track, the CD player will skip back to the beginning of that track. -
Page 11: Record Player
Repeat steps 2 - 4 to enter additional tracks. You can store upto 32 programs in memory. Notes: If the PLAY/PAUSE Button is pressed before the MEMORY Button is pressed to store a track, the track will not be programmed, and the disc will start playing from the first selected track. -
Page 12: Listening To Tape
To stop playing the record mid-way, lift the PICK-UP ARM and swing it gently toward the centre of the record to activate the auto-stop mechanism and the TURNTABLE will stop rotating and the PICK-UP ARM will return to the PICK-UP ARM rest. To turn the unit off, press the STANDBY/ON button again. -
Page 13: Recording From The Radio
ECORDING RECORDING FROM THE RADIO Select the AM or FM Option using the RADIO BAND Selector. Tune in your station and insert a cassette tape into tape deck A. Press the Record Key and the Play Key at the same time to start recording. Press the Stop/Eject Key when finished. -
Page 14: Cassette Care
ASSETTE Two common causes of trouble experienced when using cassettes are:— Tape jamming — Leading to uneven speed in playback, and Tape tangling — Where the tape wraps itself around vital parts of the mechanism. To reduce the likelihood of these problems occurring, the following precautions should be observed. -
Page 15: Important Notes
MPORTANT Hearing is very important to you and to us so please take care when operating this equipment. It is strongly recommended that you follow the listed guidelines in order to prevent possible damage or loss of hearing. S T A B L I S H O U N D Over time your hearing will adapt to continous loud sounds and will give the impression that the volume has in fact been reduced. -
Page 16: Technical Data
ECHNICAL H) / W I M E N S I O N S Set: Speaker L/R: O W E R U P P L Y Voltage: O W E R O N S U M P T I O N E C E P T I O N A N G E CD C...
Need help?
Do you have a question about the pmn and is the answer not in the manual?
Questions and answers