Sign In
Upload
Download
Table of Contents
Contents
Add to my manuals
Delete from my manuals
Share
URL of this page:
HTML Link:
Bookmark this page
Add
Manual will be automatically added to "My Manuals"
Print this page
×
Bookmark added
×
Added to my manuals
Manuals
Brands
Asko Manuals
Dryer
TD75 13 Series
Instructions for use manual
Asko TD75 13 Series Instructions For Use Manual
Hide thumbs
1
Table Of Contents
2
3
4
5
6
7
8
9
10
11
12
13
14
15
16
17
18
19
20
21
22
23
24
25
26
27
28
29
30
31
32
33
34
35
36
37
38
39
40
41
42
43
44
45
46
47
48
page
of
48
Go
/
48
Contents
Table of Contents
Bookmarks
Table of Contents
Table of Contents
Safety Precautions
Dryer Description
Before Using the Appliance for the First Time
Installation and Connection
Advices before Drying
Drying Process, Step by Step (1 - 7)
System Settings
Cleaning and Maintenance
Errors - What to Do
Servicing
Program Table
Disposal
Quick Guide
Advertisement
Quick Links
Download this manual
INSTRUCTIONS FOR USE
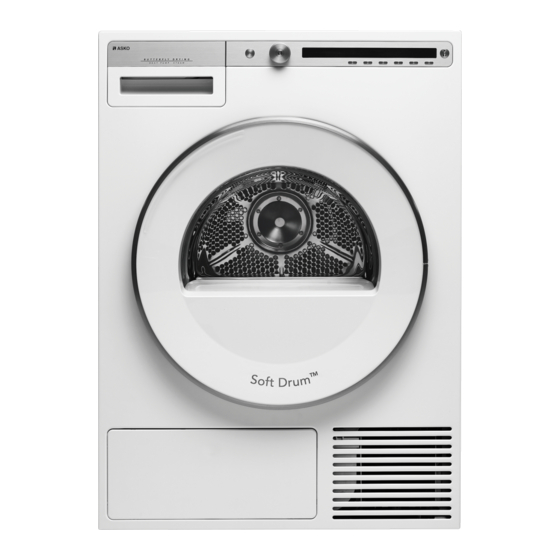
Tumble dryer
T408HD.W.AU
TD75.13XX
T408HD.T.AU
Carefully read the instructions for use before using the dryer.
Table of
Contents
Previous
Page
Next
Page
1
2
3
4
5
Advertisement
Table of Contents
Need help?
Do you have a question about the TD75 13 Series and is the answer not in the manual?
Ask a question
Questions and answers
Related Manuals for Asko TD75 13 Series
Dryer Asko T408HD W Series Instructions For Use Manual
(44 pages)
Dryer Asko TD70.C Service Manual
(33 pages)
Dryer Asko TD70 Service Manual
Tumble dryer (44 pages)
Dryer Asko TD70 User Instructions
Tumble dryers (16 pages)
Dryer Asko TD70.1 SPO Installation Instructions Manual
Domestic vented tumble dryer (12 pages)
Dryer Asko TD75 Installation Instructions Manual
Vented tumble dryer domestic (13 pages)
Dryer Asko TD75 Installation Instructions And Owner's Manuals
Condenser tumble dryer (12 pages)
Dryer Asko TD75.B2 Series Instructions For Use Manual
(48 pages)
Dryer Asko T208C.W.AU Instructions For Use Manual
(44 pages)
Dryer Asko T209H Instructions For Use Manual
(48 pages)
Dryer Asko T409HS Instructions For Use Manual
(52 pages)
Dryer Asko TD75.13XX Instructions For Use Manual
(52 pages)
Dryer Asko TD75.13 Series Instructions For Use Manual
(52 pages)
Dryer Asko TD75.C27X User Manual
(51 pages)
Dryer Asko T208C Instructions For Use Manual
(48 pages)
Dryer Asko T2082H Instructions For Use Manual
(48 pages)
This manual is also suitable for:
T408hd w au series
T408hd t au series
Table of Contents
Print
Rename the bookmark
Delete bookmark?
Delete from my manuals?
Login
Sign In
OR
Sign in with Facebook
Sign in with Google
Upload manual
Upload from disk
Upload from URL


Need help?
Do you have a question about the TD75 13 Series and is the answer not in the manual?
Questions and answers