Advertisement
What's Included

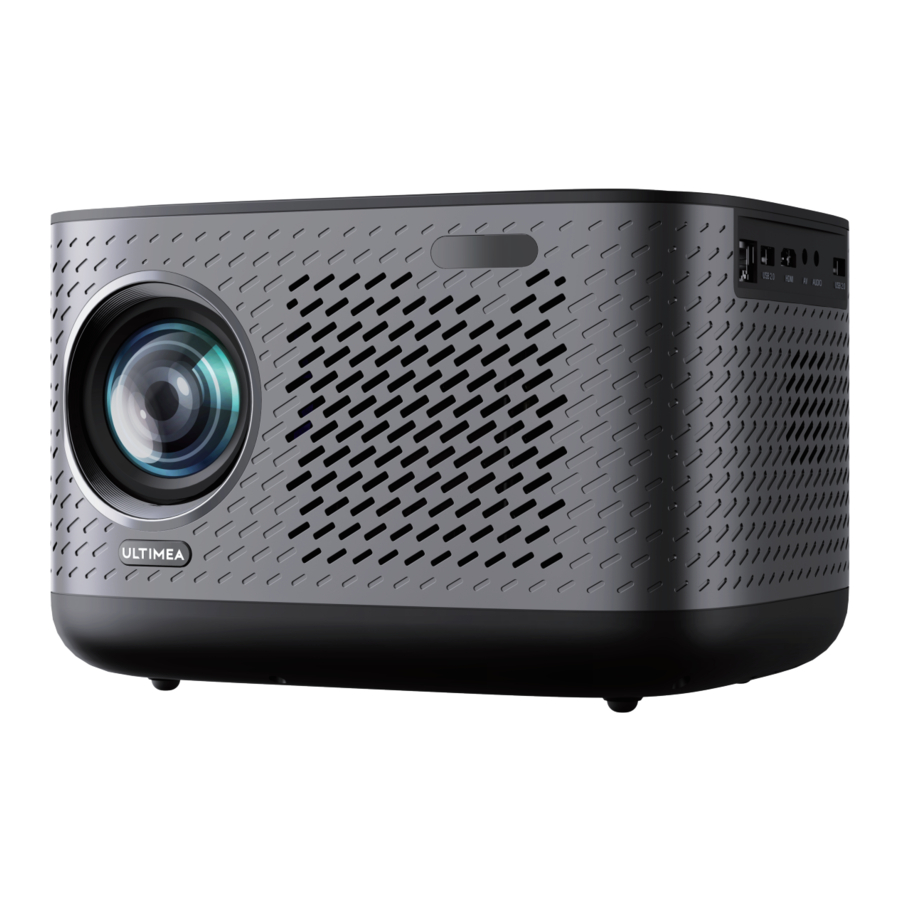
Overview

Remote Control

LED Indication
| LED Status | Description |
| Steady Blue | Powered On |
| Steady Red | Standby Mode |
| Light Off | Powered Off |
Get Started
Prepare the Remote Control
- Open the battery holder cover of the remote control.
![]()
- Install two AAA batteries. Make sure to match the polarity (+/-) indicated and put back the cover.
![]()
- Please refer to the on-screen instructions to pair the remote control with the Apollo P50.
- The distance between the remote and the projector should not exceed 10 m/33 ft.


Power On/Off
- Inserting the power plug using the provided power cord.
- Press the power button or remote control power button once to power on.
- Press the power button or remote control power button twice to power off.

Plug the power cord into an outlet.

Press the power button to turn on the projector.
Placement

- Place Apollo P50 on a stable, flat surface in front of the projection surface.
- Please adjust the distance between Apollo P50 Smart and the projection surface to get the desired projection image.
Projection Distance and Projection Image Size
| Projection Image Size (inch) | Distance (m) | Distance (ft) |
| 80 | 2.49 | 8.12 |
| 90 | 2.8 | 9.19 |
| 100 | 3.1 | 10.18 |
| 110 | 3.42 | 11.22 |
| 120 | 3.73 | 12.24 |
- Notice: The projection image size refers to the distance of the diagonal of the image size instead of the length of the image size.
Auto Focus
- Press the
![]() button, select [More Settings]->[Projection Settings]->[Autofocus Settings]->[Autofocus when moving], select on.
button, select [More Settings]->[Projection Settings]->[Autofocus Settings]->[Autofocus when moving], select on. - Place the projector on a suitable projection surface or wall, and the projector will perform autofocus until it gets a clear image.
Manual Focus
You can also manually focus through the remote control, press the focus button  or
or  on the remote control, and observe the focus icon to adjust the picture until the picture is clear.
Keystone Correction
The projector supports automatic keystone correction and manual four-point keystone correction.
Automatic Keystone Correction
Press the  button, select [More Settings]->[Projection Settings]->[Keystone Correction]->[Auto Keystone Correction], select on. When the projector image is skewed, it will perform auto keystone correction to restore the image to a rectangle.
Manual Four-point Keystone Correction

- If the projected image is stretched or distorted along both axes due to the projection angle, press the
![]() button, select [More Settings]->[Projection Correction]->[Keystone correction]->[Auto Keystone], select off.
button, select [More Settings]->[Projection Correction]->[Keystone correction]->[Auto Keystone], select off. - Select [4-Corner Correction], select the corner you want, and press the
![]() or
or ![]() button on the remote control to adjust.
button on the remote control to adjust.
 or
or  button on the remote control to adjust.
Zoom In/out
Press the button, select [More Settings]->[Projection Correction]->[Digital Zoom], use the remote control navigation buttons  and
and  to adjust the screen size.
Intelligent Obstacle Avoidance
Press the  button, select [More Settings]->[Projection Correction]->[Smart Recognition]->[Intelligent Obstacle Avoidance], select the function on/off.
Automatic Screen Alignment
Press the  button, select [More Settings]->[Projection Correction]->[Smart Recognition]->[Intelligent Screen Alignment], select the function on/off.
Projection Settings

Press the  button, [More Settings]->[Projection Settings]->[Projection Mode], select Desktop Front Projection/Desktop Rear Projection/Ceiling Front Projection/Ceiling Rear Projection.
Bluetooth Connection
Bluetooth Speaker
If you want to connect to the projector via bluetooth from your mobile phone, please select [Input Source] -> [Bluetooth Speaker] and follow the prompts.
Bluetooth Connection
If you want to connect to a Bluetooth speaker/headphone at home, please select [Settings]->[More Settings]->[Bluetooth], and then select the device to be connected.
Wireless Connection
Screen Mirroring from Android Devices
Please select [Smart Key] -> [Wireless Display], make sure your Android device and the projector are connected to the same Wi-Fi network, and follow the prompts to operate.
Stream Videos from DLNA
Press the input source  on the remote control, select [DLNA], make sure your phone/tablet and the projector are connected to the same Wi-Fi network, Open the video playback apps and follow the prompts to operate.
Screen Mirroring from iOS Devices
Currently, due to iOS's authorization restrictions, wireless screen mirroring cannot be achieved. Please use a lightning to HDMI adapter cable to achieve wired screen mirroring.
Wired Connections

Play from an HDMI Playback Device
This Apollo P50 supports connections with various HDMI playback devices, such as PC, DVD player, set-top box (STB), game console or other devices.
- Connect this projector to an HDMI playback device with an HDMI cable.
- Press the
![]() button on remote control to select [HDMI] and press
button on remote control to select [HDMI] and press ![]() .
.
 .
.Play from a USB Storage Device
With Apollo P50, you can enjoy music, video, andpictures, or install apps that are stored on a USB storage device.
- Plug in the USB storage device.
- Press the
![]() button on remote control to select [USB] and press
button on remote control to select [USB] and press ![]() .
. - Select a file you plan to play from the file and folder menu.
- Press
![]() to start playback.
to start playback.
Play Through External Sound Devices Via AUX Cable
- Connect one end of the 3.5mm AUX cable to the AUX port on this projector.
- Connect the other end of the 3.5mm AUX cable to the AUX port on headphones or external speakers.
- Playback on the projector.
Specifications
Native Resolution: 1920x1080
Speaker Drivers: 10W×2
Throw Ratio: 1.4:1
Aspect Ratio: 16:9/4:3
Recommended Screen Size: 80"-120"
Power Consumption: 110W
Power Input: 100-240V AC, 50-60Hz 2.5A
Safety Instructions
Read all instructions before you use this device. Do not make any changes or create settings that are not described in this manual. If physical injury, loss of data, or damage is caused by failure to follow instructions, the warranty does not apply.
Setup
- To avoid personal injury or property damage, please comply with the instructions in this manual carefully and do not use the product in any other way.
- To reduce the risk of fire and/or electric shock, do not expose the device to rain or moisture. Objects filled with liquids, such as vases, should not be placed on this device.
- Do not place this device on soft surfaces such as tablecloths or carpets, otherwise the device could be a fire hazard.
- Do not place this device in areas susceptible to excessive dust and dirt or near any appliance generating a strong magnetic field.
- To prevent overheating, do not block or clog the ventilation openings.
- Never place this device in a confined space. Always leave enough space around this device for ventilation.
- Avoid overexposing this device to direct sunlight, heat, large temperature fluctuations, and moisture.
Avoid extreme temperatures. - When this device is running for a long period of time, the surface may become hot. If this occurs, shut it down immediately and unplug the charger. Resume operation after the device has cooled down.
- Always handle this device with care. Avoid touching the lens.
- Do not allow children to handle the device without supervision.
- No not place heavy or sharp objects on this device.
- To avoid electric shock, do not disassemble the evice.
- Avoid extreme vibration. It may damage the internal components.
- Only use attachments or accessories specified by the manufacturer.
- Please comply with the laws and regulations of the country and region where the equipment is located (used), observe professional ethics, pay attention to safety obligations, and strictly prohibit the use of our products or equipment for any illegal purpose.
- When using a projector in a dark environment, be mindful of the safety of your audience. Ensure that equipment such as projectors and power cords are placed in locations where they cannot be easily tripped over or touched, and avoid crossing cords to minimize safety risks.
Power Supply
- Use only the provided power adapter.
- Power off the device before removing the power supply from the socket.
- Protect the power cord from being walked on or pinched, particularly at plugs.
- Unplug this device if there are lightning storms or when unused for a long period of time.
- Before you make or change any connections, ensure that all devices are disconnected from the power outlet.
- Never touch the power cable or the power connector with wet hands.
Hearing Safety
- To prevent hearing damage, do not listen for extended periods at high volume. Set the volume to a safe level.

- Do not stare directly at the operating beam. The bright light may damage your eyes.
Cleaning
- Use a soft, lint-free cloth. Never use liquid, gaseous, or easily flammable cleansers to clean.
- Do not use any liquid cleaning agents to clean the lens to avoid damaging the coating film on the lens.
- Wipe the surfaces gently. Be careful that you do not scratch the surface.
- Use lens cleaning paper to clean the lens.
Repairs
- Do not make any repairs to this device yourself. Only have your device repaired by an authorized service center.
- Improper maintenance can result in injuries to persons or damage to this device.
- Refer all servicing to qualified service personnel.
System
- Due to regular updates to the Linux system interface and user interface updates through software upgrades, variations between the interface and the manual might arise. Should any disparities between the manual and the final product's user interface occur, kindly rely on the actual on-screen display for accurate information.
WE ARE READY TO HELP
support@ultimea.com
Prefer video tutorial?
Setup guidance video and User Manuals on ULTIMEA website.

support.ultimea.com

@ultimea_official
+1 888-598-8875 (US) Mon-Fri 9am-5pm (PST)
+49 89-628-25828 (EU) Mon-Fri 9am-5pm (CET)
Documents / ResourcesDownload manual
Here you can download full pdf version of manual, it may contain additional safety instructions, warranty information, FCC rules, etc.
Advertisement


Need help?
Do you have a question about the Apollo P50 and is the answer not in the manual?
Questions and answers