Table of Contents
Advertisement
Quick Links
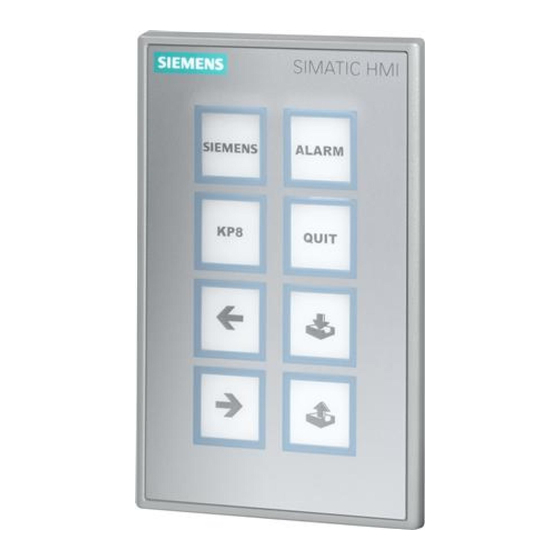
KP8, KP8F, KP32F
SIMATIC HMI
HMI device
KP8, KP8F, KP32F
Operating Instructions
11/2011
A5E03284305-02
___________________
Preface
___________________
Overview
Safety instructions and
___________________
approvals
___________________
Planning the use
___________________
Mounting and connecting the
HMI device
___________________
Operator controls and
displays
___________________
Assigning parameters for the
HMI device in STEP 7
___________________
Fail-safe operation of KP8F
and KP32F
___________________
HMI device maintenance and
repair
___________________
Technical specifications
___________________
Appendix
___________________
List of abbreviations
1
2
3
4
5
6
7
8
9
A
B
Advertisement
Table of Contents


Need help?
Do you have a question about the SIMATIC KP8 and is the answer not in the manual?
Questions and answers