Table of Contents
Advertisement
Quick Links
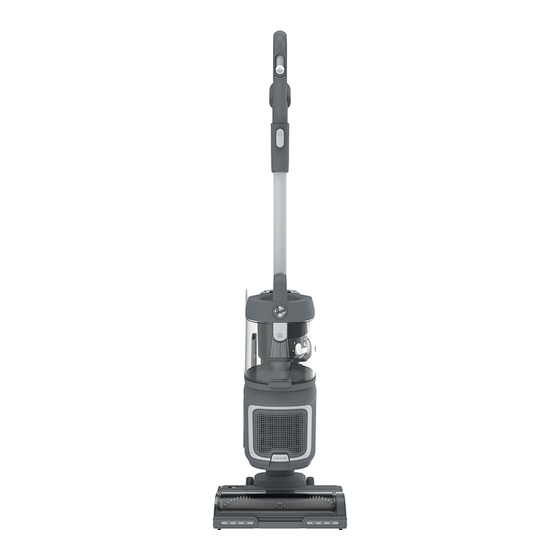
HL500HM - 001 - 39101039
HL500PT - 001 - 39101040
230-240V~ 50-60Hz
850W
6.4Kg
DOWNLOAD THE
hOn APP
INSTRUCTION MANUAL
CONTENTS
Instructions for safe use.........................
1. Getting to know your cleaner................
2. Preparing your cleaner........................
3.1 Upright mode..............................
3.2 Brushbar status............................
3.3 Upright - Accessory mode...............
3.4 PUSH&LIFT above floor mode...........
4.1 Dust bin....................................
4.2 Dust bin - Allergy users..................
4.3 Filters.......................................
4.5 Clearing a blockage......................
5. Troubleshooting................................
6. Important information........................
P2
P3
P4
P5
P6
P6
P7
P8
P8
P9
P10
P10
P11
P11
Advertisement
Table of Contents

Related Manuals for Hoover HL500HM


Summary of Contents for Hoover HL500HM
-
Page 1: Table Of Contents
INSTRUCTION MANUAL CONTENTS Instructions for safe use......HL500HM - 001 - 39101039 1. Getting to know your cleaner....HL500PT - 001 - 39101040 2. Preparing your cleaner......3. Using your cleaner 230-240V~ 50-60Hz 3.1 Upright mode......3.2 Brushbar status......850W 6.4Kg... -
Page 2: Instructions For Safe Use
Please ensure that this guide is operation of this appliance we recommend that any servicing fully understood before operating the appliance. or repairs are only carried out by an authorised Hoover service Do not leave the appliance plugged in. Always switch off and engineer. -
Page 3: Getting To Know Your Cleaner
1. GETTING TO KNOW YOUR CLEANER Thank you for purchasing your new Hoover upright vacuum cleaner HL5. MAIN COMPONENTS: A. Dust bin release button B. Cord storage hook upper C. Dust bin lid release button D. Accessory holder E. Cord storage hook lower F. -
Page 4: Preparing Your Cleaner
IMPORTANT: Accessories included are dependant on your model. Full specification 2. PREPARING YOUR CLEANER details for your product are included on your product packaging. Remove all product parts from the packaging and assemble your cleaner. STEP 1: STEP 2: STEP 3: STEP 4: STEP 5: Fit the main product unit into... -
Page 5: Using Your Cleaner
3. USING YOUR CLEANER 3.1 UPRIGHT MODE To use your product in Upright mode: STEP 1: STEP 2: STEP 5: Plug the power cord into the socket. Press the ON/OFF button to operate your Turn your cleaner off by pressing the ON/OFF Place your foot onto the nozzle and pull the handle cleaner. -
Page 6: Brushbar Status
There are 4 conditions of the brushbar status light during use in upright mode: 3. USING YOUR CLEANER 3.2 BRUSHBAR STATUS 1. OFF: the brushbar is turning, the nozzle LED lights are on. Your product is operating in hard floor mode. 2. -
Page 7: Push&Lift Above Floor Mode
3. USING YOUR CLEANER 3.4 PUSH&LIFT ABOVE FLOOR MODE To use your product in PUSH&LIFT above floor mode: STEP 1: STEP 3: STEP 5: Place your product in the upright Remove the main unit from the Remove the handle & wand from position. -
Page 8: Cleaner Maintenance
IMPORTANT: Before performing any maintenance task, always ensure your product is 4. CLEANER MAINTENANCE switched off and unplugged from the electricity supply. 4.1 DUST BIN Emptying the dust bin STEP 1: STEP 2: STEP 3: STEP 4: STEP 5: STEP 6: Press and hold Remove the Press the dust... -
Page 9: Filters
IMPORTANT: for optimum performance, always keep your filters clean. 4. CLEANER MAINTENANCE We recommend that the filters should be washed at least once a month. 4.3 FILTERS Cleaning the pre-motor filters STEP 1: STEP 2: STEP 3: STEP 5: STEP 6: Remove the dust Remove both Remove any... -
Page 10: Brushbar
4.4 BRUSHBAR Thanks to ANTI-TWIST, your new Hoover upright vacuum features an integrated comb which helps to prevent hair wrapping around the brushbar. However, if your cleaner is not picking up efficiently, or brushbar status light is red, your brushbar may need to be cleaned. -
Page 11: Troubleshooting
If your cleaner does cut out, perform all maintenance tasks contained in the manual before resuming.(see pages 8,9 &10) If there is any doubt call the Hoover Service Office for advice. They may be able to assist you over the telephone. A service charge will be made if the cleaner is examined and found to be in working order, has not been assembled in accordance with these instructions or has been used incorrectly. - Page 12 To qualify for under the guarantee, you must be able to provide proof of date of purchase and the appliance must have been supplied, maintained and used in accordance with Hoover instructionsThe guarantee does not cover accidental damage, loss or damage arising from the breakdown of the product. The guarantee excludes A) Any faults which occur due to defective installation or misuse of themachine B) Repair of, or interference with, the machine by any person not authorised by the manufacturer C) Any parts which are to the machine which are not original manufacturers parts D) Nondomestic use of the machine E) Operation at incorrect voltage F) the result of using the machine for any purpose other than those described in the instruction manual.
Need help?
Do you have a question about the HL500HM and is the answer not in the manual?
Questions and answers