Advertisement
Technical Specifications
| Voltage | 120V AC |
| Frequency | 60 HZ |
| Amps | 11.7 A |
| Rating | 1400 w |
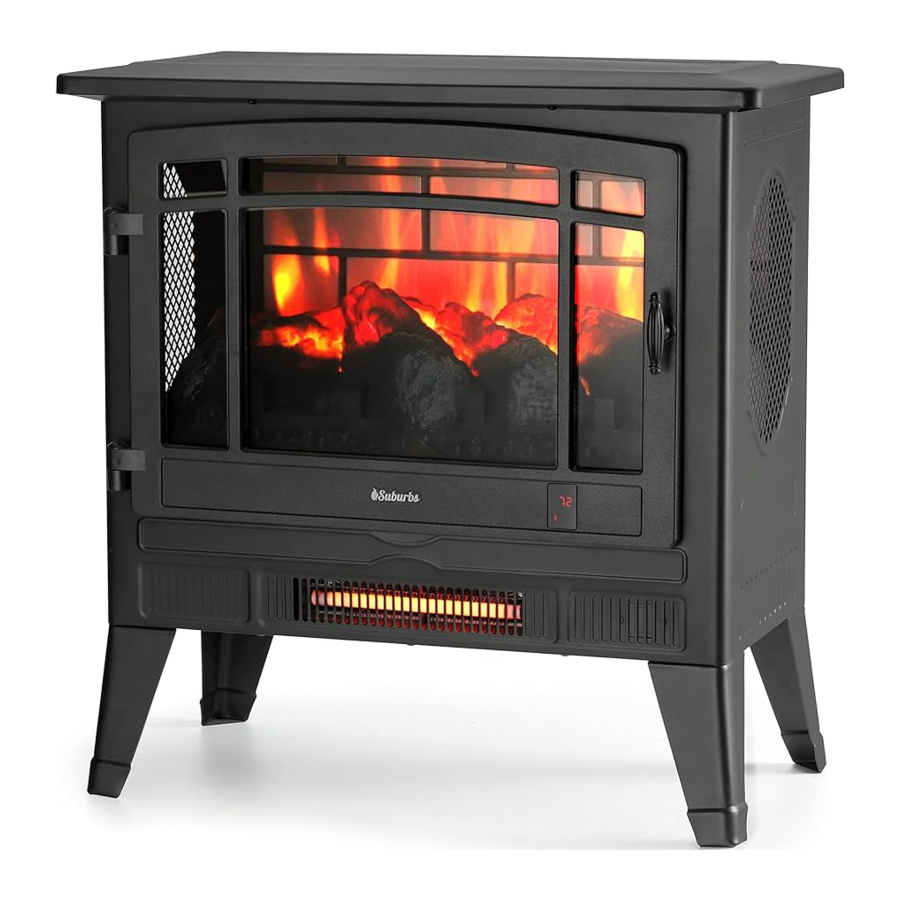
| Dimensions (H x W x D) | 24 x 25 x 14inches 60cm x 62cm x 34cm |
| Heating Capacity | 4780 BTU |
| Peak Sound Level | 37 dB |
Dimensions

Parts List

| Part | Description | Quantity |
| A | Electric Fireplace | 1 |
| B | Leg | 4 |
| C | Phillips-Head Screw | 16 |
| D | Remote Control | 1 |
Installation
INSTALLATION WARNINGS
- The fireplace is heavy and should be assembled near its desired location
- It is recommended that two people move the fully-assembled fireplace to prevent injury.
- Do not install the unit on shelved, raised platforms, beds, blankets, pillows, etc.
- Keep combustible materials such as furniture, bedding, papers, clothes, and curtains at least 3 ft away from the fireplace
- Make sure that the unit is installed so that the power cord is not compressed against or caught on the fireplace and that it has an unobstructed path to a grounded power outlet.
BEFORE ASSEMBLY
Open the unit and check carefully for visible damage. If you have any problems with installation, operation, missing parts, or other damage, please contact the TURBRO customer service team. Do not dispose of packaging until you are satisfied with your fireplace. Contact the TURBRO customer service team before returning the unit.
INSTALLATION LOCATION
The fireplace should be located in an area that is not in direct sunlight, not susceptible to moisture, and away from any uninsulated exterior walls.
TOOLS REQUIRED

Phillips-head screwdriver (not included)
Tip: Recommend to use a 6-8 inch screwdriver. A long screwdriver may help you finish the assembly quickly.
ASSEMBLY INSTRUCTIONS

- Place the fireplace upside down on a padded surface with the underside accessible.
- Attach the leg to the bottom of the fireplace.
- Insert screws into the predrilled holes and tighten securely for each leg.
- Flip over when complete
Control Panel

- Press the main power button
![]() to turn on the fireplace.
to turn on the fireplace.
 to turn on the fireplace.
- LCD Screen: Displays information about the settings you are using.
- Indicator Lights: There are 3 indicator lights below the LCD screen red, green, and blue.
- Red - Indicates that the LCD screen is displaying the temperature in degrees Fahrenheit.
- Green - Indicates that the LCD screen is displaying the temperature in degrees Celsius.
- Blue - Indicates that the timer function is in use.
- Timer: Controls the amount of time that the heater and/or flame effect will run before powering off. See section below for more details.
- Heater On/Off Control: Controls how much heat is produced by the fireplace. For safety concerns, this function must be used together with the flame effect. See section below for more details.
- Flame Control: Controls whether flames will be visible through the front glass. See section below for more details.
- Power Switch: The power switch supplies power to all functions of the fireplace. This switch must be in the ON position for any of the below functions to work.
USING THE HEATER CONTROL

- Press the heater on/off button
![]() to turn on the heating function.
to turn on the heating function. - When the heater is on, long press the heater button for 5 seconds to enter the temperature setting adjustment. The LCD screen
![]() will start flashing.
will start flashing. - Press the heater button to cycle through the temperature level.
- After choosing your heat level, wait for the LCD screen
![]() to flash 5 times. Your temperature is now set.
to flash 5 times. Your temperature is now set.
 to turn on the heating function.
  will start flashing.
 Note: Theheater will automatically pause after reaching the set temperature in your room. If the heater control is set to "ON" the heater will work nonstop until you shut it off manually.
| Button Press | Celsius Temperature |
| 1 | 22°C |
| 2 | 23°C |
| 3 | 24°C |
| ... | ... |
| 6 | 27°C |
| 7 | ON |
| 8 | 17°C |
| 9 | 18°C |
| ... | ... |
| 12 | 21°C |
| Button Press | Fahrenheit Temperature |
| 1 | 72°F |
| 2 | 73°F |
| 3 | 74°F |
| ... | ... |
| 11 | 82°F |
| 12 | ON |
| 13 | 62°F |
| 14 | 63°F |
| ... | ... |
| 22 | 71°F |
To switch from Fahrenheit to Celsius (or vice versa) press and hold the main power button for 5 seconds. The LCD screen will flash 5 times to confirm your settings.
USING THE FLAME CONTROL
Press the flame control button to cycle through the flame brightness levels. The default flame brightness setting is L3 (high) after powering on
| Button Press | Flame Level | Display Value | Fireplace Appearance |
| 1st press | High | L3 | Flames Highest, Logs Glow Highest |
| 2nd press | Medium | L2 | Flames Medium, Logs Glow Medium |
| 3rd press | Low | L1 | Flames Low, Logs Glow Low |
USING THE TIMER FUNCTION
The timer button is used to control the time of the flame and/or heater function. If the heater and/or flame effect are powered on when you enter the timer adjustment mode, those settings will be under the control of the time you set.
Press the timer button repeatedly to cycle through the timer settings. The blue indicator light will power on once you have confirmed a timer, and the LCD screen will flash 5 times to confirm your timer settings.
| Button Press | Timer Interval | Display |
| 1st press | 30 Minutes | 30 |
| 2nd ress | 1 Hour | 1h |
| 3rd ress | 2 Hours | 2h |
| 4th press | 3 Hours | 3h |
| 5th press | 4 Hours | 4h |
| 6th press | 5 Hours | 5h |
| 7th press | 6 Hours | 6h |
| 8th press | OFF | None |
USING THE REMOTE CONTROL
The remote control can be used up to 13 feet (4 meters) away from the heater, so long as there are no obstructions between the remote control and the heater.

REMOTE CONTROL BATTERIES
Press and slide the battery cover on the rear of the remote and remove the cover. Insert two new AAA 1.5V batteries into the battery compartment. Ensure that the polarity is correct. Batteries are not included in the package due to safety concerns during transportation.
Note: Do not mix old and new batteries together in the remote. Do not mix alkaline, standard (carbon-zinc), or rechargeable (NiCad, NiMh, etc.) batteries together
Cleaning & Maintenance
- Always turn the fireplace OFF and unplug the power cord from the outlet before cleaning.
- Use a vacuum or duster to remove dust and dirt from the fireplace and vent areas
- Clean with a soft, damp cloth and buff with a dry cloth to maintain the luster of this product.
- Never use abrasive cleaners, liquid sprays, or any cleaner that could scratch the surface of the appliance.
Troubleshooting
Customer Support: support@turbro.com
| Problem | Possible Cause(s) | Corrective Action |
The unit doesn't operate |
|
|
|
| |
|
| |
|
| |
| Power light is ON but the flame effect is not visible |
|
|
Excessive noise when the unit is operating |
|
|
|
Safety Instructions
Please read the following instructions before attempting to assemble, operate, or install this product.
- Do not use this product with missing, damaged, or broken legs.
- Do not use this product outdoors. This product is for indoor use only
- This product is not intended for use in bathrooms, laundry areas, and similar indoor locations. Do not place this product where it may fall into a bathtub or other water container.
![]()
This product is hot when in use. To avoid burns, do not touch surfaces with bare skin. If necessary, use handles when moving this product. Keep combustible materials such as furniture, pillows, bedding, papers, clothes, and curtains at least 3 ft from the product.- Do not use this product in an elevated location, such as on a shelf, raised platform, countertop, etc.
- Do not run the power cord of this product under carpeting, throw rugs, runners, or similar items. Arrange the cord away from high-traffic areas so that it will not be tripped over
- Extreme caution is required when the product is used near children or invalids and whenever the product is left operating unattended.
- Do not operate this product with a damaged power cord or plug, after the appliance malfunctions, or the product is damaged. Any repairs to this appliance should be carried out by a qualified service person.
- Under no circumstances should this product be modified. Parts removed for service must be replaced prior to using this product.
- Connect to properly grounded power outlets only.
- Always plug the fireplace directly into a wall outlet. An extension cord, outlet, or power strip should never be used with this product.
- This product, when installed, must be electrically grounded in accordance with local electrical codes. For the USA: National Electric Code, ANSI/NFPA No. 70. For Canada: CSA C22.1 Canadian Electrical codes.
- To disconnect this product, turn the product off from the control panel, then remove the power plug from the outlet.
- Always unplug this product if you do not plan to use it for a long period of time.
![burn hazard]()
![shock hazard]()
Do not insert or allow foreign objects to enter any ventilation or exhaust openings as this may cause an electric shock, fire, or damage to the appliance![burn hazard]() To prevent possible fires, do not block air intakes or exhausts in any manner. Do not use on soft surfaces, like a bed, where the opening may be blocked
To prevent possible fires, do not block air intakes or exhausts in any manner. Do not use on soft surfaces, like a bed, where the opening may be blocked - The fireplace has hot, sparking, and arcing parts inside. Do not use it in areas where gasoline, paint, or flammable liquids are used or stored. This appliance should not be used as a drying rack for clothing.
![burn hazard]()
![shock hazard]()
Use this appliance only as described in this manual. Any other use not recommended by the manufacturer may cause fire, electric shock, or personal injury.


- This product can expose you to toxic chemicals including Di (2-ethylhexyl) phthalate (DEHP), which may cause cancer or harm developmental growth.
- Wash hands after installation.
![]()

For more information go to www.p65Warnings.ca.gov
Electrical Safety
- A 15-amp, 120-volt, 60 Hz circuit with a properly grounded outlet is required. Preferably, the item will be on a dedicated circuit. Having other appliances on the same circuit may cause the circuit breaker to trip or the fuse to blow while the product is in operation. The product comes with a 6 ft (1.8m) long power cord with a 3-prong plug, which is located on the right side of the appliance.
![burn hazard]()
![shock hazard]()
Electrical outlet wiring must comply with local building codes and other applicable regulations to reduce the risk of fire, electrical shock, and personal injury.- Do not use this item if any part of it has been submerged in water. Immediately call a qualified service technician to inspect the item and replace any part of the electrical system which has been underwater.
- This product is equipped with a polarized plug where one prong is wider than the other. For your safety, please insert the plug correctly. If you are unable to insert the plug into the electrical outlet try reversing the plug. If the plug still does not fit, contact a qualified electrician.
- Always plug the unit into a wall outlet. An extension cord, power strip, outlet extender, or any similar products should never be used with this product as it may increase the risk of fire.
US 3-Pin Polarized Plug
This product is equipped with a 3-pin polarized plug. Connect to properly grounded outlets only. This unit is for use on 120 volts outlets only. For your safety, please always plug the unit into a wall outlet/receptacle. An extension cord or power tap (outlet/power strip) should never be used with this device.

Warranty Information
HOW TO REQUEST WARRANTY SERVICES?
- To obtain the benefit of this warranty, please leave a message online (www.turbro.com/contact), or send an email to support@turbro.com.
support@turbro.com
www.turbro.com
Documents / Resources
References
![www.p65warnings.ca.gov]() http://www.p65warnings.ca.gov
http://www.p65warnings.ca.gov![www.turbro.com]() Contact Us – TURBRO
Contact Us – TURBRO![www.turbro.com]() TURBRO - Electric Fireplaces, Air Conditioners, HVAC Accessories
TURBRO - Electric Fireplaces, Air Conditioners, HVAC Accessories

Download manual
Here you can download full pdf version of manual, it may contain additional safety instructions, warranty information, FCC rules, etc.
Advertisement


Need help?
Do you have a question about the Suburbs TS25 and is the answer not in the manual?
Questions and answers