Table of Contents
Advertisement
Quick Links
Advertisement
Table of Contents

Related Manuals for myBox Post

Summary of Contents for myBox Post
- Page 1 MyBox Post Users guide | Installation manual...
-
Page 3: Table Of Contents
Content Basic information Introduction Product overview Functions Technical specification Safety Important safety instructions Installation Preparation for installation Installation guide Daily use and operation How it charges Light singalization Settings Charging station settings Charging station configuration Others Manufacturer's declaration IMPORTANT: Read the manual carefully before use and keep it for future reference. -
Page 4: Introduction
The structure for placing the product must have sufficient load-bearing capacity. Alternatively, the MyBox stand designed for the PROFI station can be used for mounting. The product may only be operated with the approved operating parameters and under the specified environmental conditions. -
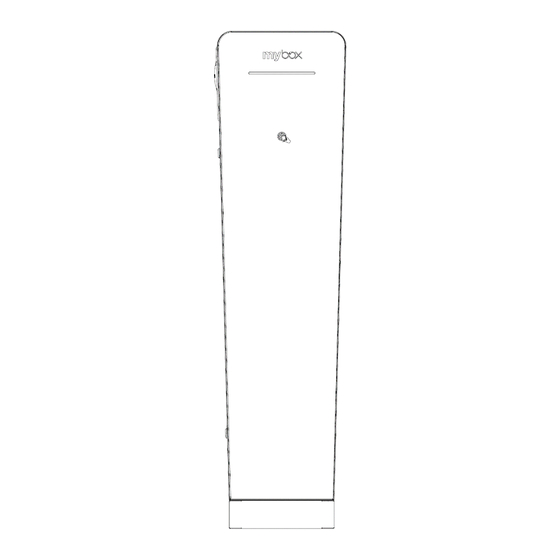
Page 5: Product Overview
Product overview Front panel - door Body + base Provides signalling, identification For mounting on a solid base and and also protection of the connection to the mains. Includes electrical part of the equipment all electronic components needed against environmental influences. for vehicle charging. -
Page 6: Functions
RFID tag (card, chip, key fob, etc.). For more information, please visit our website at www.mybox.eco/support. 3. Type 2 sockets or integrated charging cables: Type 2 sockets or universal charging cables allow you to charge any type of electric vehicle equipped with a Type 2 (Mennekes) input socket. -
Page 7: Technical Specification
Technical specification Model Post 2x 22 kW IP54 (unplugged) Coverage IP44 (plugged) Impact rezistance IK10 (whole station) Surface material tempered glass, painted or stainless steel Status indication RGB LED color indicator Operating temperature -30°C to +50°C Dimensions (W x H x D) -
Page 8: Important Safety Instructions
Important safety instrucions Before use, carefully read all instructions to ensure proper installation of the charging station. This charging station is designed for indoor and outdoor installation. The device must be installed safely. Adequate protection must be provided during the installation process, in accordance with all installation conditions. -
Page 9: Preparation For Installation
Preparation for installation Switchboard equipment Place of installation Circuit breaker 3-pole, characteristic B, 80 The station must be mounted in a solid, level substrate (concrete) where minimum distances from obstacles must be observed, see picture below. CYKY 5x 16-25 mm2 The Supply cable cable supply to the station Select a suitable location for mounting the charging... -
Page 10: Installation Guide
WARNING! Turn off the power before starting the installation. Use extreme caution and follow the instructions carefully. www.mybox.eco/support. In addition to the instructions in the installation manual, we recommend watching the installation videos available on our website mybox.eco... - Page 11 Installation Preparation 1. The base of the station serves directly as a drilling 1. Place the station on the base and secure template. So first mark and drill holes for dowels with the screws and washer with rubber and possibly for the supply cable. gasket.
- Page 12 Assembly Wiring 1. Strip the individual wires by 13 - 15 mm. If 1. After stretching the power and the cable has salted conductors, it is communication cable, the sliding part must recommended to use sleeves. Use the be pressed against the cables and secured by correct tools to crimp them.
-
Page 13: How It Charges
Operating Instructions charging station (users guide) START OF CHARGING 1. The first step is to connect the charging cable to the car, select an available socket and connect the cable to the charging point. 2. When the charging cable is plugged in, the LED signal lights up blue in the mid-view. -
Page 14: Light Singalization
Charging station status indication Indication of the station status is provided by a view on the front panel of the station. Indication of the station status is provided by a view on the front panel of the station. After each charging point, the signalling is divided into two halves. -
Page 15: Charging Station Settings
For building a charging station control unit PC and charging station connection for setting up the control unit To connect, use the ETH0 port on the control unit Set up PCs within the same IP address range - see the Charge Controller Setup and Installation documentation The IP address of the control unit is factory set to 192.168.1.100... - Page 16 Change password Change your password regularly to prevent misuse and invalid device settings, change passwords at startup. At the latest at the point of installation. Assign a new password for your user role by clicking on the " Profile" button. If you do not use WBM, to prevent misuse and invalid device settings within your user profile, log out by clicking the button.
- Page 17 IP address reconfiguration Reconfiguring the IP address of the station - Automatic Assignm ent (DHCP) is not enabled From the menu, select System Control > Network Change IP Address and Subnet Mask Save Enter IP address - if the IP address is not known When connecting to the control unit, a cable The driver must be installed for proper...
-
Page 18: Charging Station Configuration
Control unit configuration konfigurace Charging current setting • The charging current settings can be changed in Charging park > Control view zvolení nabíjecího bodu např. Ch arx3000 > Configuration > Energy Charging current Charging Current M inimum – 6 A Charging Current Maximum –... - Page 19 Power division settings (Load Management) Charging Park > L oad Management - The top • The measuring device is configured by connection type: of the page shows the current status of load management. Underneath, you can define configurations and add charging sites to load None: No master measuring device is connected.
- Page 20 • Load Strategy: Even distribution: all • Charging points: It is always necessary to charging points receive an even select and tick which charge points the DLM distribution of energy. Charging points applies to. do not have priority. Example of connecting multiple control units to each other - always from port ETH 1 to port ETH0...
- Page 21 By OCPP: factory) OCPP ID: The default value is "-1". You • Type of the RFID Reader: MyBox uses • must enter an ID here; this ID must be Elatec TWN4 unique in the charging park. You must enter an ID starting with 1.
- Page 22 Nastavení local Whitelistu (RFID karet) Whitelist settings can be done in Charging park > Whitelist - add / remove RFID cards one at a time. Also available im port and export RFID cards in bulk. NEW ENTRY – adding a new RFID card •...
- Page 23 OCPP settings Optional OCPP settings OCPP settings can be done in Charging park > OCPP > Configuration. These parameter values are not mandatory - they are set according to the backend requirement Charging authorisation must be set to OCPP, see. Point - Setting variable values - Charging park >...
-
Page 24: Manufacturer's Declaration
ELEXIM, a.s. is not responsible for any other use of the information provided in this document. ELEXIM, a.s. and MyBox products, product names, trademarks and slogans, whether registered or not, are the intellectual property of ELEXIM, a.s. and may not be used without its prior written consent.
Need help?
Do you have a question about the Post and is the answer not in the manual?
Questions and answers