Advertisement
Quick Links
Bedienungsanleitung
D
GB
Operation Instructions
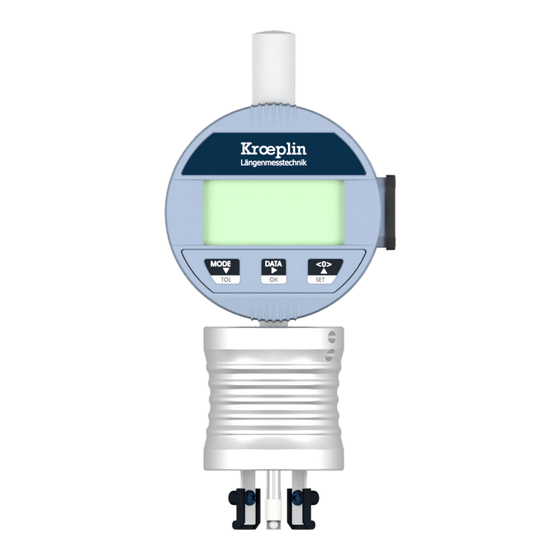
Gauge for the determination of the clinch height
Soweit durch diese Anweisung Vorschriften im Schadensfall aus dem Produkthaftungsgesetz
berührt sind, werden diese hiermit ausdrücklich ausgeschlossen.
If because of this instruction, rules in the Product Liability Act are referred to in case of
1. Nicht in Räumen mit hoher
2. Kalibrierung der Meßuhr
• AE2105 •
Clinchhöhenmessgerät
Technische Änderungen vorbehalten.
Subject to technical alterations.
damage these will herewith be explicitly excluded.
Bitte vor jeder Messung
beachten!
Luftfeuchtigkeit verwenden.
überprüfen.
Please note the following
before each measurement!
1. Do not use the dial indicator in
high air humidity
2. Check the calibration of the dial
indicator.
Advertisement

Subscribe to Our Youtube Channel
Related Manuals for Kroeplin AE2105


Summary of Contents for Kroeplin AE2105
- Page 1 Bedienungsanleitung Operation Instructions • AE2105 • Clinchhöhenmessgerät Gauge for the determination of the clinch height Technische Änderungen vorbehalten. Soweit durch diese Anweisung Vorschriften im Schadensfall aus dem Produkthaftungsgesetz berührt sind, werden diese hiermit ausdrücklich ausgeschlossen. Subject to technical alterations. If because of this instruction, rules in the Product Liability Act are referred to in case of damage these will herewith be explicitly excluded.
- Page 2 Der PRESET-Wert wird auf das Kalibriermaß, welches auf dem Ring eingraviert ist, eingestellt. Generalities: Before measuring with the gauge AE2105, check the display (measure 1.25 mm). When the measuring contact is put on the ball, the gauge should indicate a value of 1,25 mm.
- Page 3 Einstellung des PRESET-Wertes Bedienung / Tastenbetätigung Symbol / Taste Anzeige Einstellungs-Menü aufrufen Das Einstellungs-Menü wird durch ein Drücken der SET-Taste aufgerufen Durch Drücken der MODE-Taste oder der <0>-Taste kann zwischen den Einträgen gewechselt werden. Preset-Wert einstellen auf 4,70mm! Wechseln Sie im Einstellungs-Menü zur Auswahl Preset und bestätigen Sie Ihre Auswahl mit der OK-Taste.
- Page 4 Einheitenwechsel mm / inch Wechseln Sie im Einstellungs-Menü zu dem Eintrag UNIT und bestätigen Sie Ihre Auwahl mit der OK-Taste. Wechseln Sie zwischen den Einträgen MM und INCH durch Drücken der MODE-Taste oder der <0>-Taste. Bestätigen Sie Ihre Auswahl mit der OK- Taste.
- Page 5 The device switches to the Preset setting when P1/P2/P3 is selected. Press the DATA button to switch between decimal places. Press the MODE button or <0> button to change the value of the selected decimal place. At the first position, you can change the sign (+/-).
- Page 6 Messvorgang / Measurement Einsetzen des Gerätes Installation of gauge Messen Clinchhöhe Measurement Clinch height C...
- Page 7 Ersatzteile / Spare parts EM12 0161-18 1063-02 1051-17 EM12 Messuhr dial gauge 1063-02 Tastarm mit Kugel caliper arm with ball 1051-17 Klotz stand 0161-18 Gewindestift M3x5 set screw M3x5...
- Page 8 Drucklegung. Die Abbildungen entsprechen Gartenstraße 50 teilweise nicht dem Standardprodukt. Darüber 36381 Schlüchtern hinaus gelten unsere Allgemeinen T +49 (0)6661-86-0 Geschäftsbedingungen der jeweils gültigen F +49 (0)6661-86-39 Fassung. sales@kroeplin.com www.kroeplin.com © Copyright Kroeplin GmbH. Alle Rechte vorbehalten. 0689-82 (Stand: Januar 2024)
Need help?
Do you have a question about the AE2105 and is the answer not in the manual?
Questions and answers