Table of Contents
Advertisement
1. INSTRUCTIONS FOR USE ..................................................................................................... 4
2. SAFETY PRECAUTIONS ........................................................................................................ 6
3. ENVIRONMENTAL CARE ...................................................................................................... 8
3.1 Our environmental care .................................................................................................................................. 8
3.2 Your environmental care ................................................................................................................................. 8
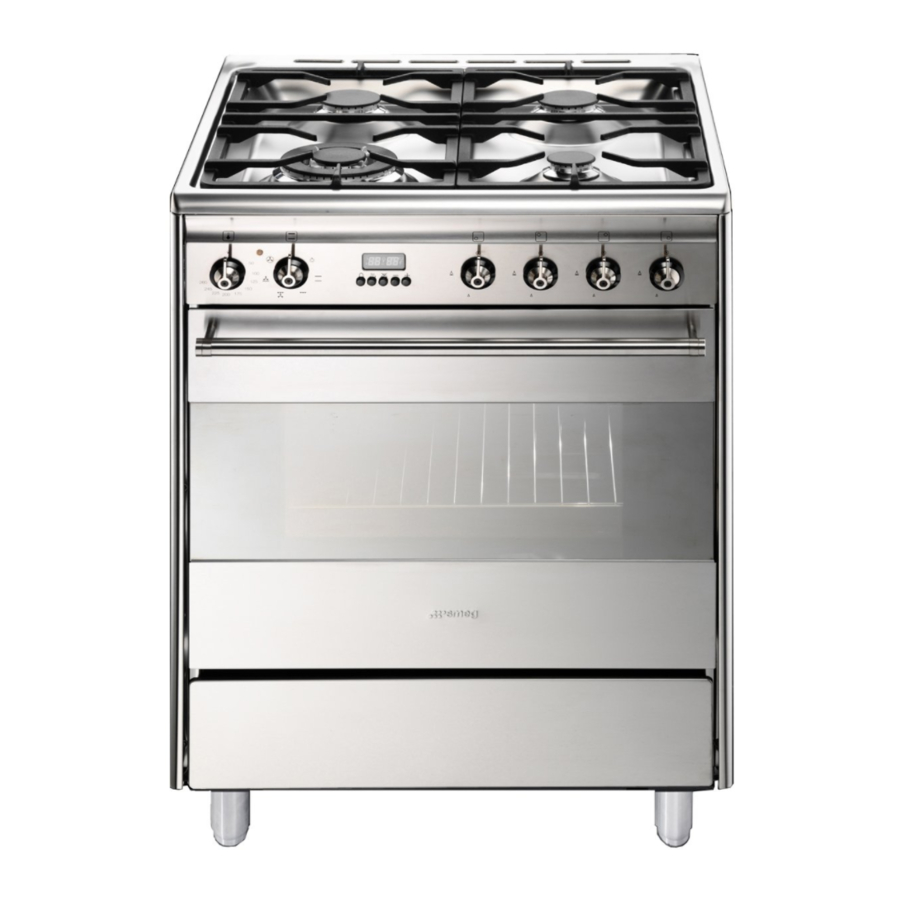
4. GET TO KNOW YOUR APPLIANCE ....................................................................................... 9
4.1 Description of the controls on the front panel ............................................................................................... 10
5. AVAILABLE ACCESSORIES ................................................................................................. 11
5.1 Using the rack or tray .................................................................................................................................... 11
5.2 Using the support rack .................................................................................................................................. 12
5.3 Using the reduction pan stands .................................................................................................................... 12
5.4 Using the rotisserie rod (on some models only) ............................................................................................ 12
6. USING THE COOKING HOB ................................................................................................. 13
6.1 General warnings and advice ....................................................................................................................... 13
6.2 Lighting the hob burners ............................................................................................................................... 13
6.3 Practical hints for using the hob burners ....................................................................................................... 13
6.4 Pan diameters ............................................................................................................................................... 14
7. USING THE OVEN ................................................................................................................ 15
7.1 Before using the appliance ........................................................................................................................... 15
7.2 Oven runners ................................................................................................................................................ 15
7.3 Storage compartment (on some models only) .............................................................................................. 15
7.4 Cooling system ............................................................................................................................................. 15
7.5 Internal light .................................................................................................................................................. 15
7.6 General warnings and advice for use ........................................................................................................... 16
7.7 Electronic programmer .................................................................................................................................. 17
8. COOKING WITH THE OVEN ................................................................................................ 19
8.1 Cooking advice and instructions ................................................................................................................... 20
8.2 Cooking process information table ................................................................................................................ 21
9. CLEANING AND MAINTENANCE ......................................................................................... 22
9.1 Cleaning stainless steel ................................................................................................................................ 22
9.2 Ordinary daily cleaning ................................................................................................................................. 22
9.3 Food stains or residues ................................................................................................................................. 22
9.4 Cleaning the cooking hob parts .................................................................................................................... 22
9.5 Cleaning the oven ......................................................................................................................................... 23
9.6 VAPOR CLEAN: assisted oven cleaning (on some models only) ................................................................. 25
10. EXTRAORDINARY MAINTENANCE .................................................................................. 27
10.1 Replacing the light bulb ............................................................................................................................... 27
10.2 Removing the door ...................................................................................................................................... 27
10.3 Removing the door seal (not on pyrolitic models) ....................................................................................... 28
10.4 Removing the internal glass panels ............................................................................................................ 28
11. INSTALLATION .................................................................................................................. 29
11.1 Clearances above and around domestic appliances .................................................................................. 29
11.2 Combustion gas discharge ......................................................................................................................... 29
11.3 Gas connection ........................................................................................................................................... 30
11.4 Room ventilation ......................................................................................................................................... 30
11.5 Extraction of the combustion products ........................................................................................................ 30
11.6 Electrical connection ................................................................................................................................... 31
11.7 Positioning the skirt (on some models only) ................................................................................................ 32
11.8 Positioning and levelling the appliance ....................................................................................................... 32
11.9 Wall mounting brackets (where present) ..................................................................................................... 32
11.10 Wall fixing .................................................................................................................................................. 33
12. ADAPTATION TO DIFFERENT TYPES OF GAS .............................................................. 34
12.1 Replacement of nozzles on the hob ............................................................................................................ 34
12.2 Arrangement of burners .............................................................................................................................. 34
12.3 Burner and nozzle characteristics table ...................................................................................................... 35
12.4 Final operations .......................................................................................................................................... 35
IINSTRUCTIONS FOR THE USER: these instructions contain user recommendations, a
description of the controls and the correct procedures for cleaning and maintenance of the
appliance.
INSTRUCTIONS FOR THE INSTALLER: these are intended for the authorised person who must
install the appliance, set it functioning and carry out an inspection test.
@
Further information about the products can be found at www.smeg.com
Contents
3
Advertisement
Table of Contents

Related Manuals for Smeg FS61XNG8


Summary of Contents for Smeg FS61XNG8
-
Page 1: Table Of Contents
INSTRUCTIONS FOR THE INSTALLER: these are intended for the authorised person who must install the appliance, set it functioning and carry out an inspection test. Further information about the products can be found at www.smeg.com Contents... -
Page 2: General Instructions
General instructions 1. INSTRUCTIONS FOR USE This manual is an integral part of the appliance. It must be kept in its entirety and in an accessible place for the whole working life of the appliance. We urge you to read this manual and all the information it contains carefully before using the appliance. - Page 3 General instructions Do not use the hob if pyrolysis is taking place inside the oven (where present). If you intend to go away for a prolonged period of time, close the mains gas tap or the gas cylinder tap. Take care that no objects are stuck in the door of the oven. Do not open the storage compartment (where present) when the oven is on and still hot.
-
Page 4: Safety Precautions
General instructions 2. SAFETY PRECAUTIONS Consult the installation instructions for safety standards on electrical or gas appliances and for ventilation functions. In your interests and for your safety the law requires that the installation and servicing of all electrical and gas appliances be carried out by qualified personnel in accordance with the regulations in force. - Page 5 General instructions This appliance must not be controlled using an external timer or remote control system. Be aware of how rapidly the cooking zones heat up. Do not place empty saucepans on the heat. Danger of overheating. Fats and oils can catch fire if they overheat. You are therefore recommended not to leave the appliance while preparing foods containing oils or fats.
-
Page 6: Environmental Care
Instructions for disposal 3. ENVIRONMENTAL CARE 3.1 Our environmental care Adequate differentiated collection for the subsequent forwarding of the decommissioned product to recycling, processing and ecologically compatible disposal contributes to avoiding possible negative effects on the environment and on health, and promotes recycling of the appliance's constituent materials. -
Page 7: Get To Know Your Appliance
Instructions for the user 4. GET TO KNOW YOUR APPLIANCE Cooking hob Control panel Oven seal Oven light (double on some models) Door sensor (on some models only) Rack/tray support frame Roof liner (on some models only) Door... -
Page 8: Description Of The Controls On The Front Panel
Instructions for the user 4.1 Description of the controls on the front panel 4.1.1 Programming clock The programming clock can be used to display the current time or to set a timer or a programmed cooking operation. The timer does not stop the cooking operation. It only warns the user that the preset number of minutes have passed. -
Page 9: Available Accessories
Instructions for the user 5. AVAILABLE ACCESSORIES NOTE: Some models are not provided with all accessories. Rack: useful for holding cooking containers. Oven tray: useful for collecting fat from foods placed on the rack above. Reduction pan stand: useful when using small pans. -
Page 10: Using The Support Rack
Instructions for the user 5.2 Using the support rack The support rack is inserted into the tray (as shown in the figure). Using this, foods can be cooked and the fat can be collected separately from the food which is being cooked. 5.3 Using the reduction pan stands The reduction pan stands should be placed on top of the hob pan stands as shown in... -
Page 11: Using The Cooking Hob
Instructions for the user 6. USING THE COOKING HOB 6.1 General warnings and advice Before lighting the hob burners, make sure that the flame-spreader crowns are correctly positioned in their housings with their respective burner caps. 6.2 Lighting the hob burners All the appliance's control and monitoring devices are placed together on the front panel. -
Page 12: Pan Diameters
6.4 Pan diameters Burner Auxiliary Semi-rapid Ultra-rapid To prevent damage to the appliance or adjacent units, all pans or griddles must be placed inside the perimeter of the hob. Instructions for the user Ø min. (cm) Ø max. (cm) -
Page 13: Using The Oven
Instructions for the user 7. USING THE OVEN 7.1 Before using the appliance • Remove any labels (apart from the technical data plate) from trays, dripping pans and the cooking compartment. • Remove any protective film from the outside or inside of the appliance, including from accessories such as trays, dripping pans, the pizza plate or the base cover. -
Page 14: General Warnings And Advice For Use
Instructions for the user 7.6 General warnings and advice for use All cooking operations must be carried out with the door closed. The dissipation of heat may cause hazards. During cooking, do not cover the bottom of the oven with aluminium or tin foil and do not place pans or oven trays on it as this may damage the enamel coating. -
Page 15: Electronic Programmer
Instructions for the user 7.7 Electronic programmer 7.7.1 Setting the time On the first use, or after a power failure, keys together, and at the same time press the the setting by one minute for each pressure. Press either of the value modification keys to display the current time. 7.7.2 Using the timer Warning: the timer does not stop the cooking operation. -
Page 16: Instructions For The User
Instructions for the user 7.7.5 Automatic cooking Automatic cooking is the function which allows a cooking operation to be started at a set time and then ended after a specific length of time set by the user. Having selected a function, press and hold ;... -
Page 17: Cooking With The Oven
Instructions for the user 8. COOKING WITH THE OVEN The ECO symbol indicates which function gives the least energy consumption. STATIC: As the heat comes from above and below at the same time, this system is particularly suitable for certain types of food. Traditional cooking, also known as static or thermal radiation cooking, is suitable for cooking just one dish at a time. -
Page 18: Cooking Advice And Instructions
8.1 Cooking advice and instructions 8.1.1 General advice • We recommend preheating the oven before putting the food in. Place the food in the oven only once the cooking light is off. • For cooking on several levels, we recommend using a fan-assisted function to achieve uniform cooking at all heights. -
Page 19: Cooking Process Information Table
8.2 Cooking process information table Types of food FIRST COURSES Lasagne Oven-baked pasta MEAT Roast veal Pork loin Shoulder of pork Roast rabbit Turkey breast Roast neck of pork Roast chicken GRILLED MEATS Pork chops Fillet of pork Fillet of beef Liver Sausages Meatballs... -
Page 20: Cleaning And Maintenance
Instructions for the user 9. CLEANING AND MAINTENANCE Do not use steam jets for cleaning the appliance. The steam could reach the electronics, damaging them and causing short-circuits. WARNING: For your safety, you are advised to wear protective gloves while performing any cleaning or extraordinary maintenance. -
Page 21: Cleaning The Oven
Instructions for the user 9.4.2 Burner caps and flame-spreader crowns The burner caps and flame-spreader crowns can be removed for easier cleaning. Wash them in warm water and a non-abrasive detergent making sure to remove any encrustation, then wait until they are perfectly dry. Refit the flame-spreader crowns, making sure that they are correctly in place with their respective burner caps, and ensuring that the holes A in the flame-spreaders are aligned with the igniters and thermocouples. - Page 22 9.5.1 Removing guide frames (where present) Removing the guide frames enables the sides to cleaned more easily. This should be done each time the automatic cleaning cycle is used (on some models only). To remove the guide frames: 1 pull the frame towards the inside of the oven to unhook it from its housing A, then slide it out of the seats at the back B.
-
Page 23: Vapor Clean: Assisted Oven Cleaning (On Some Models Only)
9.6 VAPOR CLEAN: assisted oven cleaning (on some models only) VAPOR CLEAN is an assisted cleaning procedure which facilitates the removal of dirt. Thanks to this process, it is possible to clean the inside of the oven with great ease. The dirt residues are softened by the heat and water vapour for easier removal afterwards. - Page 24 Instructions for the user 9.6.2 Setting the assisted cleaning cycle Once the preparations have been made for the assisted cleaning cycle, proceed as follows: 1 Turn the function knob to the symbol and the temperature selection knob to the symbol the VAPOR CLEAN function.
-
Page 25: Extraordinary Maintenance
Instructions for the user 10. EXTRAORDINARY MAINTENANCE The oven requires periodic minor maintenance or replacement of parts subject to wear, such as gaskets, light bulbs, etc. Specific instructions for each operation of this kind are given below. Before any intervention that requires access to live parts, disconnect the appliance from the power supply. -
Page 26: Removing The Door Seal (Not On Pyrolitic Models)
10.3 Removing the door seal (not on pyrolitic models) To permit thorough cleaning of the oven, the door seal may be removed. There are fasteners on all four sides to attach it to the edge of the oven. Pull the edges of the seal outwards to detach the fasteners. -
Page 27: Installation
Instructions for the installer 11. INSTALLATION The appliance connection point shall be accessible with the appliance installed. 11.1 Clearances above and around domestic appliances Extract from AS5601 REQUIREMENTS 1 Overhead clearances – (Measurement A) Range hoods and exhaust fans shall be installed in accordance with the manufacturer’s instructions. -
Page 28: Gas Connection
Instructions for the installer 11.3 Gas connection This appliance is suitable for installation with Natural Gas or ULPG (propane/butane). Refer to page 25 for the relevant burner pressure and appropriate injector sizes. When the appliance is to be connected to Natural Gas then the pressure regulator supplied must be fitted to the gas inlet. -
Page 29: Electrical Connection
Instructions for the installer 11.6 Electrical connection Make sure the voltage and the cross-section of the power supply line match the specifications indicated on the identification plate positioned on the appliance. Do not remove this plate for any reason. A copy of the plate is attached to the instructions. -
Page 30: Positioning The Skirt (On Some Models Only)
11.7 Positioning the skirt (on some models only) The skirt must always be positioned and secured correctly on the appliance. 1 Loosen the 4 screws (A) on the back of the worktop (2 for each side). 2 Place the skirt above the worktop, taking care to align the skirt's slots (B) with the screws (A). -
Page 31: Wall Fixing
Instructions for the installer Use the same height on the wall to drill the Before tightening the brackets fully to the wall, holes for fastening the brackets. The distance check that the index on the brackets is at the between the centres of the holes is given in the same height as the index on the back of the diagram above. -
Page 32: Adaptation To Different Types Of Gas
12. ADAPTATION TO DIFFERENT TYPES OF GAS BEFORE PERFORMING ANY OPERATIONS, SWITCH OFF THE POWER SUPPLY TO THE APPLIANCE. Appliance set for gas: In the case of operation with other types of gas, the burner nozzles must be changed and the minimum flame adjusted on the gas taps. -
Page 33: Burner And Nozzle Characteristics Table
12.3 Burner and nozzle characteristics table Burner Auxiliary Semi-rapid Ultra-rapid Burner Auxiliary Semi-rapid Ultra-rapid 12.4 Final operations After replacing the nozzles, reposition the flame-spreader crowns, the burner caps and the pan stands. Following adjustment to a gas other than the one originally set in the factory, replace the gas setting label fixed to the appliance with the one corresponding to the new gas. - Page 36 9 1 4 7 7 4 6 9 7 / A...
Need help?
Do you have a question about the FS61XNG8 and is the answer not in the manual?
Questions and answers