Table of Contents
Advertisement
Quick Links
Download this manual
See also:
User Manual
Advertisement
Table of Contents

Subscribe to Our Youtube Channel
Summary of Contents for Airlink101 AICN500
-
Page 1: Quick Installation Guide
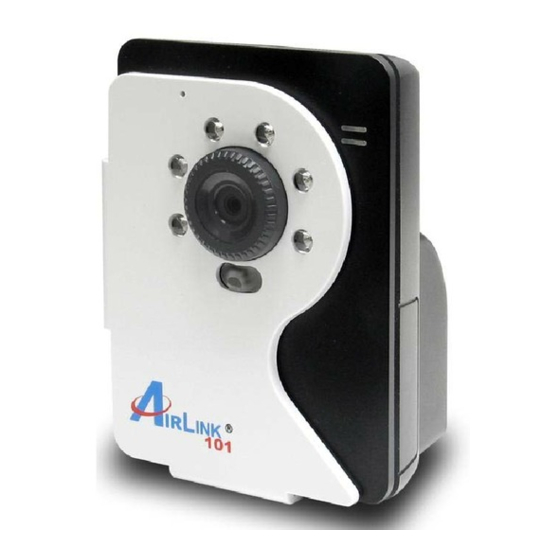
Quick Installation Guide SkyIPCam500 Night Vision Network Camera Model # AICN500 Ver. 1A... -
Page 2: Getting Started
Package Contents • Night Vision Network Camera • Camera Stand • Power Adapter • Ethernet Cable (Cat.5) • Utility CD • Quick Installation Guide Section 1 This Quick Installation Guide only provides basic instructions. For detailed information on using this product, please refer to the User’s Manual on the Step 1 Connect one end of the Ethernet cable to the IP Camera and connect the other end to one of the LAN ports on your router or switch. - Page 3 Section 2 Installing the SkyIPCam Utility Step 1 Insert the provided CD and wait for the auto-run screen to appear. Step 2 Click on Install SkyIPCam Utility. Note: If the auto-run screen does not appear automatically, go to Start, Run, type: D:\ Utility\Setup.exe (where D is the letter of your CD drive) and click OK.
- Page 4 Step 3 Keep clicking Next on the following screens. Step 4 Click Close to complete the installation.
- Page 5 Section 3 Using the SkyIPCam Utility Step 1 Go to Start > (All) Programs > AirLink101 > AirLink101 SkyIPCam Utiliy Step 2 Select the IP Camera you want to configure from the list and click on the Change IP button.
- Page 6 Step 3 You may simply accept the suggested Static IP, or you can manually change the last 3-digit number of the IP Address, in case that the suggested one has already been used by another device in the same network. Another option is that if your router’s DHCP server is enabled, you can select DCHP, so the router will automatically assign a dynamic IP address to your camera.
- Page 7 Step 5 When you are prompted for the username and password, enter “admin” for both User name and Password, and click OK. Step 6 The camera viewing window will appear. Click on Setup, and then click on Smart Wizard.
- Page 8 Step 7 Enter a name for your camera and a location if you like. Then enter “admin” for both Admin Password and Confirm Password. Click Next. Step 8 You can change the camera’s IP settings in the below window. If you have done this in Step 3, click Next and go to the next step.
- Page 9 Step 9 If you would like to set up email alerts that you can receive in the future, enter your email information here. You can get this information from your internet service provider. You can also set this up at a later time. Click Next. Step 10 Confirm your settings at the last window.
-
Page 10: Viewing Images
Section 4 Method 1 --- Access from “Web Browser” Step 1 If you know the IP address of your network camera, you may open the Web Browser on your computer. Step 2 Type the IP address of your camera (the default IP is 192.168.1.240) in the Address bar, and then press [Enter]. - Page 11 Step 4 If it is the first time for your computer to access the Web based viewing page, you may be prompted to install the software of ActiveX Control. Click on the bar on top of the screen and click on Install ActiveX Control. Step 5 Click on Install, and then you may be able to view images.
- Page 12 Step 6 To get a clear view of images, you may simply rotate the camera’s lens clockwise or counter-clockwise to adjust the focus.
- Page 13 Method 2 --- Access from “SkyIPCam Utility” Step 1 Go to Start > (All) Programs > AirLink101 > AirLink101 SkyIPCam Utiliy, and open the Airlink101 SkyIPCam Utility. Step 2 Select your camera from the list and click Link Step 3...
-
Page 14: Technical Support
Toll Free: 1-888-746-3238 Website: www.airlink101.com *Actual data throughput will vary. Network conditions and environmental factors lower actual data throughput rate. Specifications are subject to change without notice. All products and trademarks are the property of their respective owners. Copyright ©2008 AirLink101®...


Need help?
Do you have a question about the AICN500 and is the answer not in the manual?
Questions and answers