Table of Contents
Advertisement
Quick Links
Item # 1007792660
Model # HD388V60-GW-PG
USE AND CARE GUIDE
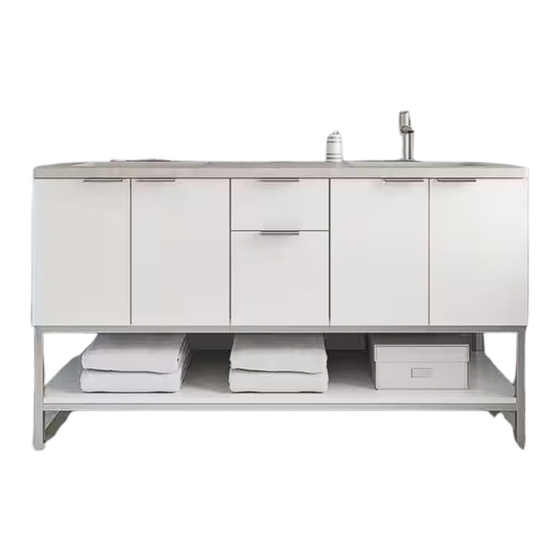
BREARLY VANITY
Questions, problems, missing parts? Before returning to the store,
call Home Decorators Collection Customer Service
8 a.m. - 7 p.m., EST, Monday - Friday, 9 a.m.- 6 p.m., EST, Saturday
1-800-986-3460
HOMEDEPOT.COM/HOMEDECORATORS
THANK YOU
continually create quality products designed to enhance your home. Visit us online to see our full line of products available for your home
improvement needs. Thank you for choosing Home Decorators Collection!
Advertisement
Table of Contents

Related Manuals for Home Decorators Collection BREARLY HD388V60-GW-PG


Summary of Contents for Home Decorators Collection BREARLY HD388V60-GW-PG
- Page 1 8 a.m. - 7 p.m., EST, Monday - Friday, 9 a.m.- 6 p.m., EST, Saturday 1-800-986-3460 HOMEDEPOT.COM/HOMEDECORATORS THANK YOU continually create quality products designed to enhance your home. Visit us online to see our full line of products available for your home improvement needs. Thank you for choosing Home Decorators Collection!
-
Page 2: Table Of Contents
Table of Contents Safety Information . . . . . . . . . . . . . . . . . . . . . . . . . . . . . . . . . . 2 Preparing for Installation . -
Page 3: Warranty
Home Decorators Collection products are manufactured with superior quality standards and workmanship and are backed by our limited lifetime warranty. Home Decorators Collection products are warranted to the original consumer purchaser to be free of defects in materials or workmanship. We will replace FREE OF CHARGE any product or parts that proves defective. Simply, return the product/part to any of The Home Depot retail locations or call 1-800-986-3460 to receive the replacement item. -
Page 4: Hardware Included
Pre-Installation (continued) HARDWARE INCLUDED NOTE: Hardware not shown to actual size. Part Description Quantity Part Description Quantity Hex wrench Drywall anchor 1/4 x 1-1/4 in. bolts 1 set of 2 French cleats (Attached to back of cabinet. Do not remove until instructed.) Electrical cord clamp Screws Clamp screws... -
Page 5: Planning Installation
□ Available plumbing cutouts can be found on the back and under side of the vanity cabinet. CAUTION: For your safety and to achieve the best possible installation of this cabinet, Home Decorators Collection always recommends you consult with a professional contractor. -
Page 6: Integrated Electrical Outlet
Planning Installation (continued) INTEGRATED ELECTRICAL OUTLET WALL OUTLET NOTE: Prior to installing the vanity, ensure location of wall Front View outlet is in line with the plug from the integrated electrical box once fed through the back panel in the provided opening (1). CAUTION: For your safety and to achieve the best possible installation of this cabinet, we recommend you consult with a professional contractor for electrical outlet placements and... -
Page 7: Preparing For Installation
Preparing for Installation Mounted to vanity Locating French cleats Mounted to wall □ Locate the pair of French cleats (FF) on the back of the vanity cabinet (A) and remove the cleat with the mounting holes on the bottom. The remaining cleat should have the mounting holes at the top. - Page 8 Preparing for Installation (continued) Preparing for French cleat installation □ Carefully place the vanity cabinet (A) against the wall in the. desired location and mark a center line (1) on the wall with a WARNING: Before cutting, drilling, or hammering into any wall pencil.
-
Page 9: Attaching The Vanity To The Wall
Attaching the Vanity to the Wall Attaching the French cleat to the wall WARNING: Before cutting, drilling, or hammering into any wall surface, verify the location of electrical, plumbing, and gas lines. Cutting any of these may cause serious injury. □ Attach the French cleat (FF) to the wall using the screws (DD). Securing the vanity to the wall with the French cleat □... -
Page 10: Installing The Top With Sink
Installing the Top with Sink □ Align and secure the quartz top (C) to the vanity cabinet (A) using a high-quality adhesive and caulk gun. □ Allow adhesive to dry in accordance with manufacturer’s instruction before installing plumbing and using the vanity. -
Page 11: Placing The Removable Storage Tray
Placing the Removable Storage Tray □ Open the top drawer of the vanity cabinet (A) and place the removable storage tray (D) inside. Care and Cleaning For best results in cleaning and polishing your bath furniture, we recommend the following: □... - Page 12 Questions, problems, missing parts? Before returning to the store, call Home Decorators Collection Customer Service 8 a.m. - 7 p.m., EST, Monday - Friday, 9 a.m.- 6 p.m., EST, Saturday 1-800-986-3460 HOMEDEPOT.COM/HOMEDECORATORS Retain this manual for future use.
Need help?
Do you have a question about the BREARLY HD388V60-GW-PG and is the answer not in the manual?
Questions and answers