Advertisement
Quick Links
Enforcer V11.3 PCB Upgrade
Installation Guide
What's included
1x
Pair of antistatic gloves
Documents
1 x Enforcer V1 1 PCB Upgrade
1 x Enforcer V1 1 Quick Start Guide
Warranty
This product comes with an updated warranty label.
The date on the label has an extended date in accordance with
the new PCB.
This needs to be affixed over the old label on the rear side of the
front half of the panel, as shown to the right.
Please note: The new warranty date only covers new parts
provided with this kit. It does not cover any existing hardware.
Important to note:
Make sure to isolate all mains power and wait 5 minutes for the PSU to discharge before opening panel.
The antistatic gloves provided must be worn when handling the new Enforcer PCB.
The communications programming will be lost and will need to be programmed - this includes registering on the PyronixCloud as a new system to
enable smart device application functionality.
The new PCB has Wi-Fi onboard therefore if a Wi-Fi communications module is present in the current panel, please discard safely.
All wireless programming will be lost and all zones will need reprogramming.
All wireless zones, bells, keypads etc. will need relearning to the system as this information will be lost.
To connect using upload/download software, V1 1.0m of InSite or later must be downloaded.
1
Opening the control panel
i. Unscrew the two screws located at the
bottom.
1x
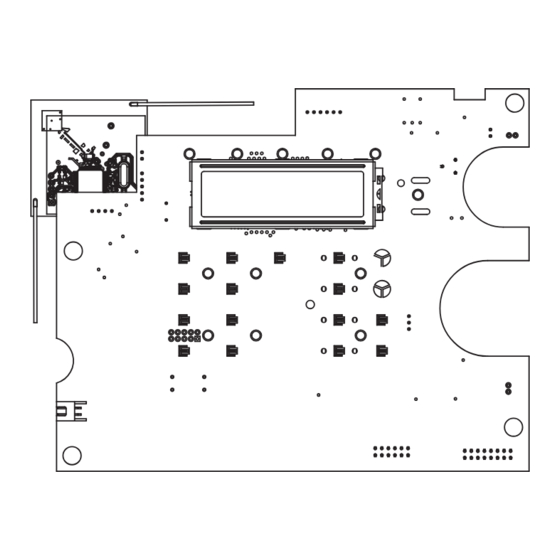
Enforcer V1 1 PCB
ii. Unhinge the front from the top and pull down
to disconnect.
Document SAP:102029881-02
1x
1x
PSU cable
Tamper spring
1 x QR code card to the online full guides for V1 1 Enforcer
1 x Product flyer
1x
New PSU cover
Warranty label
LABEL
iii. Remove any cables connecting the back to
the front half of the panel.
1x
Advertisement

Subscribe to Our Youtube Channel
Summary of Contents for Pyronix Enforcer V11.3 PCB
- Page 1 Enforcer V11.3 PCB Upgrade Installation Guide Document SAP:102029881-02 What’s included Pair of antistatic gloves Enforcer V1 1 PCB PSU cable Tamper spring New PSU cover Warranty label Documents 1 x Enforcer V1 1 PCB Upgrade 1 x QR code card to the online full guides for V1 1 Enforcer 1 x Enforcer V1 1 Quick Start Guide 1 x Product flyer...
- Page 2 Inserting the new PCB ii. Unscrew the PCB cover and remove from the iii. Disconnect the piezo from the PCB and i. Unscrew the battery compartment and remove the battery. rear of the front. unscrew the PCB from the back. iv.
Need help?
Do you have a question about the Enforcer V11.3 PCB and is the answer not in the manual?
Questions and answers