Eureka NEY100 Series Owner's Manual
Portable carpet & upholstery cleaner
Hide thumbs
Also See for NEY100 Series:
- User manual ,
- Owner's manual (72 pages) ,
- Owner's manual (12 pages)

Related Manuals for Eureka NEY100 Series


Summary of Contents for Eureka NEY100 Series
- Page 1 Owner’s Guide Thank you for purchasing your new Eureka vacuum! Important instructions For easy assembly, please take a few Household use only...
-
Page 2: Table Of Contents
Refer to these numbers when ordering parts and accessories or if service is needed. wet/dry Carefully unpack and inspect your new Eureka vacuum cleaner for shipping damage. Each unit is tested and thoroughly inspected before shipping. Contents Important safeguards . -
Page 3: Important Safeguards
• Do not immerse. Use only on surfaces moistened by • Keep cable away from heated surfaces. the cleaning process. Use only Eureka cleaning • To unplug, grasp the plug, not the cable. products intended for use with this machine. - Page 4 This appliance can be used by persons with reduced physical, sensory or mental capabilities or lack of experience and knowledge if they have been given supervision or instruction concerning use of the appliance in a safe way and understand the hazards involved. Children shall not play with the appliance. Cleaning and user maintenance shall not be made by children without supervision.
-
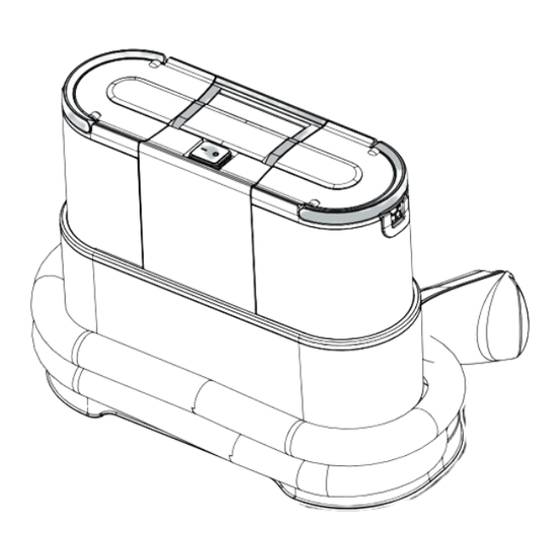
Page 5: What Comes In The Carton
What Comes in the Carton Clean water tank handle Machine handle Dirty water tank handle Clean water Dirty water tank lid tank catch Dirty water tank Brush tool Hose... -
Page 6: Preparation Before Use
Preparation before Use CAUTION Never operate vacuum cleaner without water tanks, brush, float and brush cover, water tanks cover in proper position. Quick Assembly Pull up To remove the water tanks, place one hand on the unit and use the other to pull upwards on the tank's handle. Open the clean water tank's top cover, pour in tap water and cleaning solution, then close the cover. - Page 7 Wrap the hose around the machine and secure the end on the holder. Cleaning Solution Use 2 to 5 capfuls of Eureka Cleaning Solution depending on volume of water and type of cleaning.
-
Page 8: Starting Up And Cleaning
Starting up and cleaning CAUTION Never operate vacuum cleaner without water tanks, brush, float and brush cover, water tanks cover in proper position. Prepare / Start the Work Plug the power cord into a wall socket. Press the button Press the button on the top of the again to turn the machine to turn... - Page 9 MAX line. Before You Begin Cleaning Eureka Cleaning Solution is suitable for use on most carpets and fabrics. When cleaning delicate materials or materials with bright colors, test the color fastness in a small hidden area first.
-
Page 10: Clean Maintenance
Clean Maintenance NOTES machine after using it. 2. Before cleaning, please disconnect the power and make sure the Dirty Water Tank Cleaning Upper cover Float cover Float Dirty water tank Pour out the dirty water and rinse the dirty Lift the dirty water tank from the machine, remove the top cover and float assembly. - Page 11 Accessories Cleaning To clean the brush tool 1) Remove the accessory window by pressing the release button 2) Rinse with clean water Brush tool Press and release window To clean the hose: 1) Ensure that the dirty water tank is empty 2) Fill a bowl with clean water 3) Turn the unit on and submerge 1/3 of the brush head for 2-3 seconds so that clean water is sucked...
-
Page 12: Problem Solving
Problem Solving Make sure vacuum is turned off and power cord is unplugged. NOTICE: Thermal cut-off This machine has a special thermostat that protects the machine in case of motor overheating. If the machine suddenly shuts off, proceed as follows: 1) Turn the machine off and unplug the unit. - Page 14 Owner’s Guide Thank you for purchasing your new Eureka vacuum!
Need help?
Do you have a question about the NEY100 Series and is the answer not in the manual?
Questions and answers