Advertisement
Quick Links
This product has been manufactured with safety in mind. Warranty applies only when used as instructed. Failure to
comply with the warnings and precautions described in this document may cause personal injury and result in
warranty being voided. Please note that SB Fitness assumes no responsibility for any accidents resulting from use.
Advertisement

Related Manuals for SB Filters CT 550


Summary of Contents for SB Filters CT 550
- Page 1 This product has been manufactured with safety in mind. Warranty applies only when used as instructed. Failure to comply with the warnings and precautions described in this document may cause personal injury and result in warranty being voided. Please note that SB Fitness assumes no responsibility for any accidents resulting from use.
- Page 2 * Optional Touchscreens available for additional cost...
-
Page 3: Table Of Contents
Hardware ................4 Product Overview ............. 5 Assembly ................ 6-11 Directions for Use ............. 12-14 Adjusting the Running Belt ........15-16 Moving Your Treadmill ..........17 Using Your Console ..........18 -19 Warranty ..............20-21 Table of Contents CT 550 pg 3... - Page 4 Packing List Packing List CT 550 pg 4...
-
Page 5: Hardware
Hardware Hardware CT 550 pg 5... -
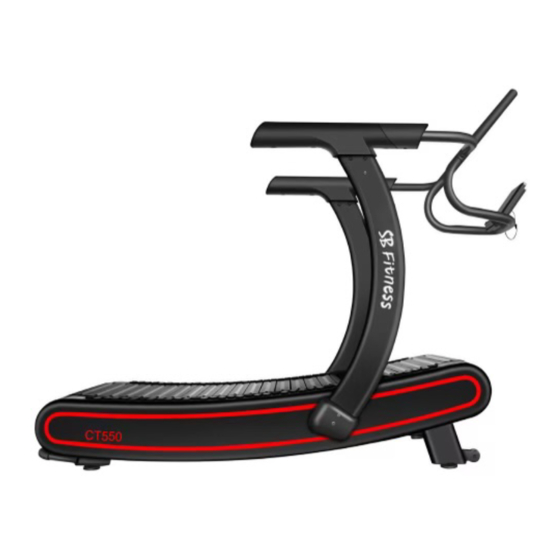
Page 6: Product Overview
Product Overview Product Overview CT 550 pg 6... -
Page 7: Assembly
¢10 spring washers and two ¢10 flat washers. . Next, use two M10x25 , one ¢10 spring washer and one ¢10 flat washer respectively to secure the left column to the stabilizer plate. Do not fully tighten bolts at this juncture. Product Installation CT 550 pg 7... - Page 8 ¢10 flat washers. Next, use two M10x25 , one ¢10 spring washer and one ¢10 flat washer respectively to secure the left column to the stabilizer plate. Do not fully tight- en bolts at this juncture. Product Installation CT 550 pg 8...
- Page 9 Attach the left and right handrails to the left and right uprights, using four M8x16 and two M8x35 as shown in the picture. Do not fully tighten bolts at this juncture. Product Installation CT 550 pg 9...
- Page 10 (sensor) on the left side and be careful not to pinch. GO BACK AND TIGHTEN ALL SCREWS AND BOLTS FROM EARLIER STEPS. Attach the console to the display holder using 2 M5x15 and con- nect data cables. Product Installation CT 550 pg 10...
- Page 11 ST4.8 x 16 to attach the bottle holder to the left column, as shown in the picture.The installation of the machine is now complete. Product Installation CT 550 pg 11...
- Page 12 Console data cable, push all excess wire into the opening, provided in the back of the console. Insert 3 AA battery into monitor Careful not to pinch data cable Firmly attach console to frame Product Installation CT 550 pg 12...
-
Page 13: Directions For Use
Directions for Use Directions for Use CT 550 pg 13... - Page 14 Directions for Use Avoid stepping off the back of the treadmill when movement is in progress. Stay in center to front of the track. Directions for Use CT 550 pg 14...
- Page 15 Directions for Use Directions for Use CT 550 pg 15...
-
Page 16: Adjusting The Running Belt
If it is drifting to the right, use a hex wrench to turn the right screw clock- wise or the left screw 1/4 turn counterclockwise. If the walking belt is not in the middle, repeat the above movements until it is adjusted to the middle Adjusting the Running Belt CT 550 pg 16... - Page 17 Adjusting the Running Belt Adjusting the Running Belt CT 550 pg 17...
-
Page 18: Moving Your Treadmill
Moving Your CT550 Treadmill Transport handle in rear, transport wheels in the front. Bend your knees, use your legs to pick CT550 up from rear and move to desired location. Moving Your CT550 Treadmill CT 550 pg 18... -
Page 19: Using Your Console
Using Your Console Console Operation: Start Key Begin workout Pause workout program Resume workout program Stop Key Stops workout program Hold to reset Using Your Console CT 550 pg 19... - Page 20 Press enter button to select prompts. Press Start to begin. Console displays Time, Distance, Calories, Speed, Pace, Heart Rate Heart Rate Function compatible with 5.3K wireless heart rate chest strap (sold sep- arately.) Using Your Console CT 550 pg 20...
- Page 21 This Limited Warranty is void if the Product serial number has been defaced or removed. Should any Product be submitted for warranty service be found ineligible, an estimate of repair cost will be furnished. SB Fitness CT550 Warranty CT 550 pg 21...
-
Page 22: Warranty
PROPERTY, ARE EXPRESSLY EXCLUDED TO THE MAXIMUM EXTENT. If you have any questions or need assistance with your SB Fitness CT550 Self-Generated Curved Treadmill, please call CustomerService: 1-814 -558 -4859 or email Chad: chad@sbfitnessequipment.com SB Fitness CT550 Warranty CT 550 pg 22...
Need help?
Do you have a question about the CT 550 and is the answer not in the manual?
Questions and answers