
Related Manuals for Yaheetech WF316601


Summary of Contents for Yaheetech WF316601
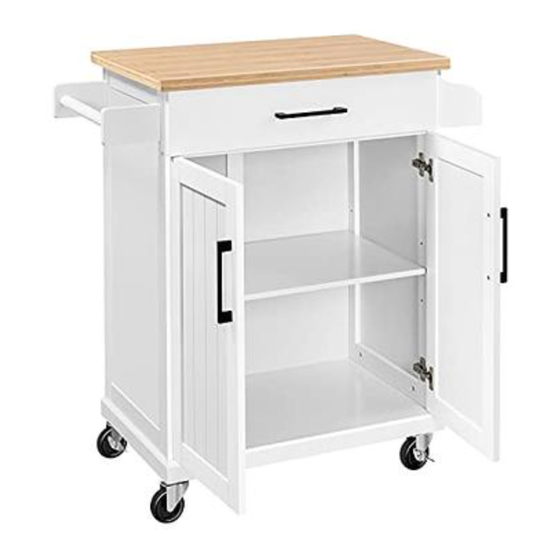
- Page 1 Kitchen Island Carts Assembly Instructions - Please keep for future reference WF316601 Dimensions Width-35 inch Depth-25.75 inch Height-34 inch Important – Please read these instructions fully before starting assembly...
- Page 3 Components - Fittings Please check you have all the panels listed below Note:The quantitie below are the correcet amount to complete the assembly. In some cases more fittings may be supplied than are required. Ø6*30 mm Dowel x42 Cam Bolt x36 Hole to Stick x4 Cam Lock x36 4*35mm Screw x16...
- Page 4 Using Camlocks DO NOT OVER TIGHTEN. Step 1 Step 2 NE PAS SERRER EXCESSIVEMENT. Connect the male Push the male camlock into the entry hole. camlock as diected in the assembly instructions using a scewdriver. Step 3 Step 1 Insert the female Turn the female camlock camlock as shown in the clockwise with a...
- Page 5 Assembly Instructions...
- Page 6 Assembly Instructions Step 1 Split J into H1 and H2 Drawer slide 14" x2 Step 2 Drawer slide 14" x2 3.0*12mm Screw x6...
- Page 7 Assembly Instructions Step 3 Ø6*30 mm Dowel x8 Cam Bolt x8 INCORRECT CORRECT INCORRECTO CORRECTO Install cam bolts with flange flush with the surface. Step 4 Ø6*30mm Dowel x12 Door Catch x2 3.0*16mm Screw x4...
- Page 8 Assembly Instructions Step 5 4*35mm Screw x2 Step 6 Cam lock x4...
- Page 9 Assembly Instructions Step 5 Cam lock x4 Step 6 4*35mm Screw x2...
- Page 10 Assembly Instructions Step 9 Step 10 4*35mm Screw x6...
- Page 11 Assembly Instructions Step 11 6*60mm Bolt x4 Flat Washer x4 Lock Washer x4 Allen Key x1 Allen Key x1 6*12mm Bolt x16 Locking Caster x2 Caster x2...
- Page 12 Assembly Instructions Step 13 Allen Key x1 6*45mm Bolt x4 Vertical nut x4 Hole to Stick x4 The towel rack can be installed on the left or right side as needed.
- Page 13 Assembly Instructions Step 13 Cam Bolt x6 INCORRECT CORRECT INCORRECTO CORRECTO Install cam bolts with flange flush with the surface. Step 13 Butt Hinge x3 4*15mm Screw x18...
- Page 14 Assembly Instructions Step 16 Cam Lock x6 Step 17 4*15mm Screw x4 Support Hinges...
- Page 15 Assembly Instructions Step 16 Cam Bolt x8 Handle x2 4*25mm Bolt x4 INCORRECT CORRECT INCORRECTO CORRECTO Door Hinge 3.0*12mm Screw x12 Install cam bolts with flange flush with the surface. Step 17 3.0*12mm Screw x12...
- Page 16 Assembly Instructions Step 22 Ø6*30mm Dowel x16 Cam Bolt x8 INCORRECT CORRECT INCORRECTO CORRECTO Install cam bolts with flange flush with the surface. Step 23 Cam lock x8...
- Page 17 Assembly Instructions Step 22 Cam lock x8 Step 23 Cam Bolt x5 3.0*12mm Screw x6 Drawer slide 14" x2...
- Page 18 Assembly Instructions Step 24 Ø6*30mm Dowel x4 4*35mm Screw x6 Step 25 Cam lock x5 Handle x1 4*25mm Bolt x2...
- Page 19 Assembly Instructions Step 26 Step 27 Shelf Support Pin x12...
- Page 20 Assembly Instructions Step 28...
Need help?
Do you have a question about the WF316601 and is the answer not in the manual?
Questions and answers