Table of Contents
Advertisement
Quick Links
Advertisement
Table of Contents

Related Manuals for Kaffit A3


Summary of Contents for Kaffit A3
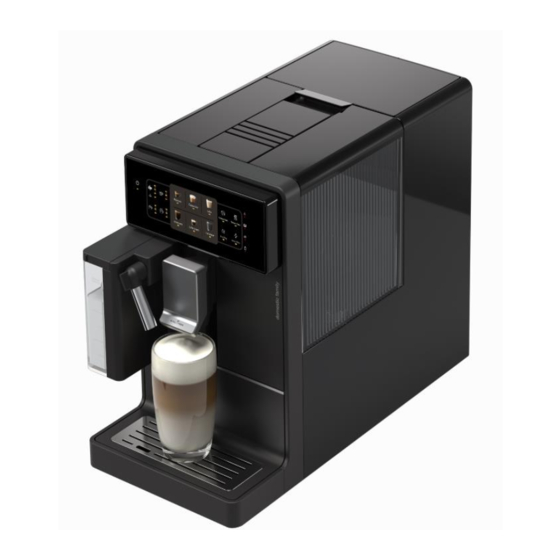
- Page 1 Fully Automatic Coffee Machine User Manual 1 / 16...
-
Page 2: Table Of Contents
Content Safety...............................03 Intended use........................03 Warning..........................03 Explanation of safety symbols.................... 04 2 Introduction……..........................05 3 Machine overview ........................05 Operation panel: ......................... 06 4 Accessories ........................... 07 5 Preparing and using for the first time ..................07 Unpacking..........................07 Installing filter(optional) ....................08 Heating .......................... -
Page 3: Safety
(e.g., on vacation). * A3 must be used between 5°C-40°C. * Emptying water circuit needs to be performed in advance, if A3 will be stored at 0°C or below. * Do not use damaged filter. * Seal and store the filter in a dry place. -
Page 4: Explanation Of Safety Symbols
person responsible for their safety. * Children should be supervised to ensure that they do not play with the appliance. * Cleaning and user maintenance shall not be made by children unless they are older than 8 and supervised. * If the supply cord is damaged, it must be replaced by a special cord or assembly available from the manufacturer or its service agent. -
Page 5: Introduction
Congratulations on the purchase of your fully automatic coffee machine! Read the user manual carefully prior to use A3 for the first time, and keep it well for reference later. The machine is only suitable for domestic occasions, not for commercial use. -
Page 6: Operation Panel
Operation panel: Icon Description Icon Description Coffee Strength adjustment Filling water warning Ground coffee function Empty grounds container warning Volume adjustment Fill beans warning Milk foam adjustment Install milk carafe indication Temperature preset Milk carafe cleaning Filter change indication Brewer cleaning Descaling 6 / 16... -
Page 7: Accessories
4.Accessories 1. User manual 2. Powder spoon 3. Filter(optional) 4. Water hardness test strip(optional) 5. Cleaning agent(optional) (Brewer cleaning tablet/Descaling cleaning agent/Milk system cleaning agent) 5 Preparing and using for the first time Unpacking Take out the machine and remove the protective film, then place it on a horizontal surface which is dry and non-slip. -
Page 8: Installing Filter(Optional
Turn on the power switch, then touch the screen button to start up the machine. Water hardness setting is necessary when using the machine for the first time. Default setting is 4 level, see the end of page 13 for further details. Installing filter(optional)... -
Page 9: Beverage Preparation
6 Beverage preparation ⚫ Before preparing beverage, please ensure that there are sufficient water in the water tank, enough coffee beans in the bean hopper and no error messages appear on the display. ⚫ Place an appropriate cup beneath the coffee spout, and adjust the coffee spout up and down to the suitable height. -
Page 10: How To Adjust Grinding Degree
⚫ Grinding degree adjustment is only available when grinding the coffee beans ⚫ New settings are available at the second or third cup of coffee ⚫ Dark roast is suitable for fine grinding, light roast is suitable for coarse grinding. How to prepare a drink with ground coffee Take out the powder chute cover and put ground coffee into machine;... -
Page 11: Machine Setting
7 Machine Setting Cleaning and maintenance Brewer cleaning 1. Press for 3 seconds, until all 3 lights flash 2. Press for 3 seconds, until all lights flash on, means user need pull out and empty drip tray. 4. After replacing drip tray, press 5. -
Page 12: Install/Change Filter
⚫ Read the user manual and usage of cleaning agents carefully prior to cleaning process. ⚫ During descaling, be careful and avoid to touch acid hot water dispensing from coffee spout. ⚫ Long press temperature adjustment button for 3 seconds can also activate descaling/brewer cleaning function when machine is standby. -
Page 13: Eco Mode
Eco mode Long press temperature adjustment for 3 seconds, press Americano button: Indicator on means ECO mode is on, indicator is off meaning ECO mode is off. Factory reset Long press temperature adjustment for 3 seconds, press Coffee button for 3 seconds to perform factory reset. -
Page 14: Daily Cleaning
8 Daily cleaning For better use of coffee machine and beverage preparation, following components if used need to be cleaned manually on the day: ⚫ Grounds container ⚫ Drip tray ⚫ Drip tray grid ⚫ Water tank ⚫ Coffee spout ⚫... -
Page 15: Troubleshooting
9 Troubleshooting This chapter has summarized all errors of coffee machine, common malfunctions and solutions. If the problem cannot be solved,please contact customer service in your country or region. Problem Reason Resolution Milk sprays out of the milk Milk is running out Fill milk carafe with milk carafe when making milk foam Milk system is clogged... -
Page 16: Technical Data
10 Technical data Product name Fully automatic coffee machine Model Recommended daily capacity 10 cups Bean hopper 200g Water tank 1.3L Milk carafe 250ml Drip tray 600ml Grounds container 10 portions Height-adjustable for coffee spout 68-138mm Water pump pressure 19 bar Power supply 220-240V 50/60Hz Power rating...
Need help?
Do you have a question about the A3 and is the answer not in the manual?
Questions and answers