Table of Contents
Advertisement
Quick Links
Advertisement
Table of Contents

Related Manuals for Vivotek GFV24CB2


Summary of Contents for Vivotek GFV24CB2
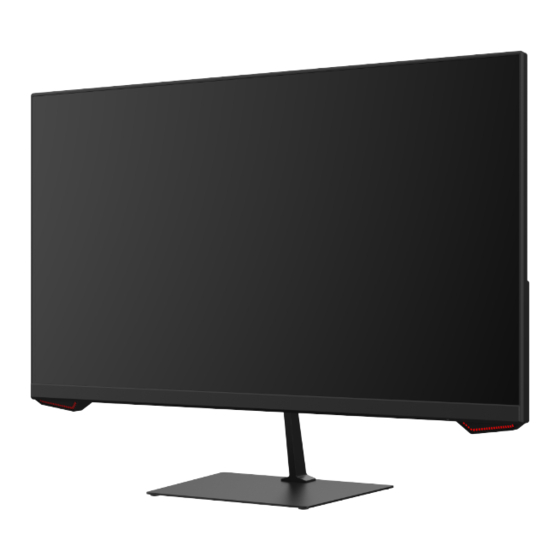
- Page 1 GFV24CB2 GAMING MONITOR USER MANUAL In order to continue serving our customers and providing the best products, our product information including our user manuals may receive updates from time to time. Please check our website for the latest user manuals and product materials.
-
Page 3: Table Of Contents
Table of Contents Section 1: Safety Precautions..............4 Section 2: Box Contents .................5 Section 3: Product Overview ..............6 3.1 – Monitor Buttons .................6 3.2 – Monitor Ports ................6 Section 4: Stand Installation ..............7 Section 5: Wall Mounting................8 Section 6: Basic Operation ..............9 Section 7: Indicator Light ...............9 Section 8: OSD Setup ................10 8.1 –... -
Page 4: Section 1: Safety Precautions
Section 1: Safety Precautions Read and observe the following warnings and information below. 1. Before cleaning, always unplug your monitor. It is recommended that you use a dry cloth or a lightly damp cloth to clean your monitor. A dry cloth is, however, the safest. -
Page 5: Section 2: Box Contents
Section 2: Box Contents Monitor x 1 Stand Stem x 1 Stand Base x 1 M4 x 10mm Screws x 7 Mounting Plate Power Cable x 1 DP Cable x 1 User Manual x 1 12v 2.5A Extra screws may be included as backup. -
Page 6: Section 3: Product Overview
Section 3: Product Overview 3.1 – Monitor Buttons Rocker Button Power Right Left Down Actions Description Rocker Up Contextual modes sight shortcut key Rocker Down Gameplus sight shortcut key Rocker Left Signal source selection menu shortcut key Enter OSD menu Rocker Right Confirm operations / settings Press Power... -
Page 7: Section 4: Stand Installation
Section 4: Stand Installation 1. Open the package and take out the product with foam still attached. Gently place it on a desktop or table. 2. Take out the stand stem and attach the stand stem into the opening on the back, then use the included screwdriver and two screws to fasten the stand stem to the monitor. -
Page 8: Section 5: Wall Mounting
Section 5: Wall Mounting VESA and/or mounting accessories not included. 1. Open the package, take out the monitor with the foam still attached, and gently place it on a desktop or table. If the monitor is attached to the stand, remove the stand by removing the two screws on the back of the monitor just above the stand. -
Page 9: Section 6: Basic Operation
Section 6: Basic Operation 1. Insert one end of the DP cable into your PC’s graphics card. Other connection types may be used. Additional cables are not included. For optimal refresh rate (or “performance”), it is recommended to use a DP (display port) or HDMI cable with the monitor’s corresponding connector. -
Page 10: Section 8: Osd Setup
Section 8: OSD Setup The On-Screen Display (OSD) Menu may be used to adjust your monitor’s settings and (Right). appears on the screen after turning on the monitor and Rocker When using the monitor for the first time, settings will automatically adjust to optimal settings according to your computer’s configuration and parts, etc. -
Page 11: Osd Menu Functions
8.1 – OSD Menu Functions Main Menu Sub-Menu Options Description Game Standard Mode On / Off Turn on or off Standard mode Settings RTS / RPG On / Off Turn on or off RTS / RPG mode Mode FPS Arena On / Off Turn on or off FPS mode Mode... - Page 12 Main Menu Sub-Menu Options Description Color Settings Warm, Natural, On, Off Select color temperature Cool User 1, User 2, On, Off Adjust RGB range or turn off User3 0~100 (R/G/B/C/M/Y) Adjust hue levels Saturation 0~100 (R/G/B/C/M/Y) Adjust saturation levels OSD Settings Language * Set OSD display language English, 简体中文,...
-
Page 13: Section 9: Led Effects, Hotkeys Setting And Gameplus Switching
Section 9: LED Effects, HotKeys Setting and Gameplus Switching 9.1 – LED Effects This monitor features LED effects, you can achieve this function via entering OSD interface. a. Rocker to select Game Settings, and Press Rocker button to enter the sub- menu. -
Page 14: Section 10: Troubleshooting
Section 10: Troubleshooting The screen is blank • Press the power button to turn the monitor on. • Confirm the brightness and contrast settings are set normally. • Check if the indicator light is flashing. If so, there is no signal from your video source. •... -
Page 15: Section 11: Cleaning
Section 11: Cleaning The monitor requires regular cleaning. Take the following steps to carefully and safely clean the monitor. Do not press the monitor display with hands or other objects; otherwise, there is a risk of damaging the screen. 1. Power off the monitor and PC. 2. -
Page 16: Section 12: Specifications
Section 12: Specifications Item Detail Model Number GFV24CB2 Screen Size 23.8’’ Viewing Angle 178° (H) / 178° (V) Aspect Ratio 16:9 Resolution 1920x1080p Refresh Rate 180Hz LED Indicator Power on: Blue (solid); Power saving: Red (solid) Brightness Typical: 250 cd/m... -
Page 17: Section 13: Three-Year Limited Hardware Warranty
Section 13: Three-Year Limited Hardware Warranty Your VIOTEK GFV24CB2 Gaming Monitor (“Product”) includes a Three-Year Limited ® Hardware Warranty (“Warranty”). The Warranty covers product defects in materials and workmanship under normal use. This Warranty is limited to residents of the United States and Canada only and is available only to original purchasers. - Page 18 DECLARATION OF CONFORMITY This device complies with Part 15 of the FCC Rules. Operation is subject to the following two conditions: (1) This device may not cause harmful interference, and (2) this device must accept any interference received, including interference that may cause undesired operation. FCC RELATED INFORMATION: This equipment has been tested and found to comply with the limits for a Class B digital device, pursuant to Part 15 of the FCC Rules.
- Page 20 COPYRIGHT © 2023 VIOTEK. ALL RIGHTS RESERVED.
Need help?
Do you have a question about the GFV24CB2 and is the answer not in the manual?
Questions and answers