Advertisement
Quick Links
Advertisement

Related Manuals for YitaHome IMISSB-0005


Summary of Contents for YitaHome IMISSB-0005
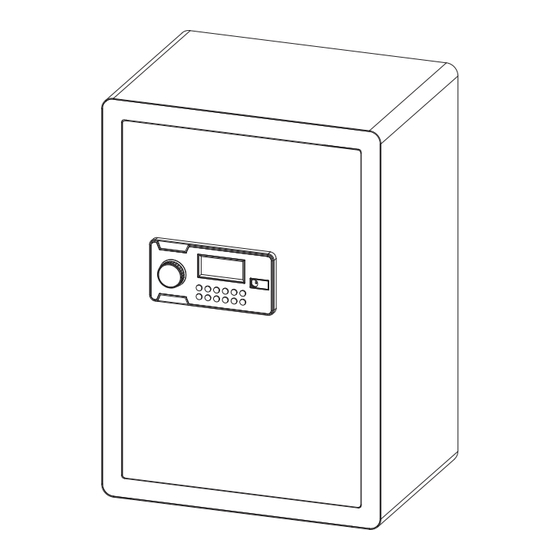
- Page 1 ASSEMBLY INSTRUCTIONS HNXD-V1 IMISSB-0005 IMISSB-0006 IMISSB-0007 SAFE BOX...
- Page 2 ASSEMBLY INSTRUCTIONS 1.Confirm all parts are present prior to assembly. 2.Do not lock the emergency key or emergency battery box into the cabinet. Reference Image Qty. Item no. Emergency key Emergency battery box Expansion screw Fireproof bag...
- Page 3 ASSEMBLY INSTRUCTIONS How to use the adjustable shelf Turn the fastener clockwise and pull out the fastener horizontally, you can adjust the position of the shelf or take out the shelf according to your needs. How to Mount the Safe: 1.Position the cabinet near the wall and mark the locations of the anchor holes using a marker.
- Page 4 ASSEMBLY INSTRUCTIONS User Manual for Electronic Lock First-Time Safe Setup: 1. Unfasten the right side panel and use the emergency key to open the safe. (The first time to open the key cover is tight, press the right edge position, need to use a little more force.)...
- Page 5 ASSEMBLY INSTRUCTIONS User Manual for Electronic Lock I. Initial Power-up: 1.Upon the system's first power-up, the initial password is set to a personal code of "1234" and an administrative code of "123456". 2.In standby mode, the system displays the system date, time, and voltage status. 3.
- Page 6 ASSEMBLY INSTRUCTIONS 6. Stealth function: Press the "*" key before entering password to switch to stealth function (single press enables stealth; double press disables stealth). When stealth is enabled, subsequent number entries will not be displayed and will be replaced with "o". 7.
- Page 7 ASSEMBLY INSTRUCTIONS IV. Changing the Administrative Password: 1."OPEN" mode changing: First open the door with the administrative password. When the screen displays "OPEN", press the "*" key, and the system will enter the administrative password changing status, displaying "------". You can enter a new 1~8 digit administrative password, then press the "#"...
- Page 8 ASSEMBLY INSTRUCTIONS setting digits will blink. After entering the values, the system will automatically confirm, save the new date and time, exit the setting mode, and return to the standby mode. 3. During the setting process, press the '*' key to go back one digit and re-enter the value.
- Page 9 ASSEMBLY INSTRUCTIONS 3. After powering on, if the rear screen displays 'GOOD' (you can release the red button at this point), it means that the personal password and administrative code have been restored to their initial values of '1234' and '123456', respectively.
- Page 10 Pure & Easy...
Need help?
Do you have a question about the IMISSB-0005 and is the answer not in the manual?
Questions and answers