
Related Manuals for Scapa Chaislong-2-Chaislong TD S0001


Summary of Contents for Scapa Chaislong-2-Chaislong TD S0001
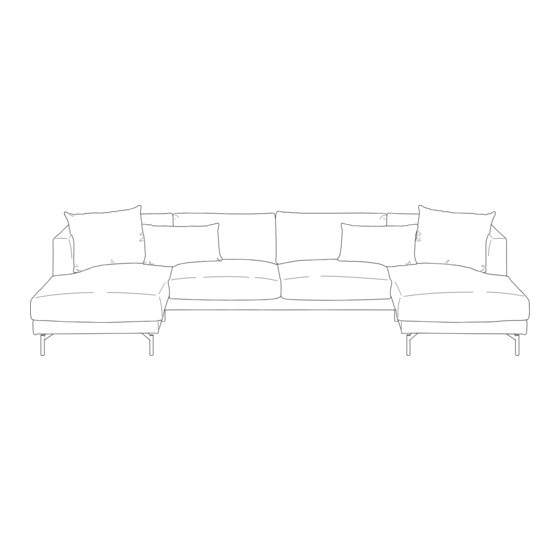
- Page 1 2024 W04 M-8133 S0001 Chaislong-2-Chaislong TD (394) SPAREPARTS & REPAIR / RESERVDELAR & REPARATION For further information about your furniture and care advise. För mer information och skötsel av din möbel. www.scapainter.com...
- Page 2 YOU NEED / DU BEHÖVER ca 30 min 2 persons / 2 personer 10 mm 6 mm / 8 mm Place your product on a soft surface when assembling. Lägg dina proudkter på ett mjuk underlag när du monterar. QUESTIONS? / FRÅGOR? Do you have questions about the assembly or maintenance of your furniture? Check out scapainter.com or contact your retailer for...
- Page 3 SPAREPARTS S0001 Chaislong-2-Chaislong TD (394) LEGS / SUPPORT LEGS / STÖDBEN Plate Support leg box ARMRESTS / ARMSTÖD 11 cm HEAD RESTS / NACKSTÖD FRAMES / STOMMAR 1500 seat 1500 back 750 seat 1500 back Divan pall FITTINGS / BESLAG Insert nut Support connector Wood screw...
- Page 4 INSERT NUT INSTALLATION / MONTERING AV RAMPAMUFF Follow the instruction step by step. 1. M8 insert nut. Screw in the M8 insert nut using an 8 mm allen key. 2. M6 insert nut. Enlarge the existing hole in the frame using a 10 mm drill bit. Screw in the M6 insert nut using a 6 mm allen key.
- Page 5 REPLACING THE NOZAG CLIP / BYTE AV NOSAGFÄSTET Follow the instruction step by step. 1. Attach the new nozag clip using wood screws. 2. Pull and hook the nozag spring into place. Följ instruktionerna steg för steg. 1. Fäst fast det nya nosagfästet med hjälp av träskruvar. 2.
- Page 6 ARMREST INSTALLATION / MONTERING AV ARMSTÖD Follow the instruction step by step. Följ instruktionerna steg för steg.
- Page 7 REMOVING THE ARMREST / DEMONTERING AV ARMSTÖD Follow the instruction step by step. Följ instruktionerna steg för steg.
- Page 8 CONNECTING BACK AND SEAT FRAMES / MONTERING AV SITT- OCH RYGGSTOMME Follow the instruction step by step. Följ instruktionerna steg för steg.
- Page 9 DISMANTLING BACK AND SEAT FRAMES / DEMONTERING AV SITT- OCH RYGGSTOMME Follow the instruction step by step. Följ instruktionerna steg för steg.
Need help?
Do you have a question about the Chaislong-2-Chaislong TD S0001 and is the answer not in the manual?
Questions and answers