SAJ H2-5K-S3 Quick Installation Manual
Hide thumbs
Also See for H2-5K-S3:
- User manual (36 pages) ,
- User manual (36 pages) ,
- User manual (33 pages)
Table of Contents
Advertisement
Quick Links
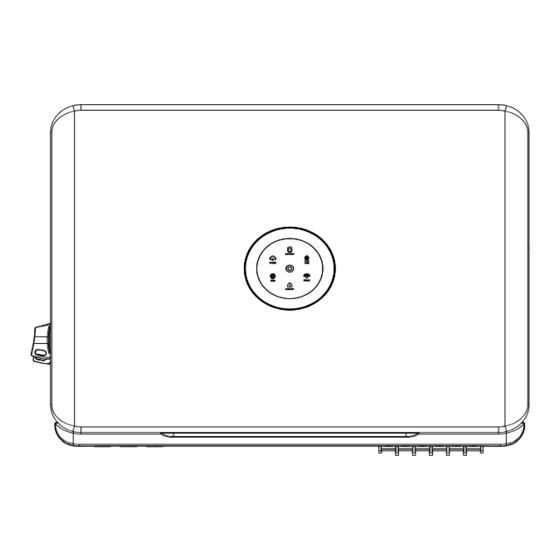
H2-(5K-10K)-S3 Inverter Quick Installation Guide
For safety and detailed information, refer to the inverter user manual.
1. Checking Installation Ways and Gaps
30CM
2. Installing the inverter
1.
Determine the installation position and mark holes.
Note: If required, reserve enough distance at the inverter bottom for installing the metal cable conduits.
V0.0
50CM
360
50CM
16
1
© 2023 Sanjing. All rights reserved.
Advertisement
Table of Contents

Subscribe to Our Youtube Channel
Related Manuals for SAJ H2-5K-S3


Summary of Contents for SAJ H2-5K-S3
- Page 1 H2-(5K-10K)-S3 Inverter Quick Installation Guide For safety and detailed information, refer to the inverter user manual. 1. Checking Installation Ways and Gaps 30CM 50CM 50CM 2. Installing the inverter Determine the installation position and mark holes. Note: If required, reserve enough distance at the inverter bottom for installing the metal cable conduits. V0.0 ©...
- Page 2 Drill holes and fix the mounting plate to the wall. Mount the inverter to the plate. Secure the inverter. 3. Performing grounding protection Remove the screw on the ground terminal and secure the cable with a screwdriver. 4. Installing the battery Install the battery.
- Page 3 Conductor cross-sectional Range Recommended value Remarks area of cables (mm² ) 13-21 Additional grounding cable cross-sectional area (mm² ): 6 Step Illustration Loosen the nut from the cable gland on the waterproof cover. Insert the AC cable through the nut and then the cable gland.
- Page 4 Step Illustration Communication cable: Loosen the waterproof cover from the inverter. Loosen the nut from the cable gland of the waterproof cover. Insert the communication cables through the nut and then the cable gland. Insert the cables into the corresponding communication ports. Tighten screws to secure the waterproof cover to the inverter.
- Page 5 Connect the cables from the BMS to the BAT+ and BAT- ports on the inverter. 9. Assembling the PV-side electrical connection Select cables according to the below specification. For details, refer to the inverter user manual. Conductor cross-sectional Range Recommended value Conductor material area of cables (mm²...
- Page 6 10. Installing the waterproof cover for PV and battery cables Tighten three screws to secure the waterproof cover. 11. Performing subsequent operations Unlock and turn on the DC switch on the inverter. Turn on the battery switch. Turn on the breaker on the grid side. Perform configuration commissioning on the eSAJ Home App.
Need help?
Do you have a question about the H2-5K-S3 and is the answer not in the manual?
Questions and answers