Advertisement
Quick Links
Advertisement

Subscribe to Our Youtube Channel
Summary of Contents for YitaHome FTOFBC-6007
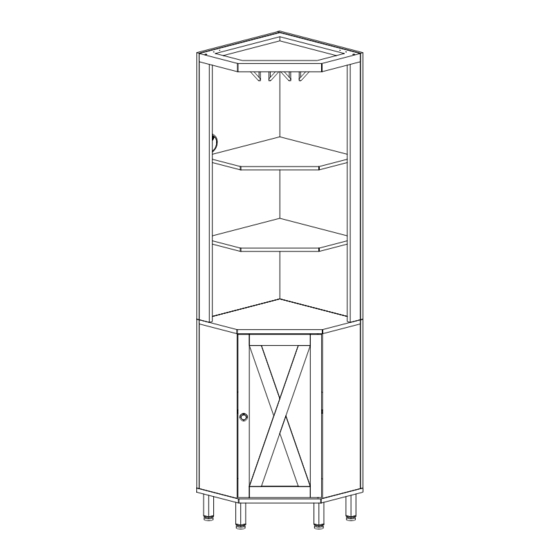
- Page 1 ASSEMBLY INSTRUCTIONS FTOFBC-6007...
- Page 2 YITAHOME YITAHOME ASSEMBLY INSTRUCTIONS ASSEMBLY INSTRUCTIONS Item Item Qty. Qty. Notice: Reference lmage Reference lmage 1.Follow the installation instructions. lease confirm all accessories are preset before installation. 2.Do not fully tighten the screws during initial assembly. Fully tighten screws only once all pieces which are correctly assembled.
- Page 3 YITAHOME YITAHOME ASSEMBLY INSTRUCTIONS ASSEMBLY INSTRUCTIONS Explosion Diagram 1PCS 1PCS 3PCS...
- Page 4 ASSEMBLY INSTRUCTIONS ASSEMBLY INSTRUCTIONS 2PCS 4PCS 4PCS...
- Page 5 ASSEMBLY INSTRUCTIONS ASSEMBLY INSTRUCTIONS 6PCS 2PCS 1PCS 1PCS 8PCS 2PCS...
- Page 6 ASSEMBLY INSTRUCTIONS ASSEMBLY INSTRUCTIONS 6PCS 1PCS 1PCS 2PCS 4PCS...
- Page 7 ASSEMBLY INSTRUCTIONS ASSEMBLY INSTRUCTIONS 2PCS 1PCS 1PCS 3PCS Pay attention to the hole spacing. Do not install it , otherwise it will be impossible to assemble.
- Page 8 ASSEMBLY INSTRUCTIONS ASSEMBLY INSTRUCTIONS 3PCS 3PCS 1PCS 1PCS Note the bevel Note the bevel...
- Page 9 YITAHOME YITAHOME ASSEMBLY INSTRUCTIONS ASSEMBLY INSTRUCTIONS 1PCS 5PCS 5PCS 4PCS Aligned edge...
- Page 10 ASSEMBLY INSTRUCTIONS ASSEMBLY INSTRUCTIONS 8PCS 4PCS 8PCS...
- Page 11 ASSEMBLY INSTRUCTIONS ASSEMBLY INSTRUCTIONS 4PCS 4PCS...
- Page 12 ASSEMBLY INSTRUCTIONS ASSEMBLY INSTRUCTIONS 4PCS 1PCS...
- Page 13 ASSEMBLY INSTRUCTIONS ASSEMBLY INSTRUCTIONS 1PCS 4PCS The lamp band plug can be pulled out through the wire cover Tape the lamp to the top of the ceiling position 90 ° bend to the top of the ceiling Step 3 Step 2 The light belt is taped from the No.
- Page 14 ASSEMBLY INSTRUCTIONS ASSEMBLY INSTRUCTIONS 2PCS 1PCS 1PCS 1PCS...
- Page 15 ASSEMBLY INSTRUCTIONS ASSEMBLY INSTRUCTIONS 1PCS 1PCS 1PCS 1PCS Large hole to install J, small hole to install I...
- Page 16 ASSEMBLY INSTRUCTIONS ASSEMBLY INSTRUCTIONS 4PCS 2PCS 4PCS 2PCS Step 1 Step 2 Step 3...


Need help?
Do you have a question about the FTOFBC-6007 and is the answer not in the manual?
Questions and answers